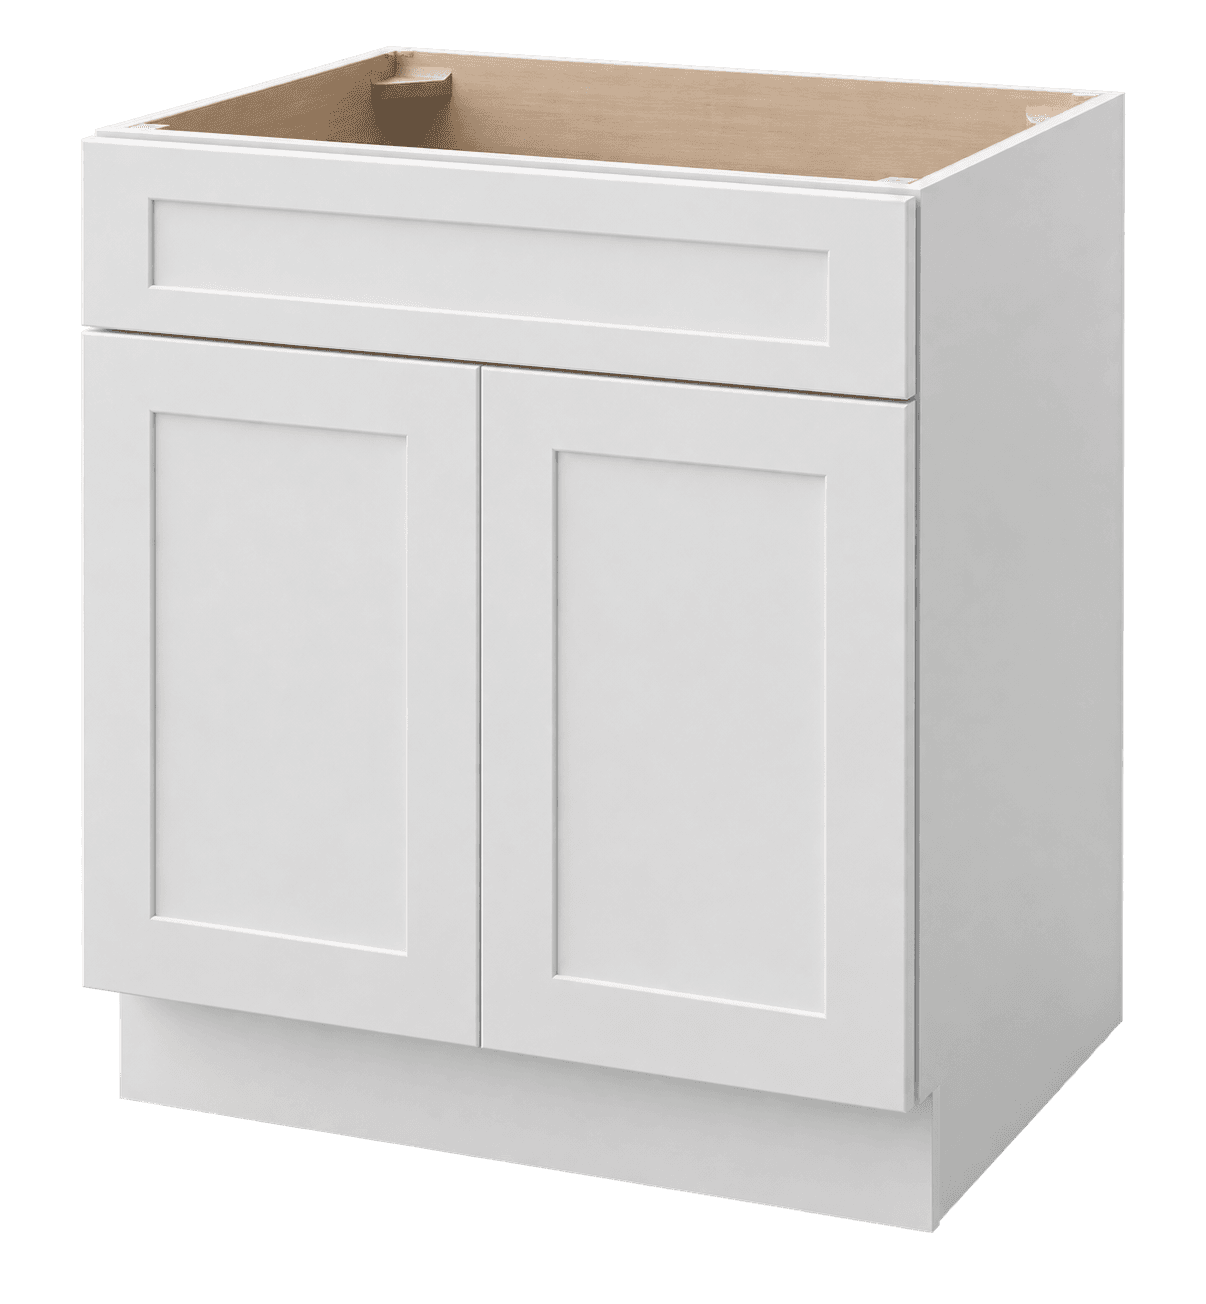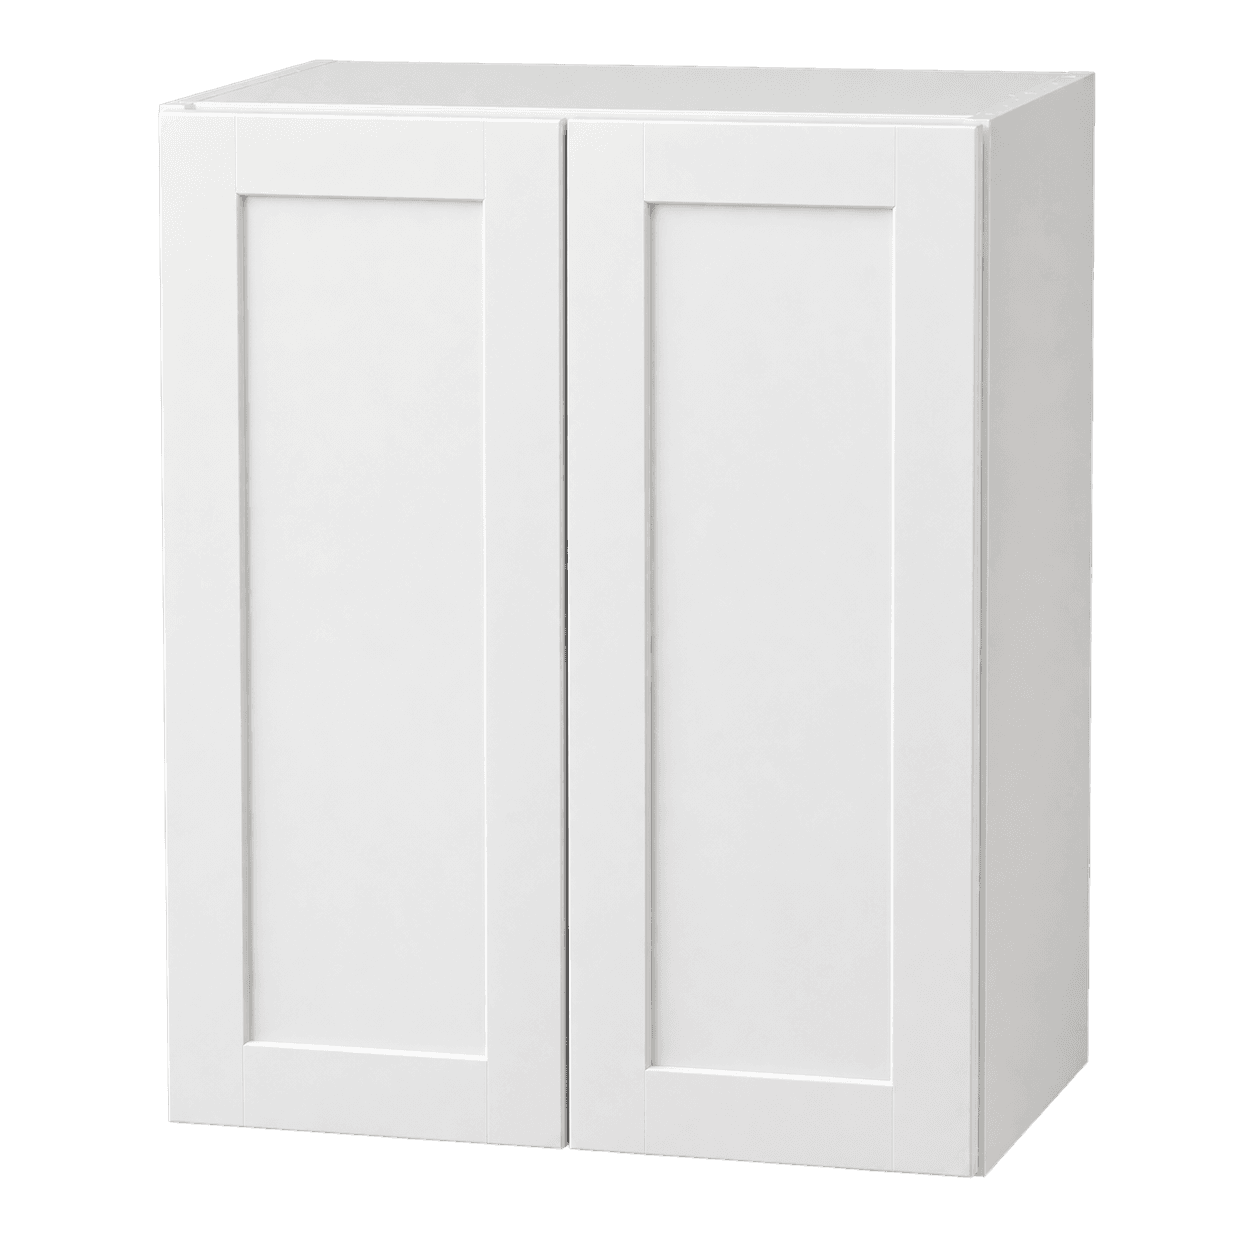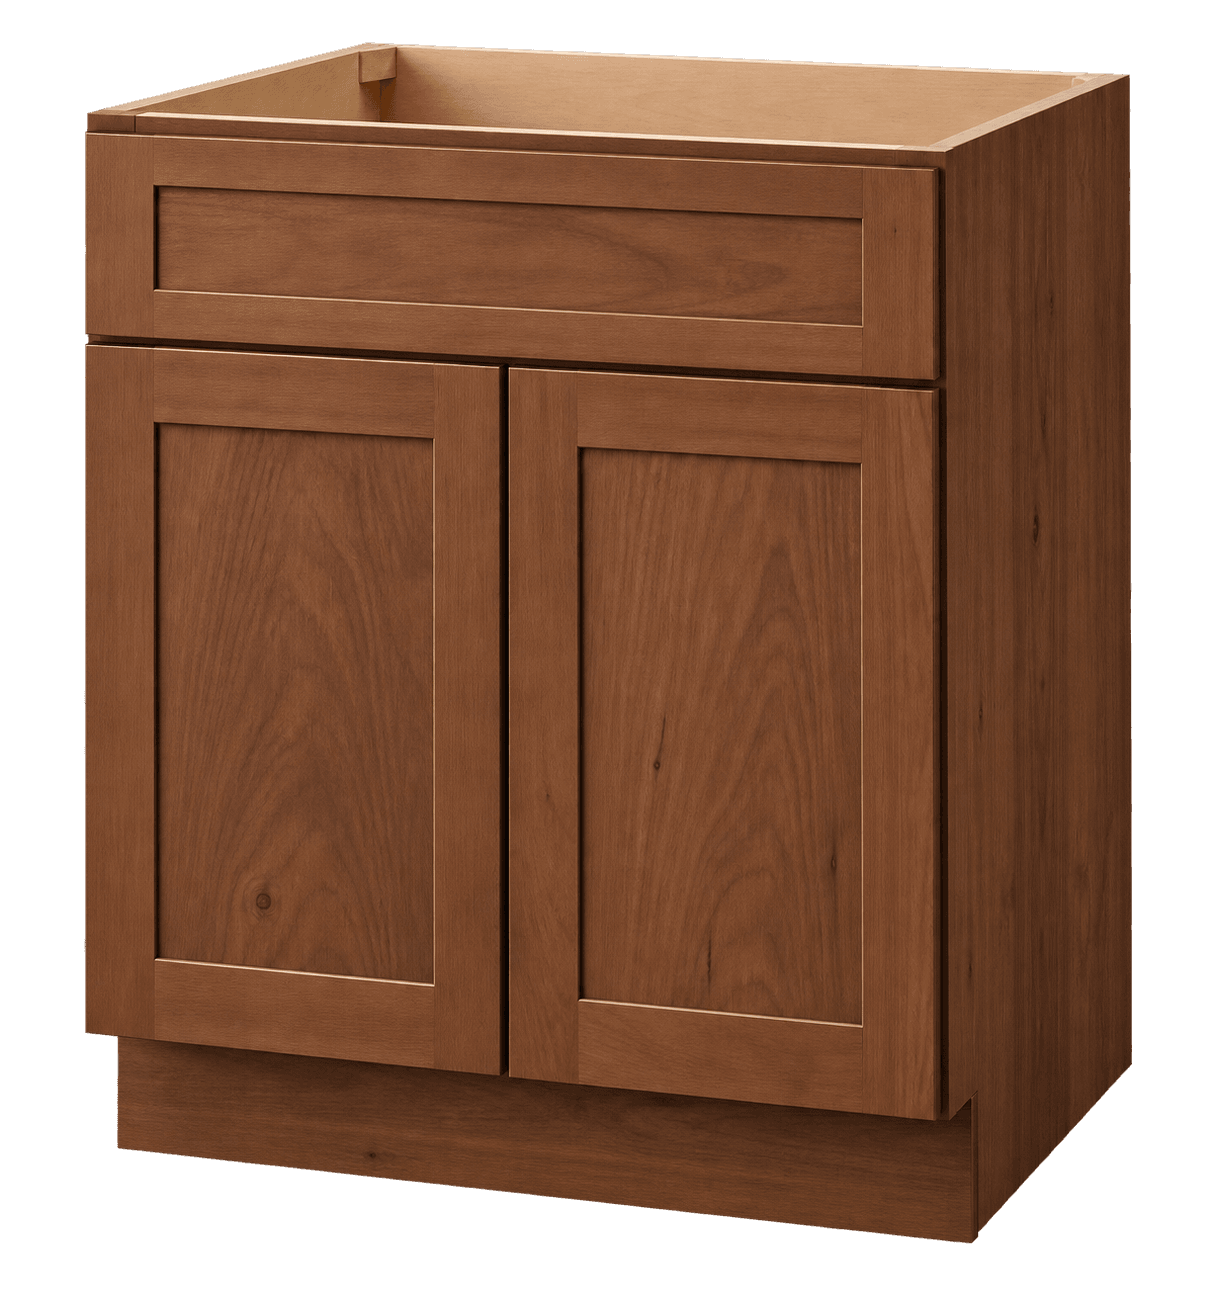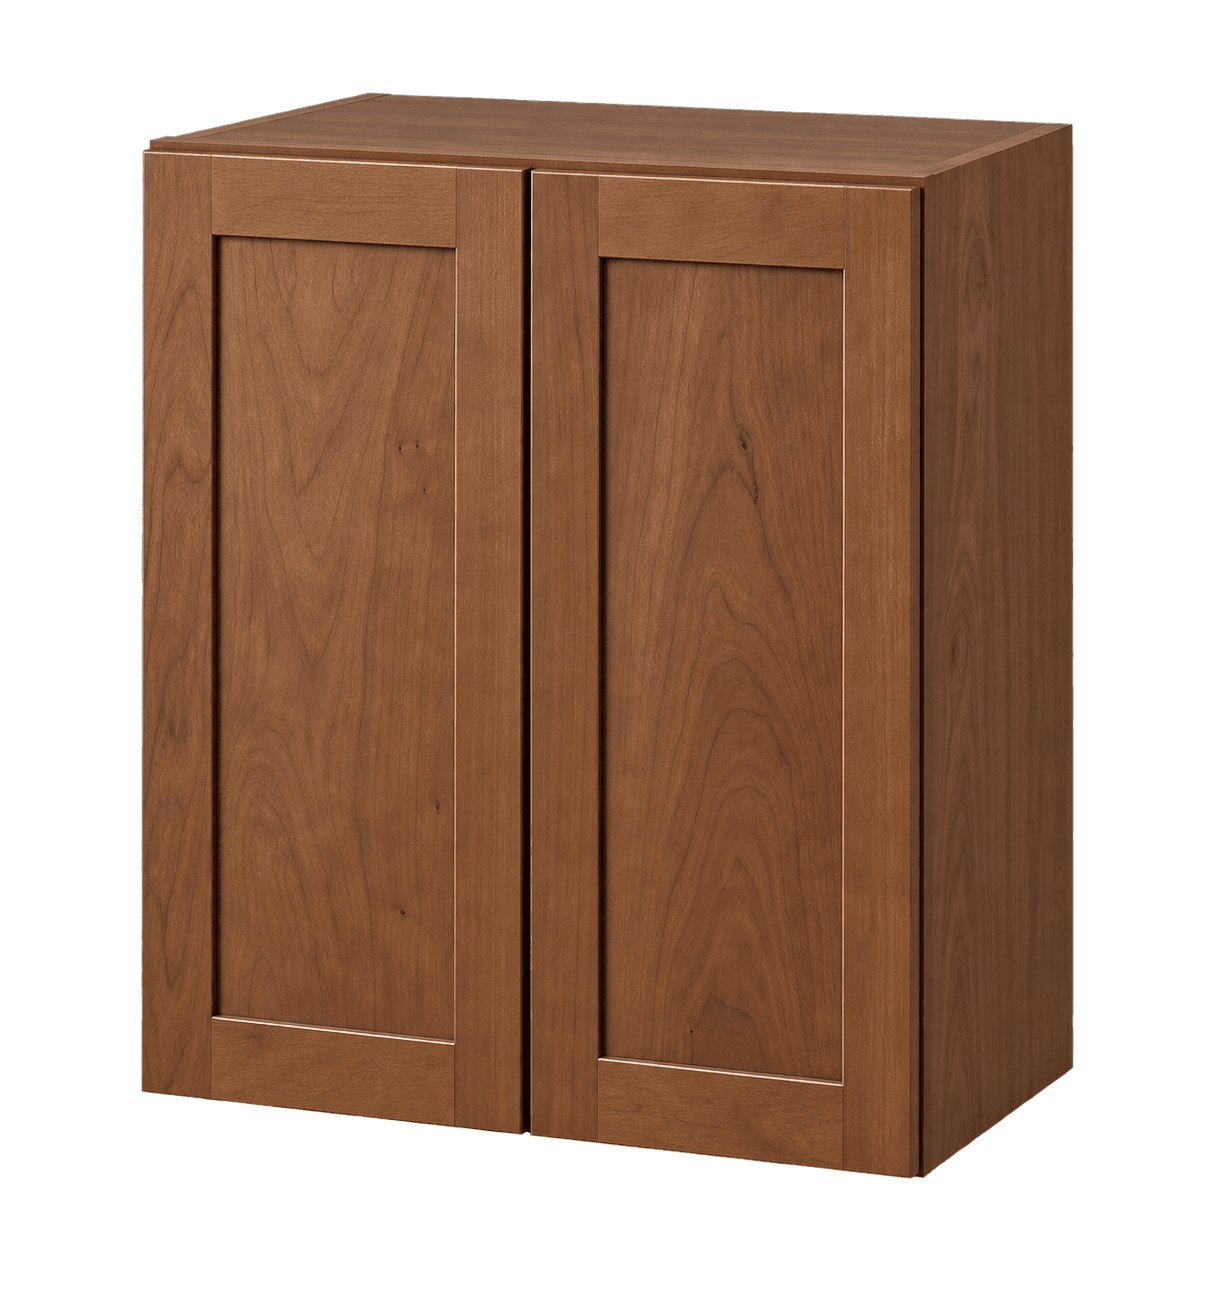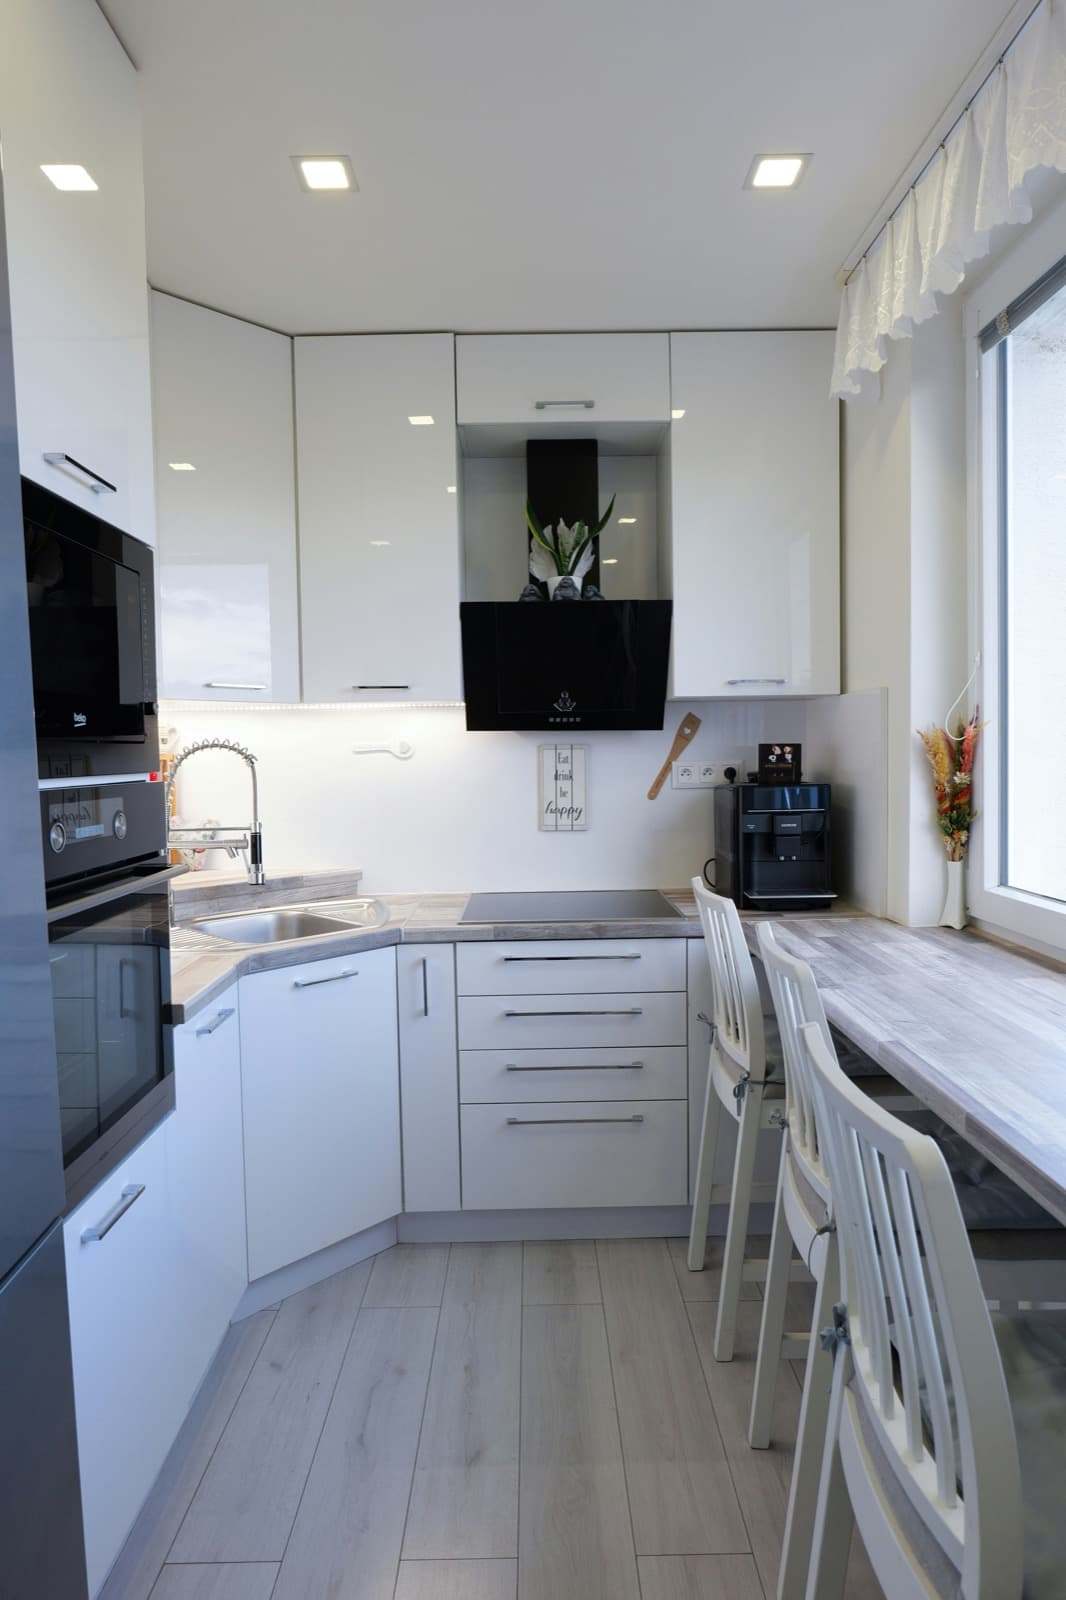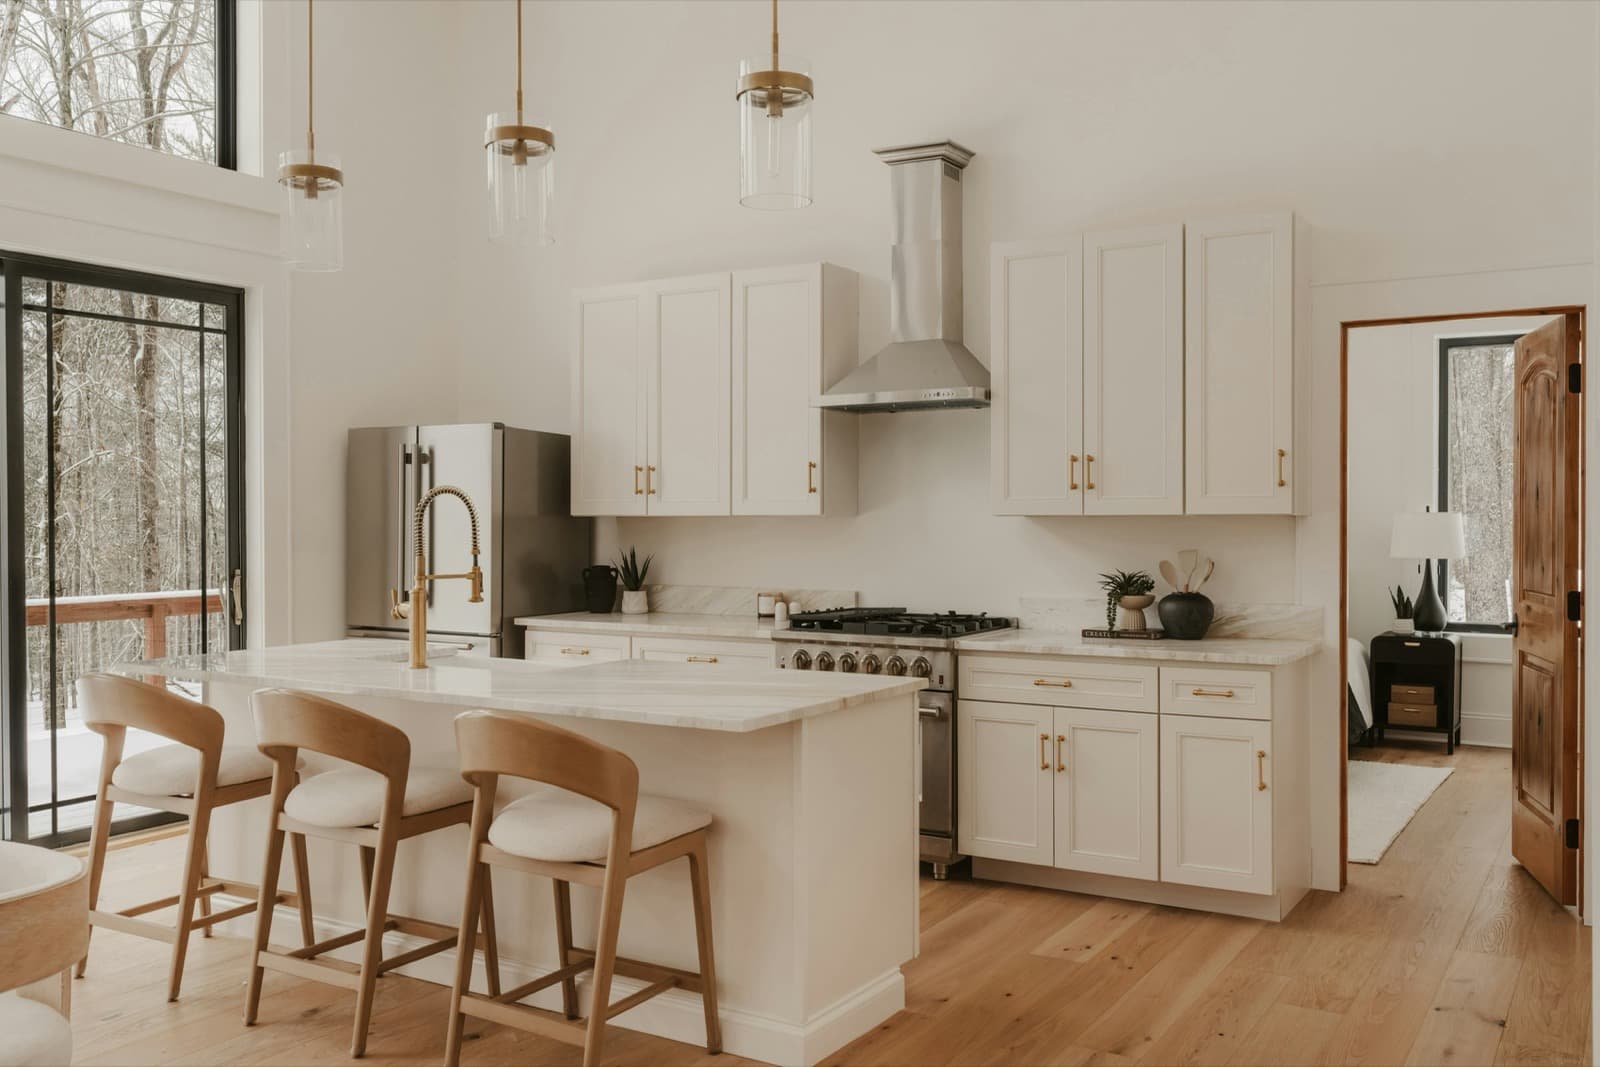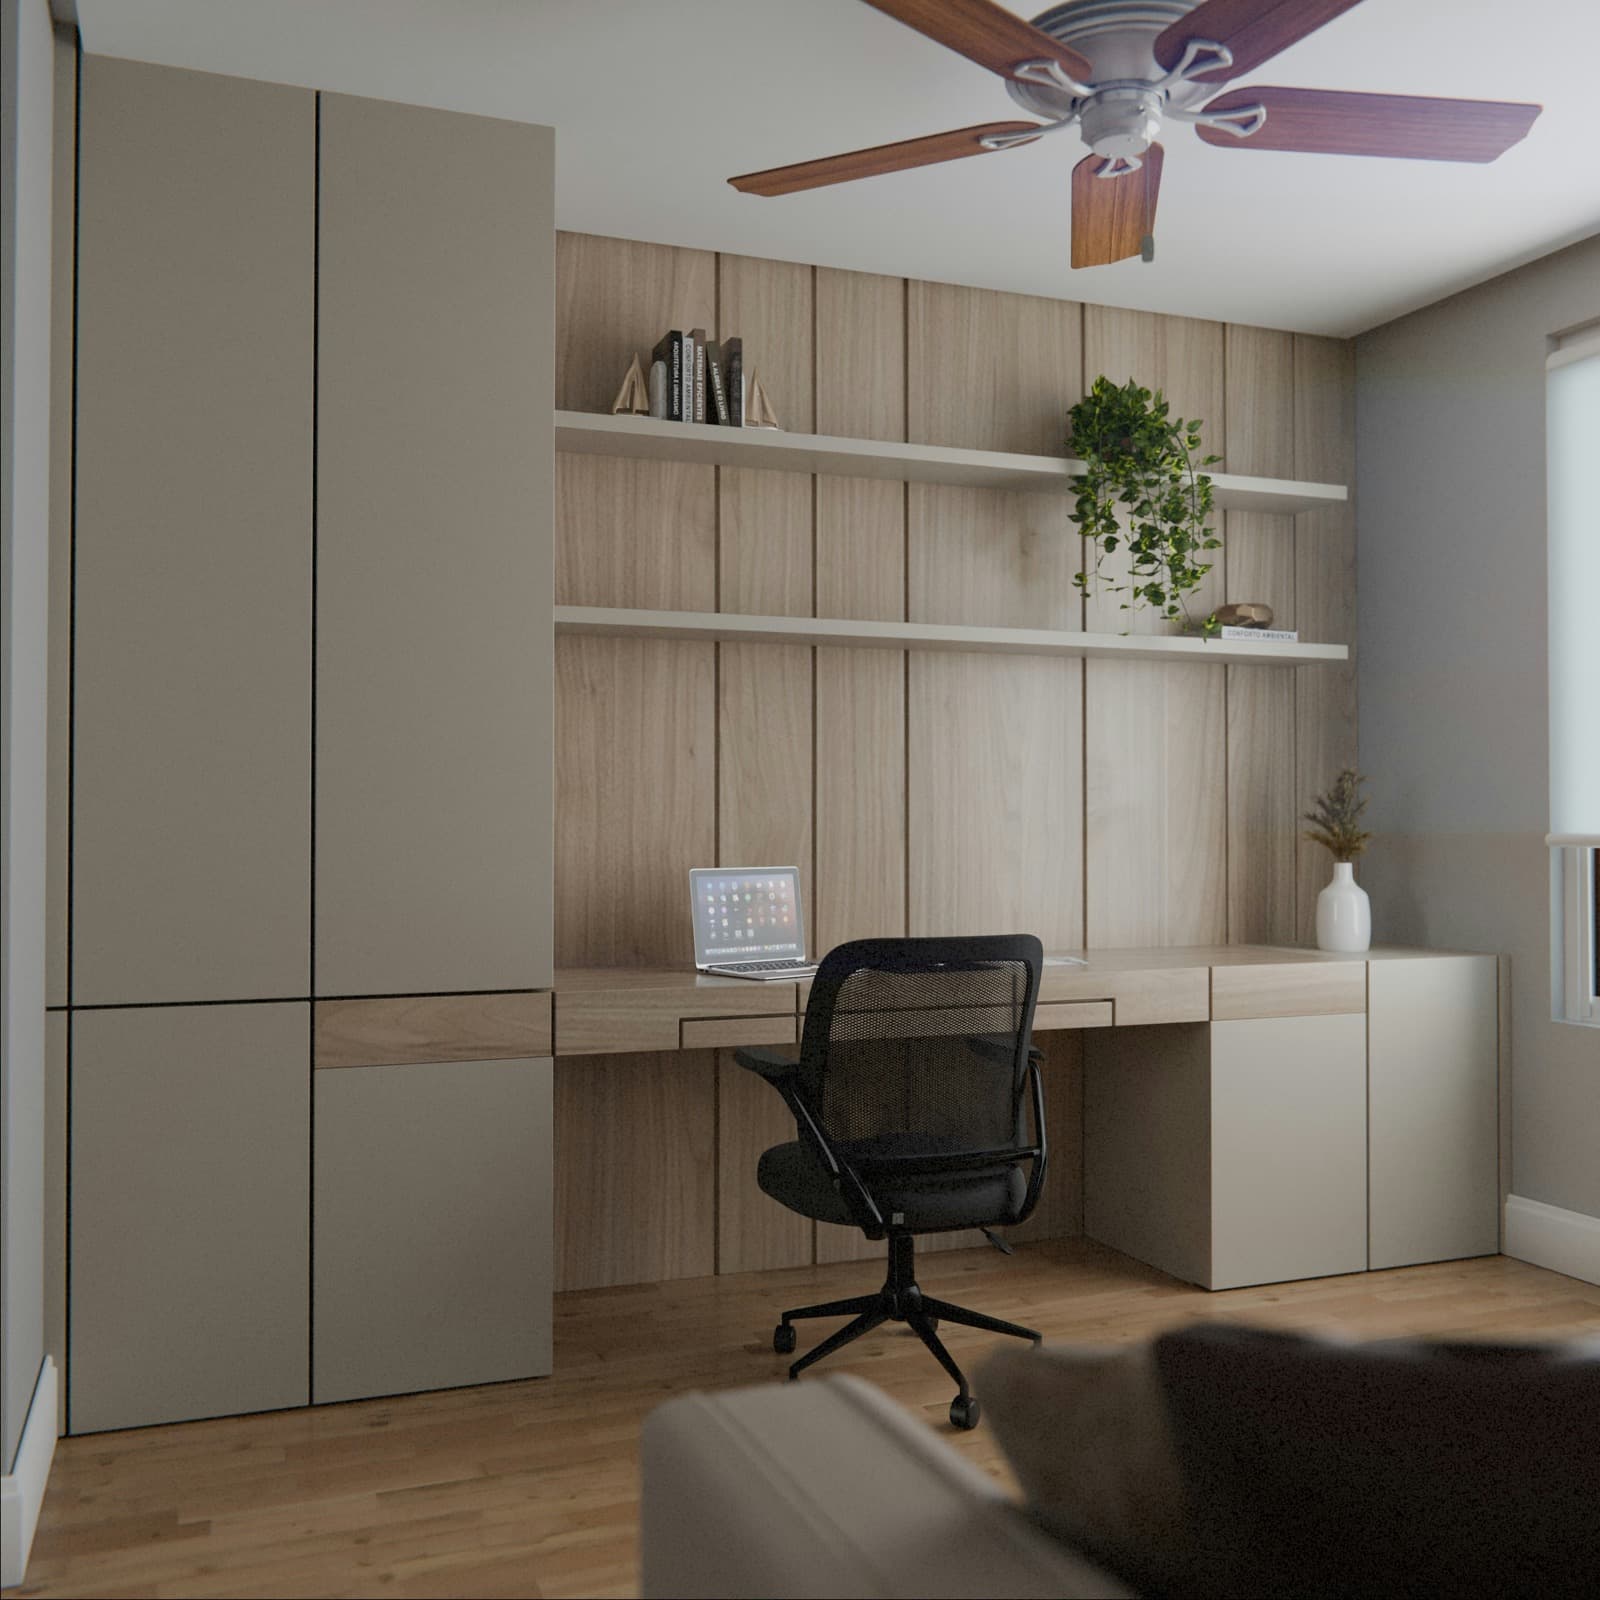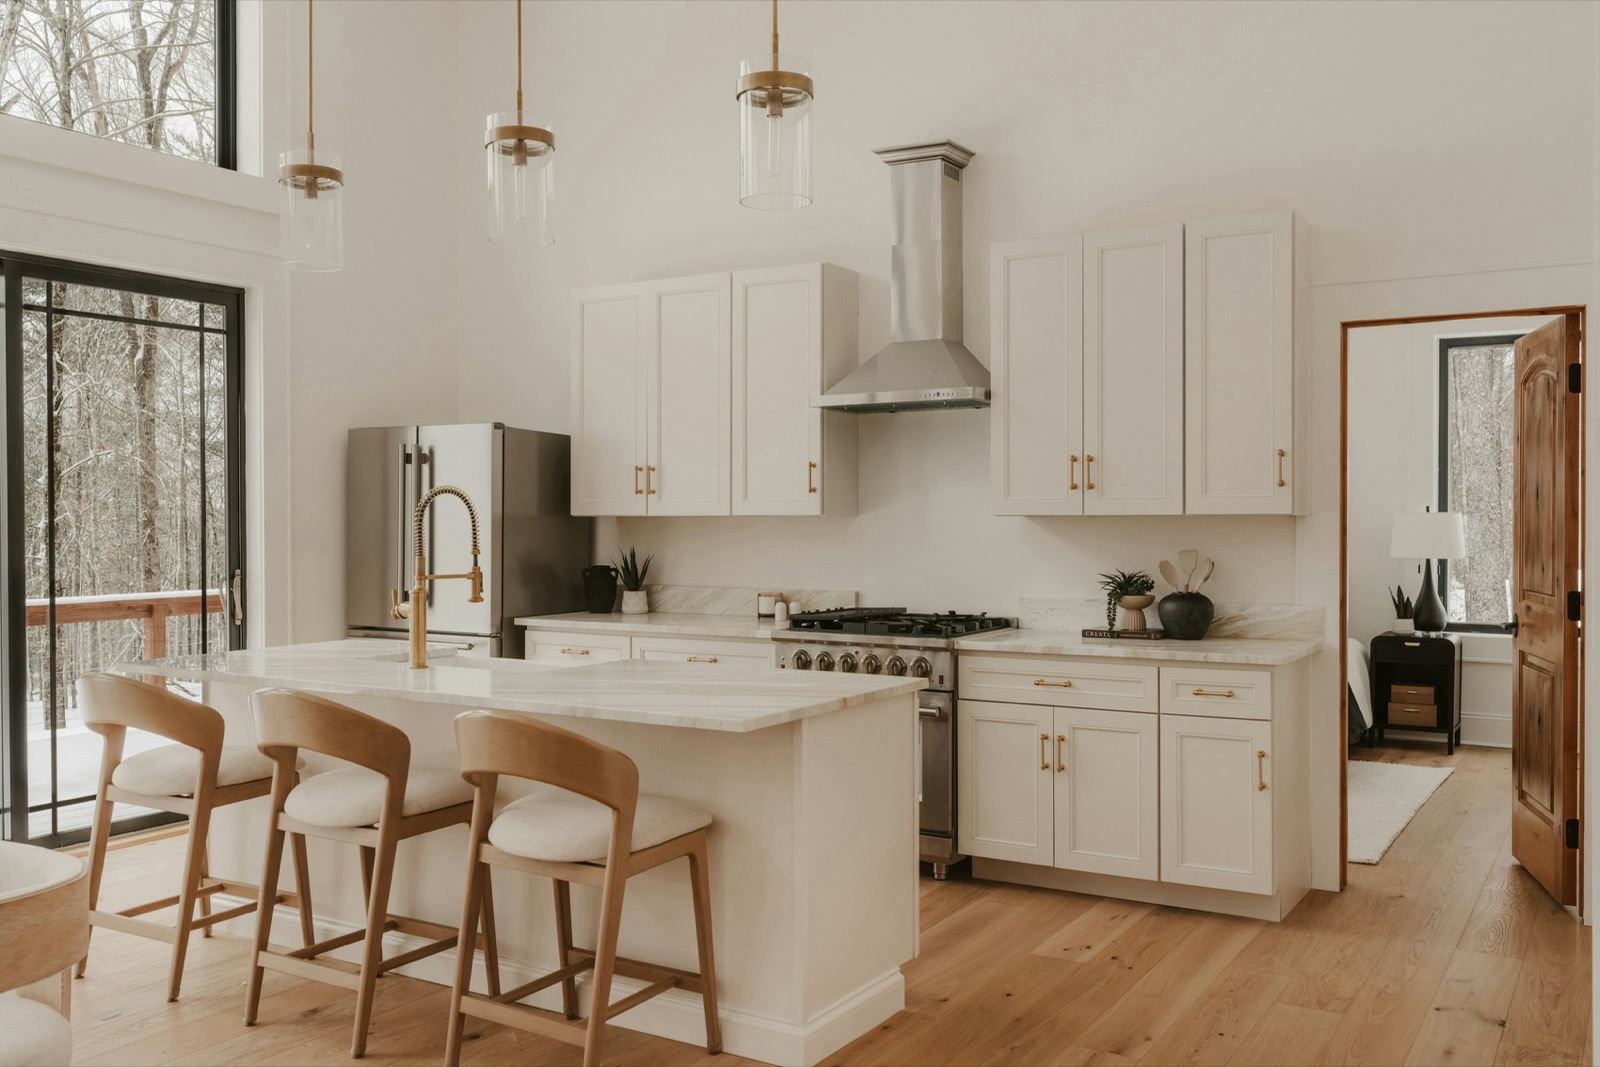
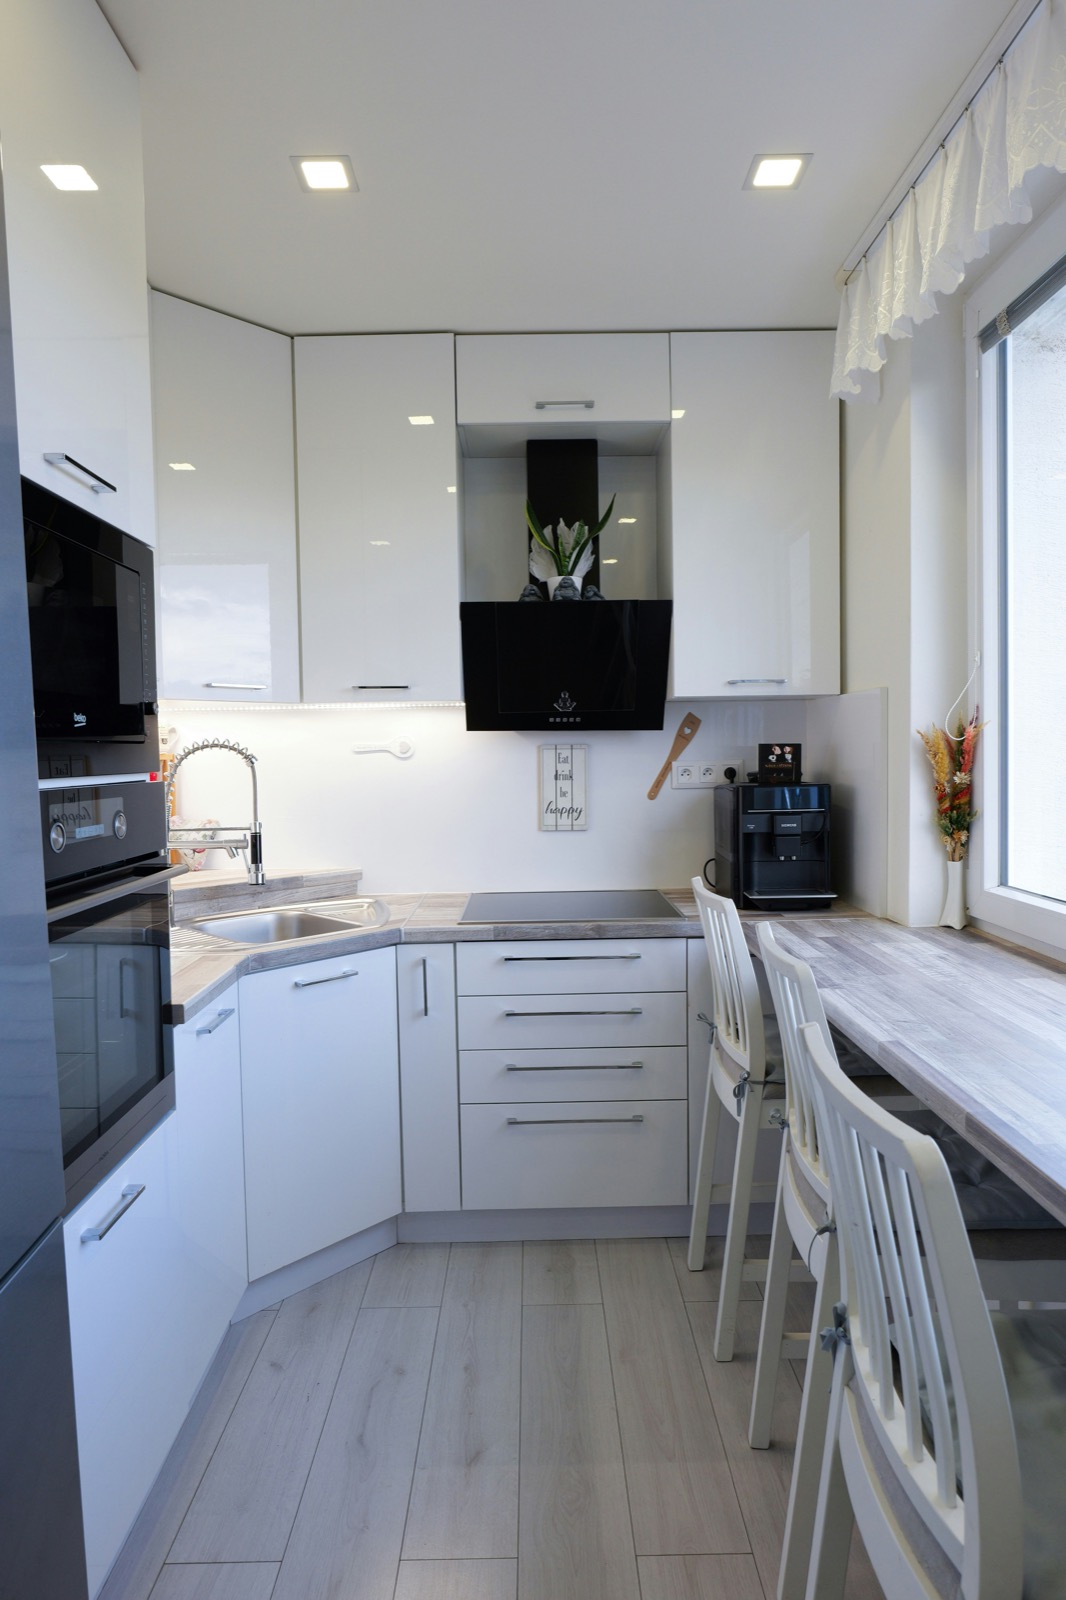
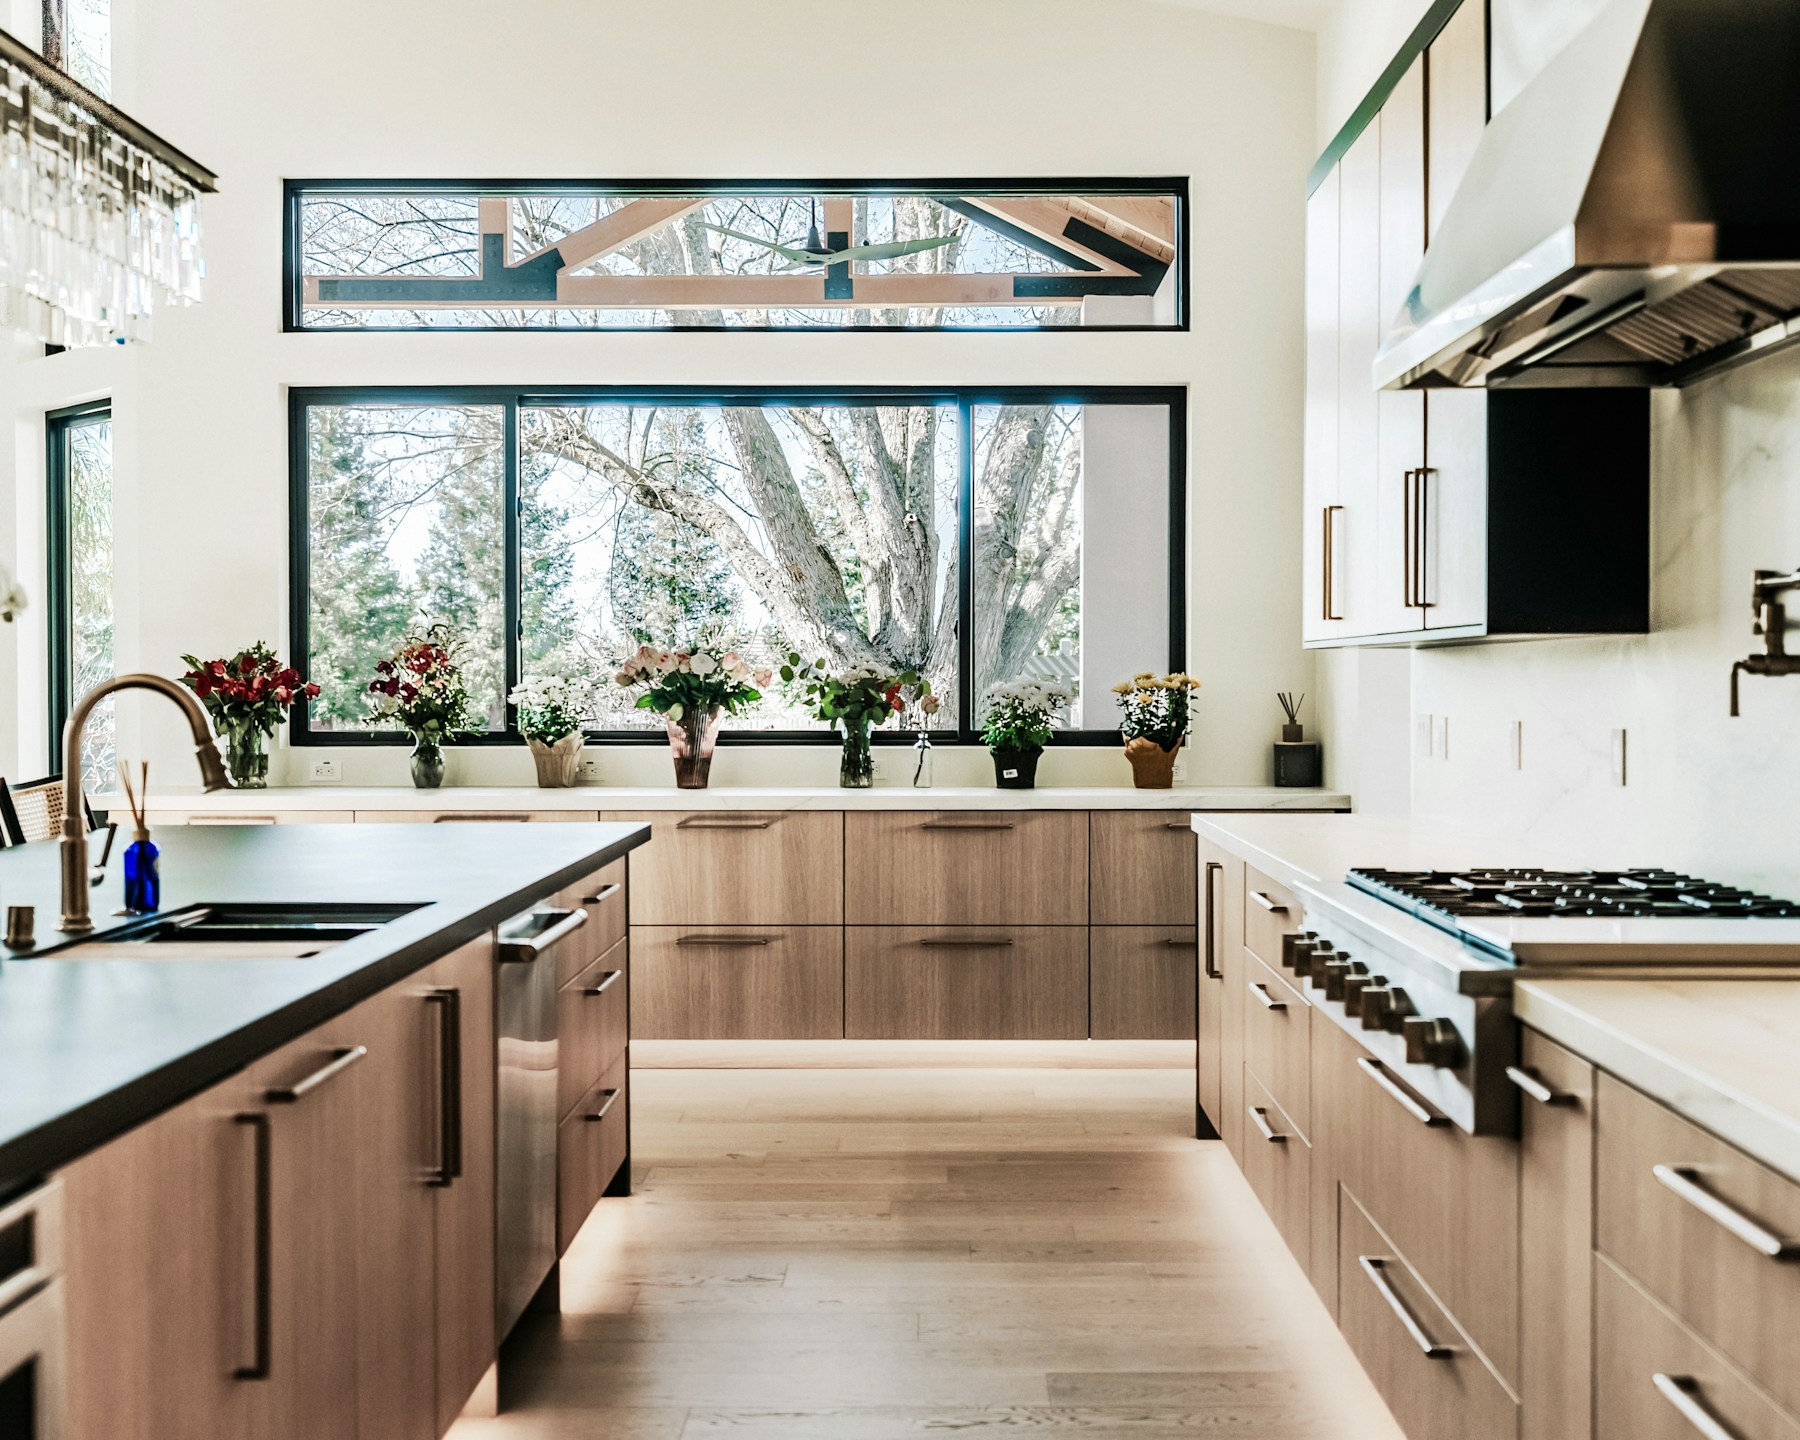
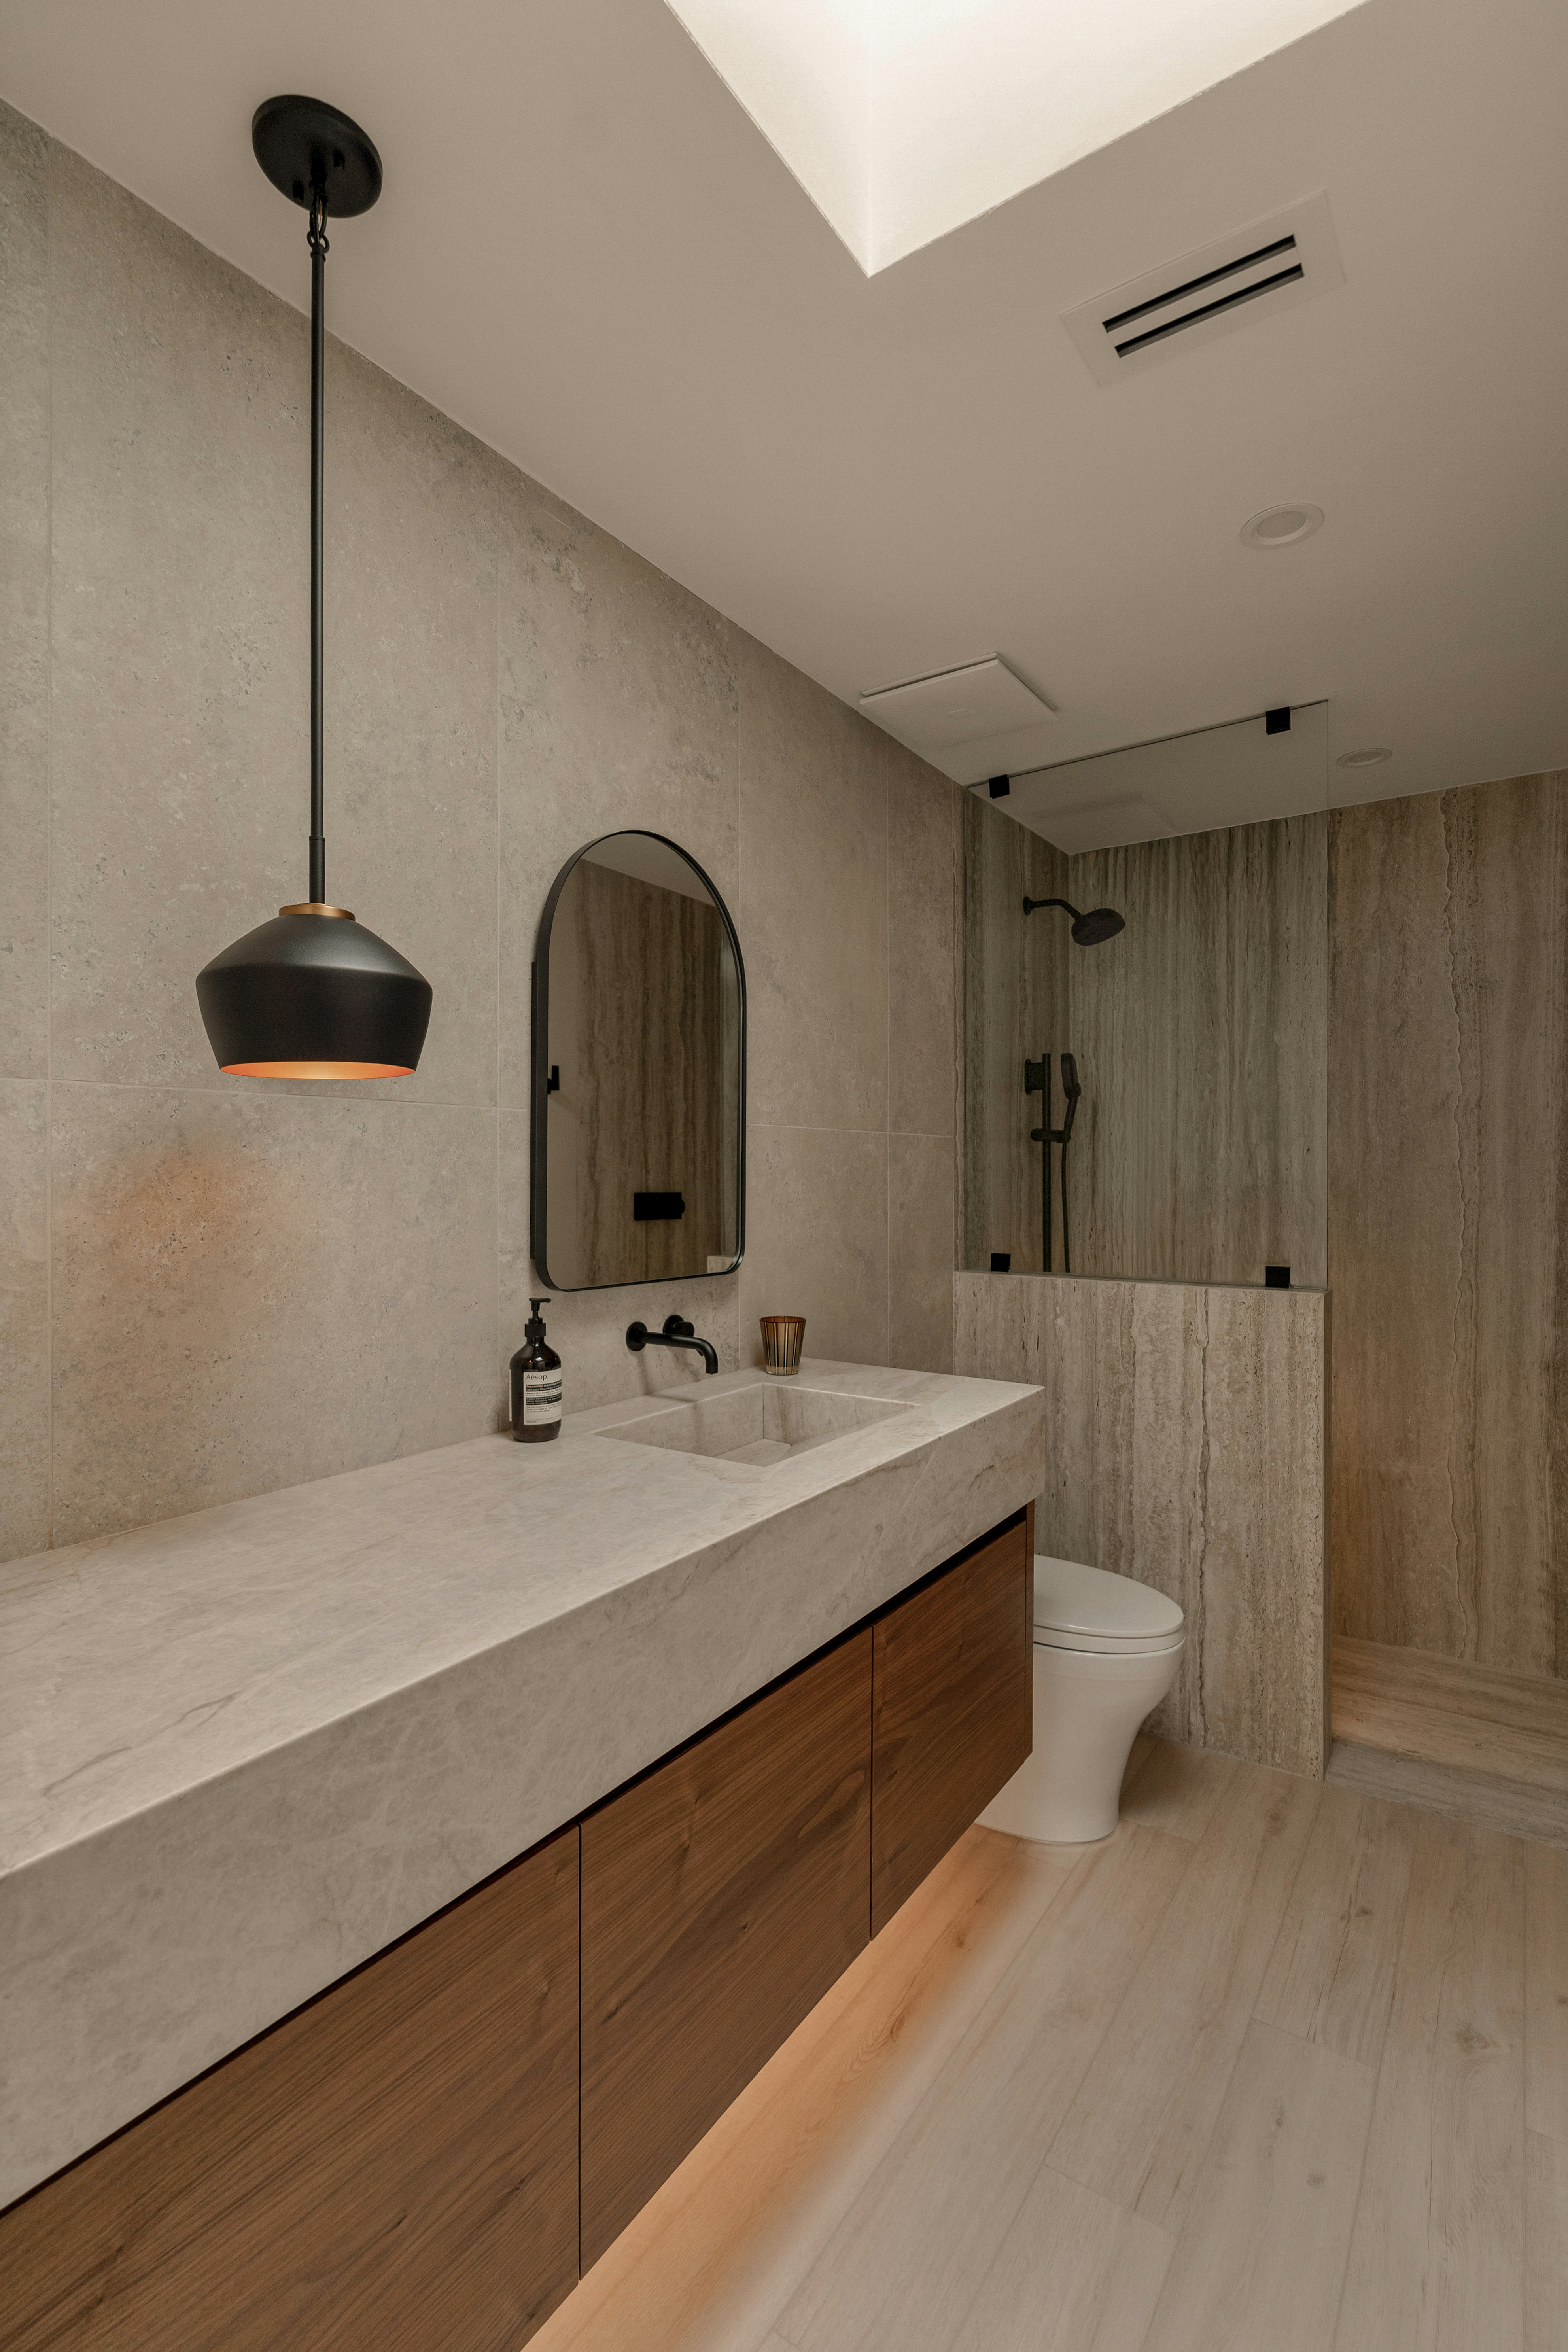
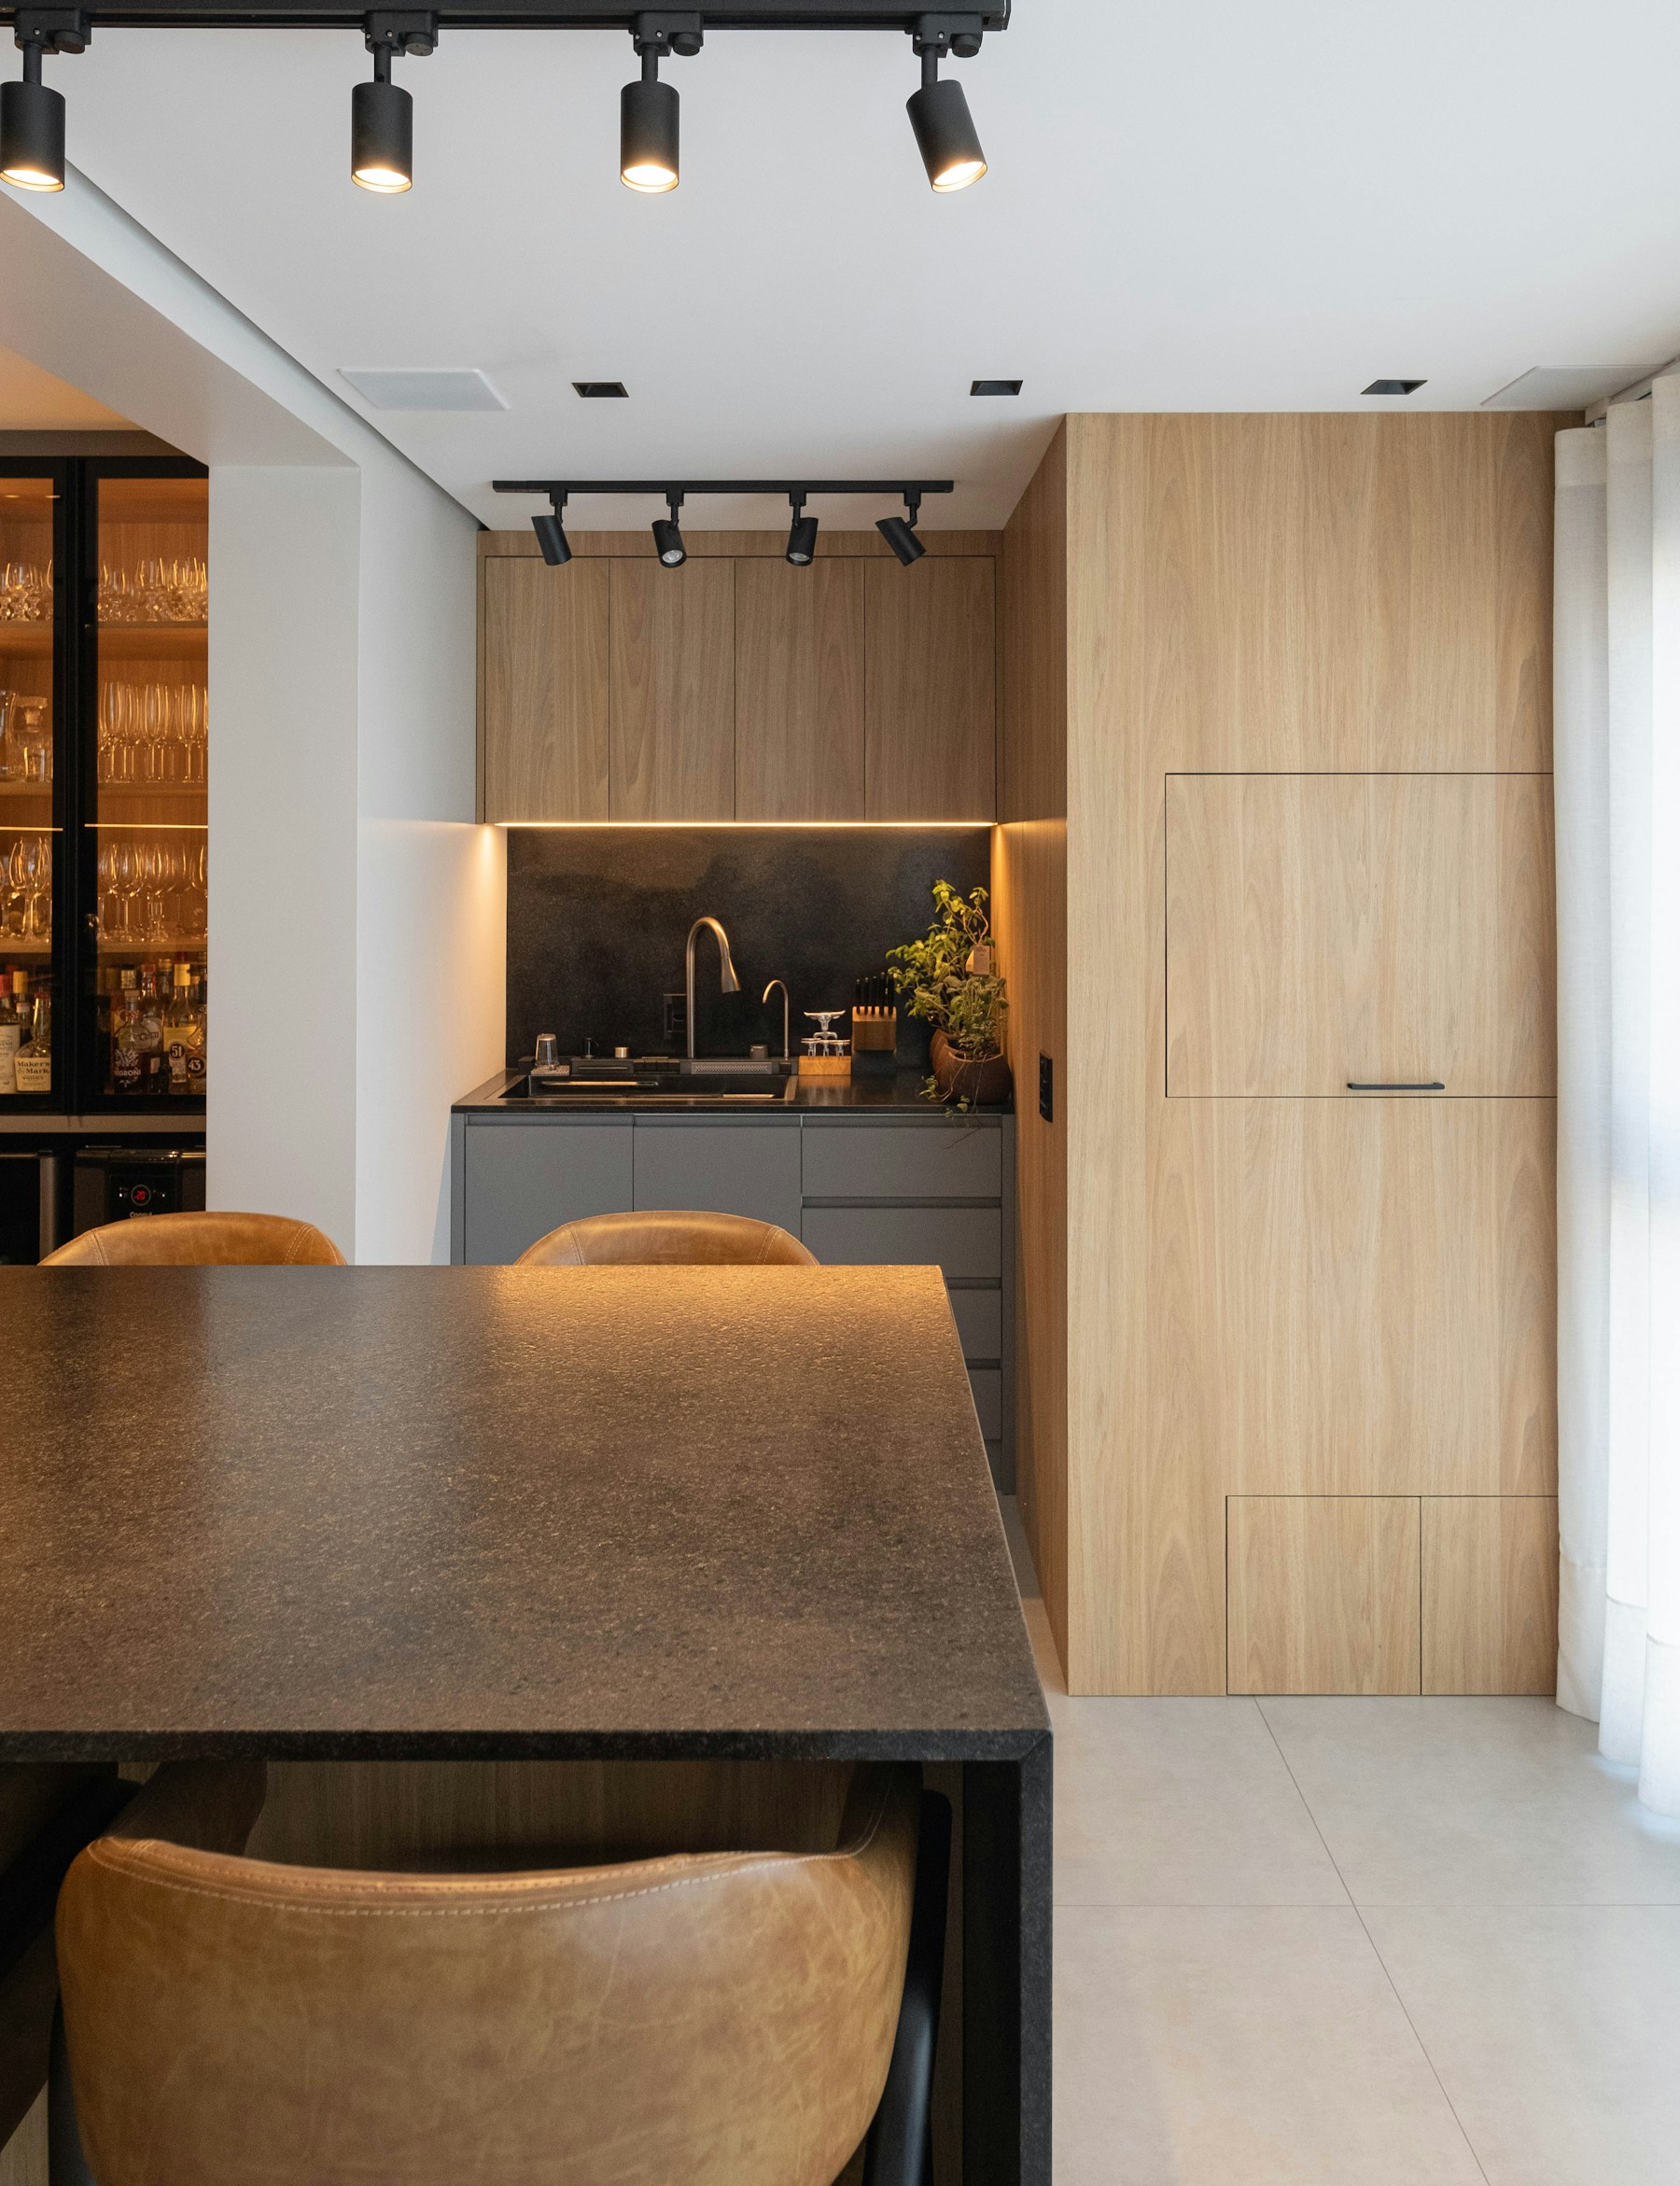
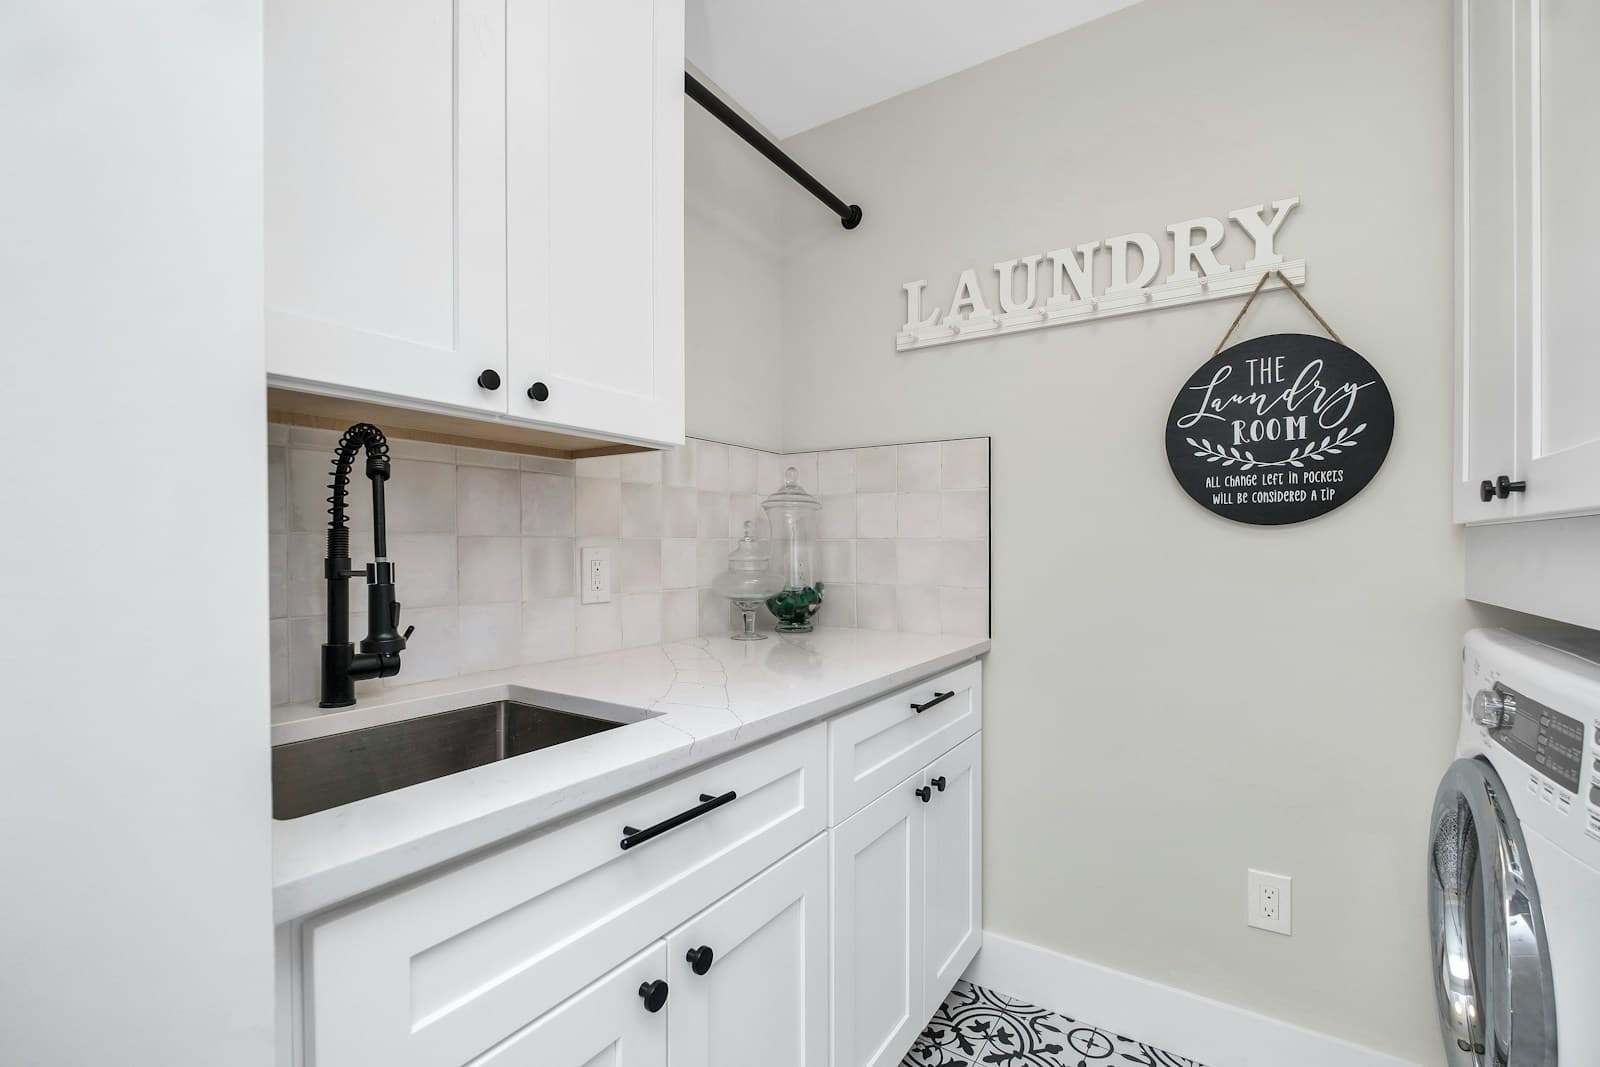
A clean-lined sink and storage
Explore this look
Cabinets to consider for your room. Confirm dimensions and finishes with your plan.
Plan your room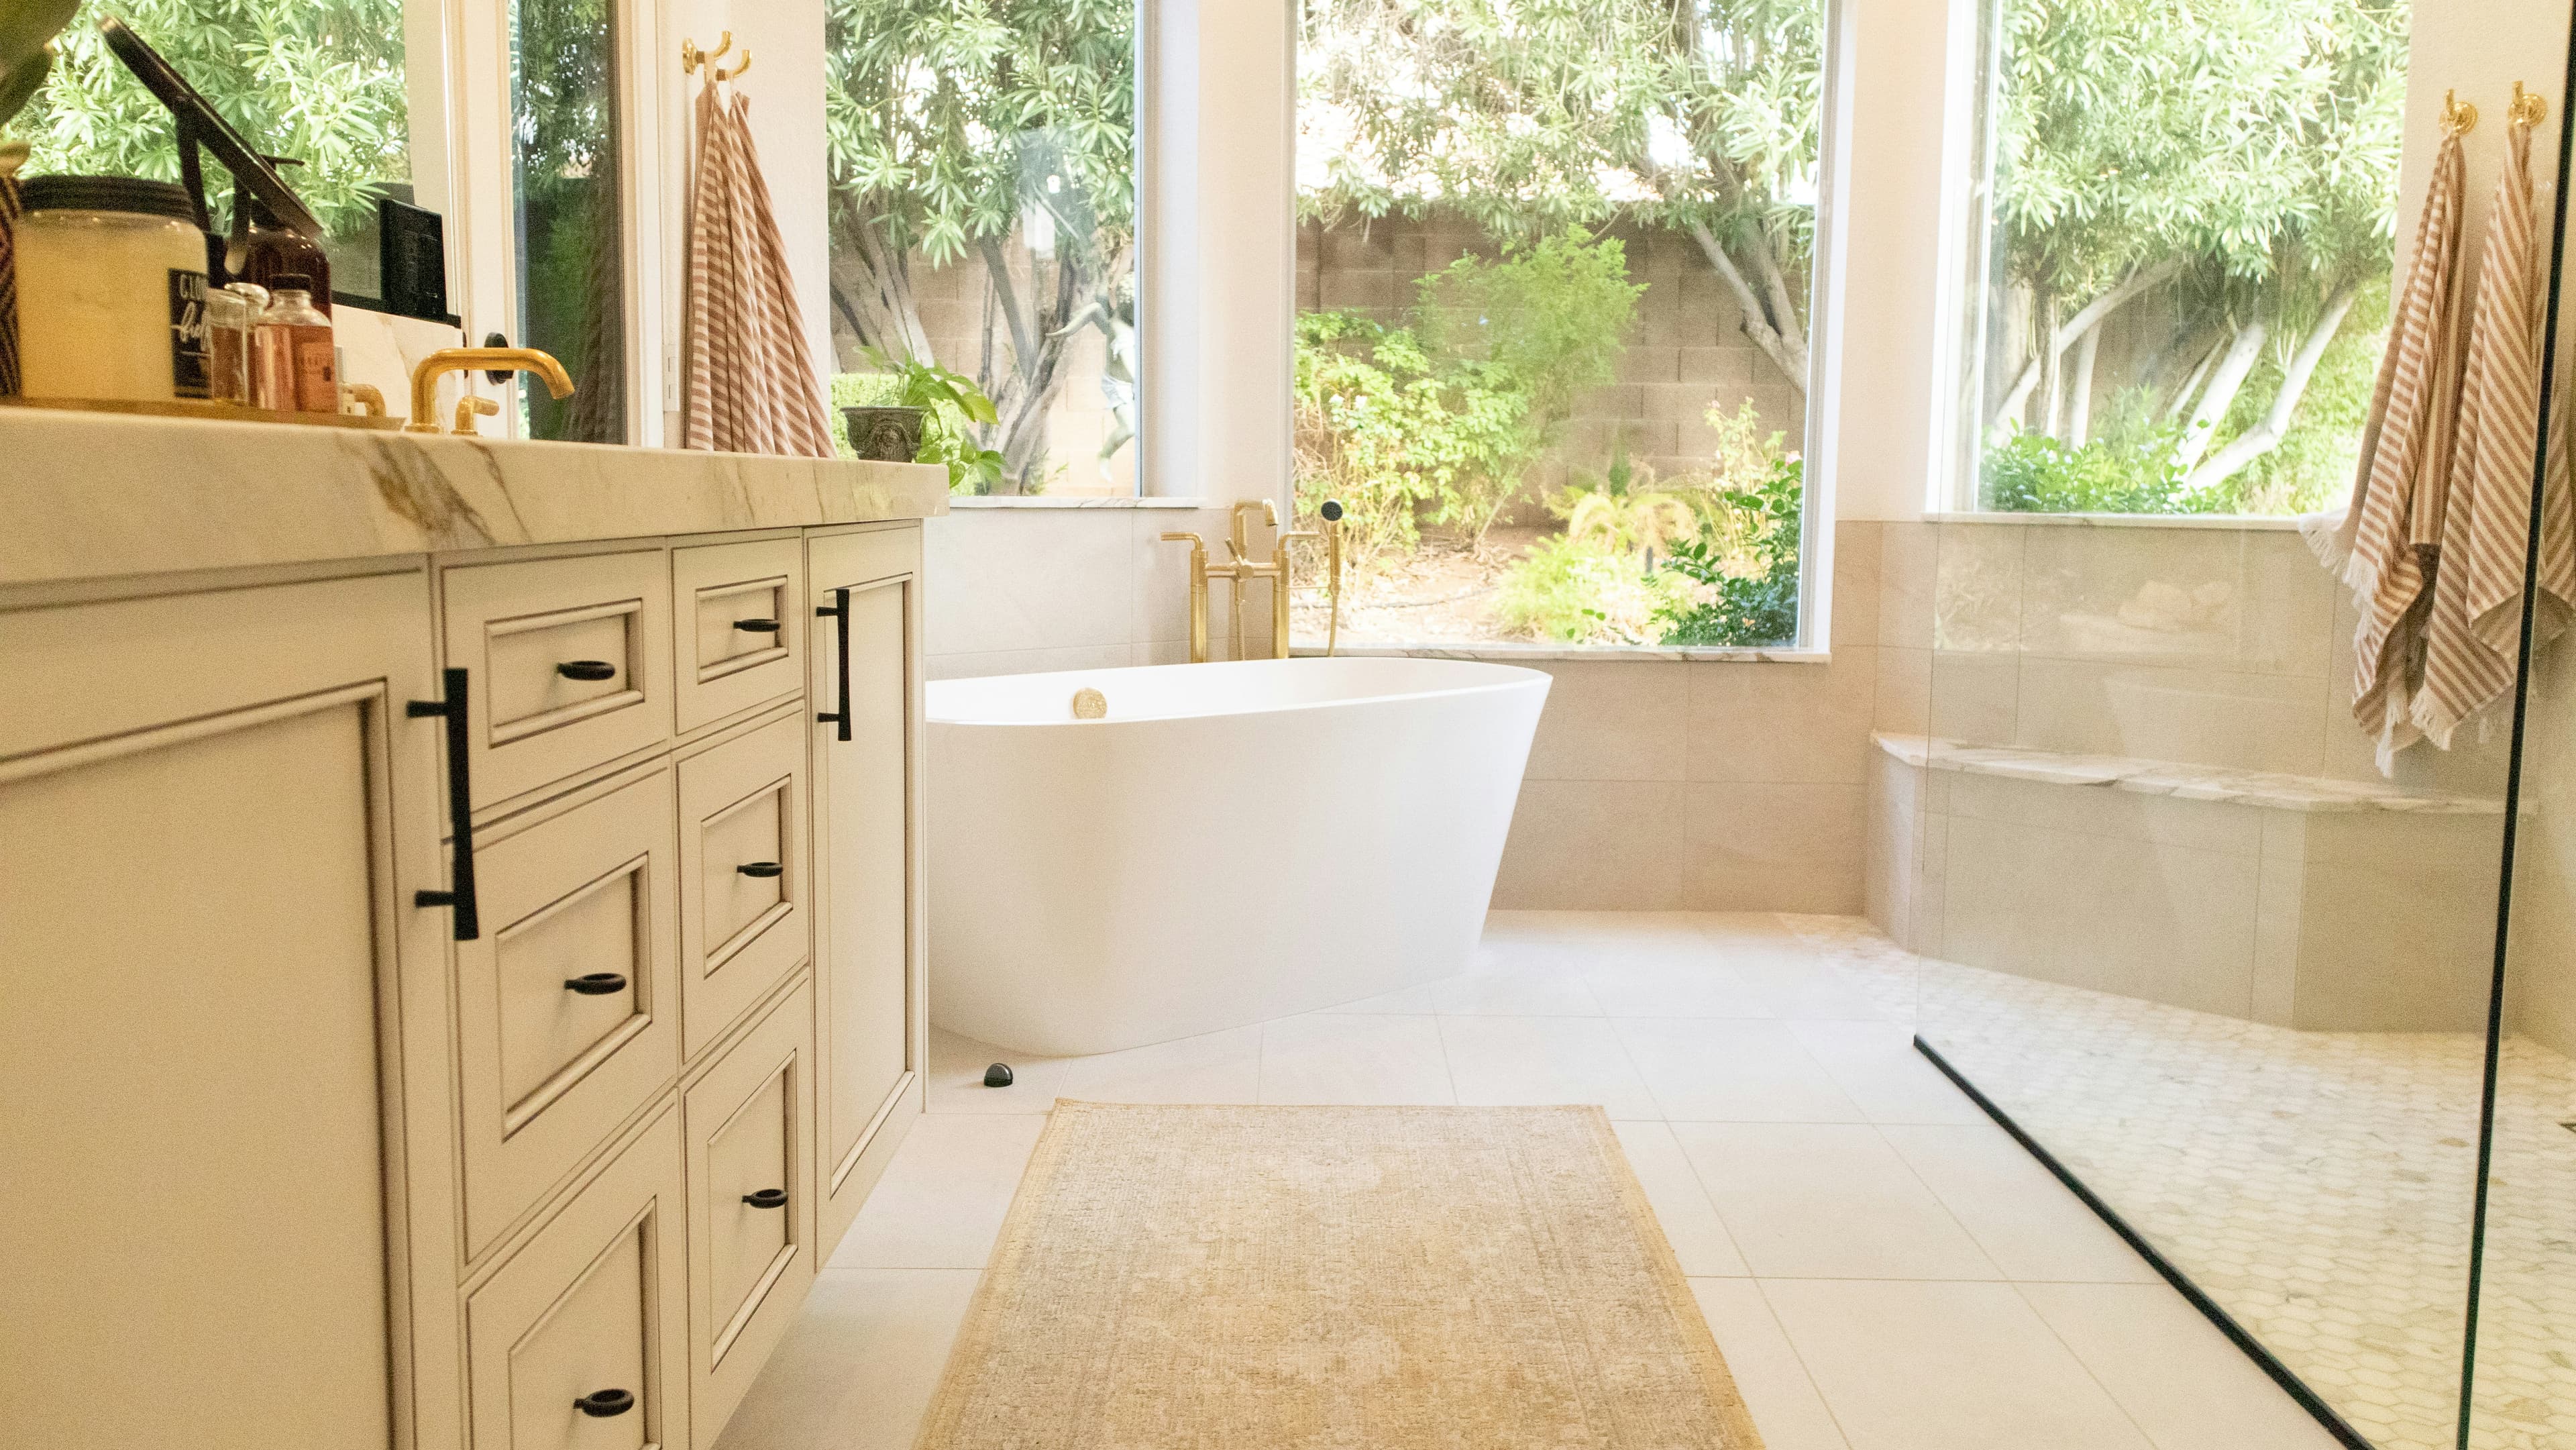
Find cabinet ideas and thoughtful storage for your bathroom.
Cabinets to consider for your room. Confirm dimensions and finishes with your plan.
Plan your room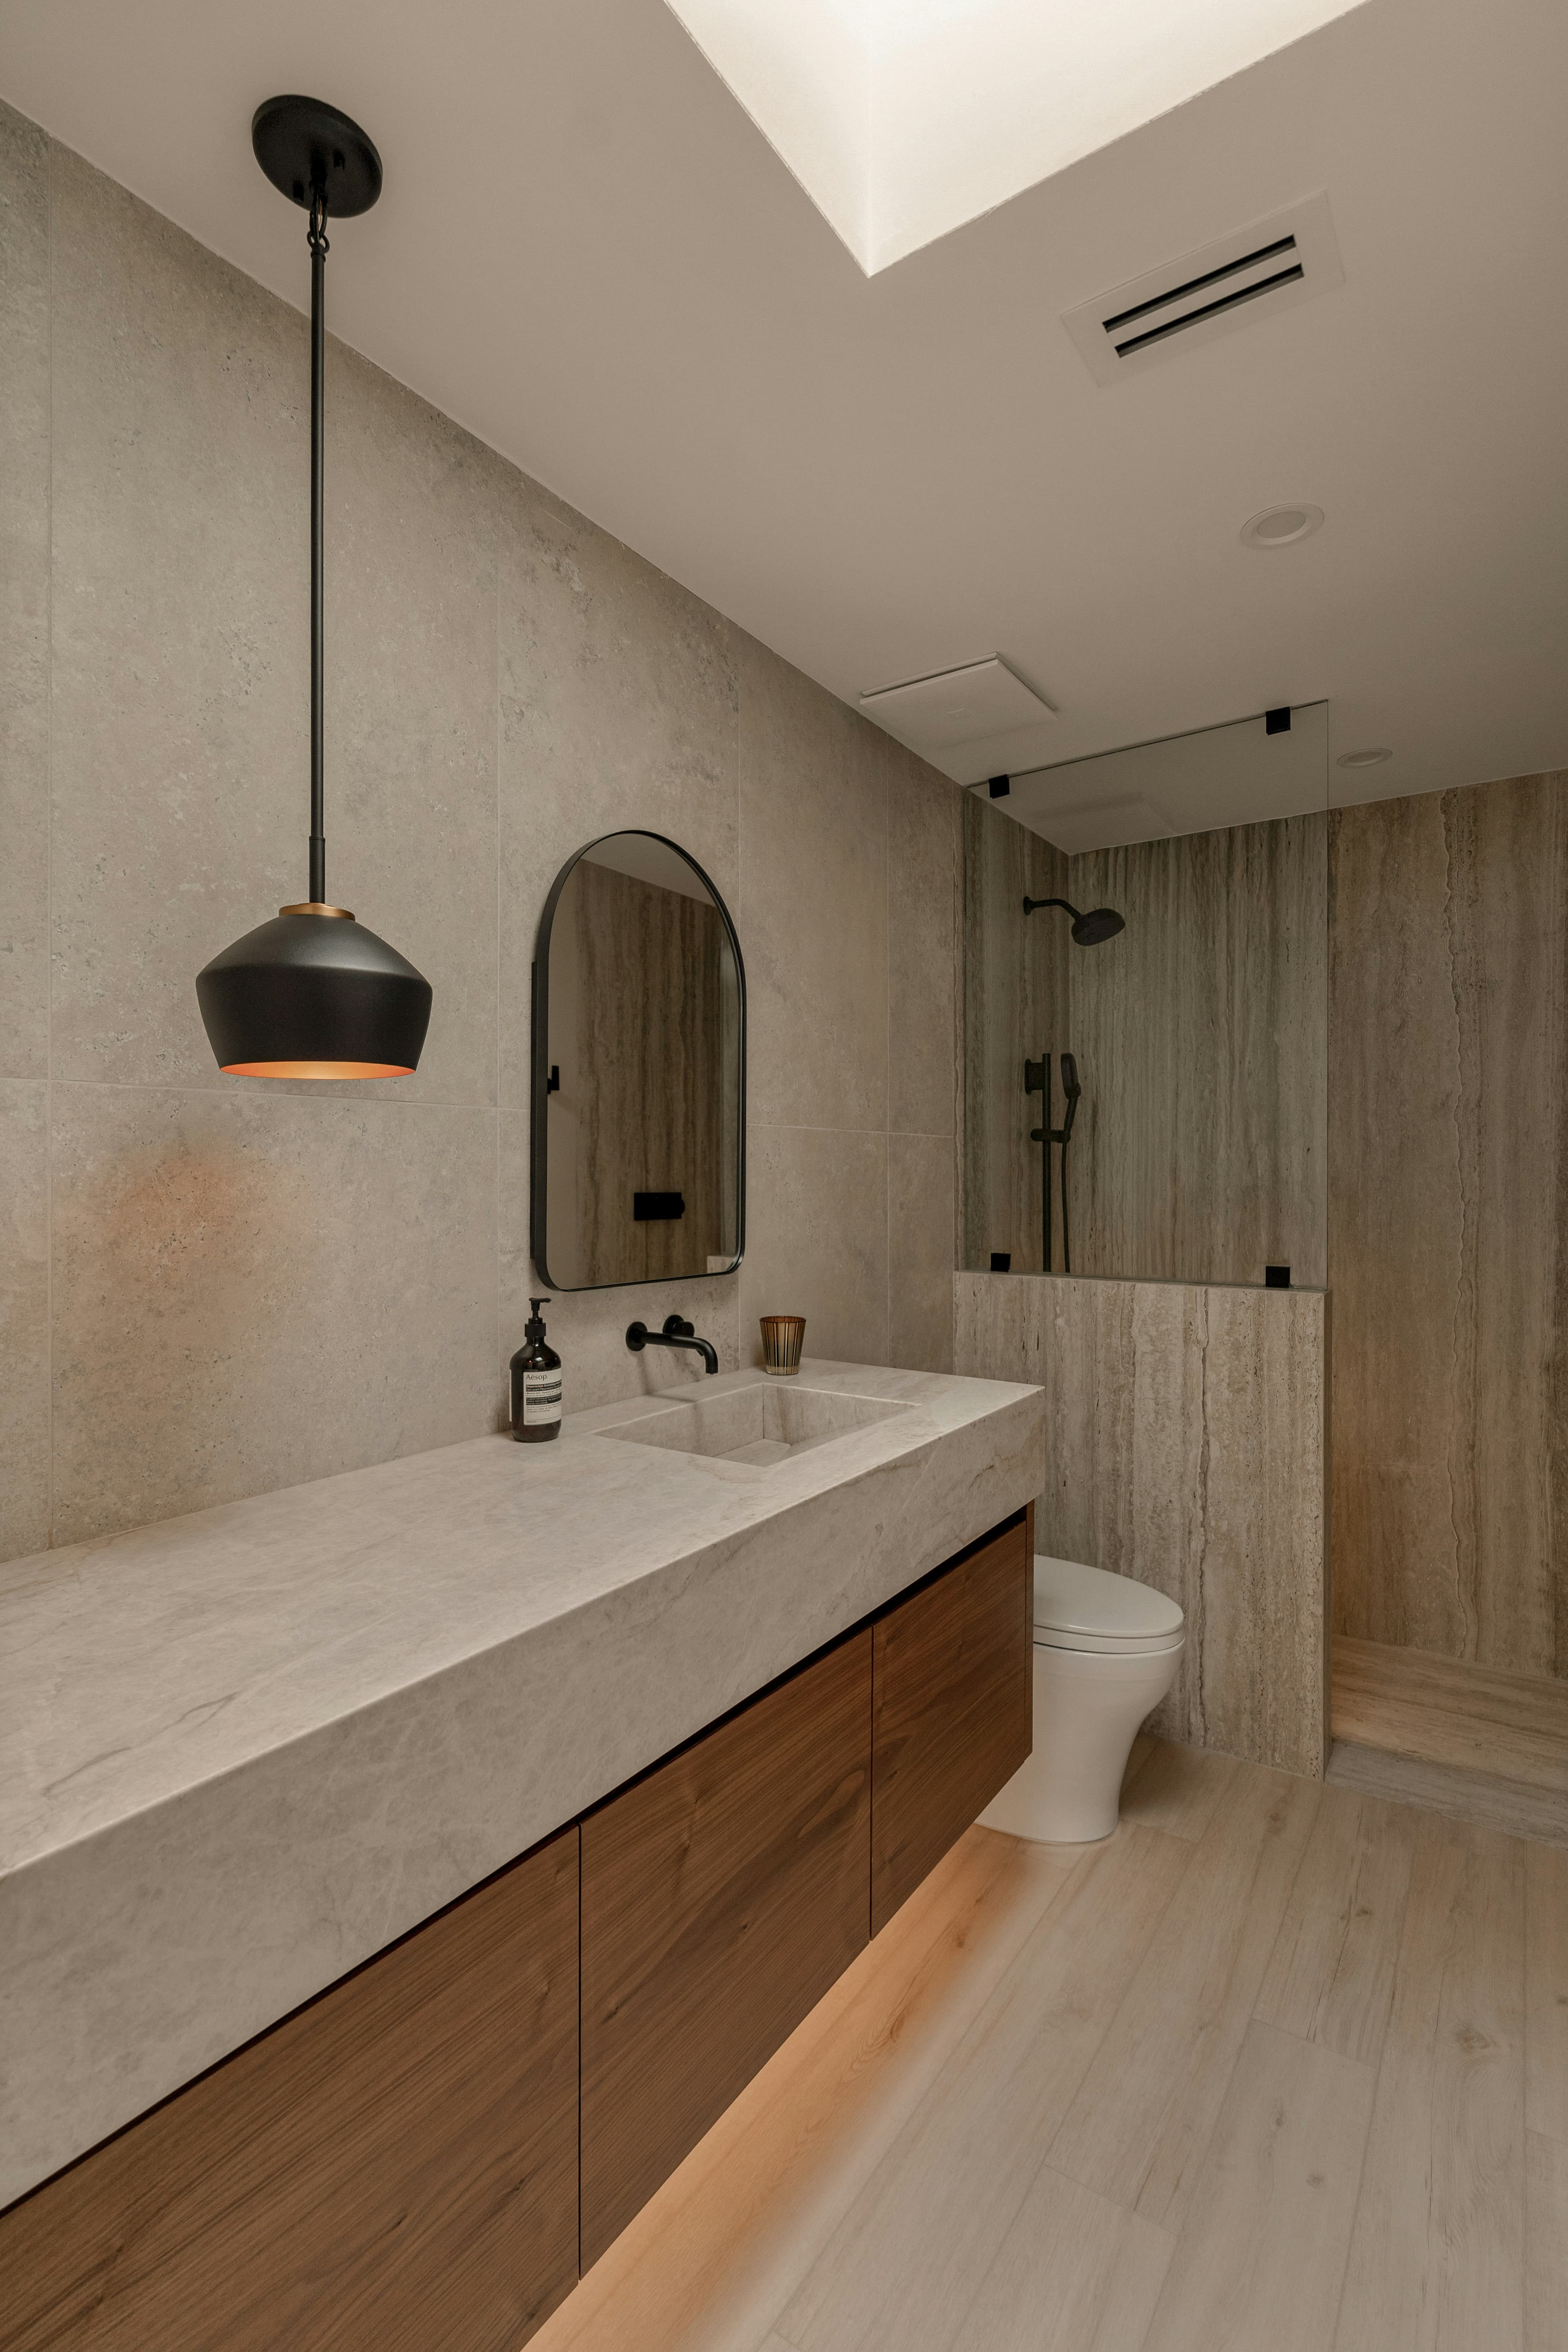
Cabinets to consider for your room. Confirm dimensions and finishes with your plan.
Plan your roomShop bathroom vanity cabinets, wall storage, linen cabinets, and coordinating finishes for primary baths, powder rooms, guest baths, and multifamily projects.
Bathroom cabinetry has to fit between more fixed conditions than most furniture. Begin with finished wall dimensions and mark the toilet, shower, tub, door, window, radiator, floor vent, and every plumbing connection. Measure door casing and base trim, not just the drywall opening. A vanity that fits the wall can still conflict with casing, a toilet paper holder, a shower door, or the swing of the bathroom door.
Identify the sink type before choosing the cabinet configuration. An undermount bowl, drop-in sink, vessel sink, and integrated top use space differently. Drawers may conflict with the bowl or drain unless the cabinet is designed for that location. For a double vanity, mark both drain centers and confirm the space between bowls. The faucet, backsplash, mirror, medicine cabinet, outlets, and lighting should all align with the final sink positions.
Bathrooms also need practical clearance around fixtures. Preserve room to stand at the sink, open cabinet doors and drawers, clean beside the vanity, and reach outlets without crossing wet areas. Local code and the professionals responsible for the project determine required fixture, electrical, and accessibility clearances. Cabinet dimensions should be reviewed within that complete plan.
A compact powder room may need one vanity base and a small filler. A primary bathroom can combine sink bases, drawer cabinets, and door cabinets to create separate grooming and storage zones. Drawer units keep smaller items visible and accessible. Door cabinets provide flexible space for tall bottles, cleaning products, and plumbing. When two people share the room, dividing storage by user can make the daily layout more useful than simply choosing the widest available vanity.
Wall-to-wall vanities often need fillers on both ends because finished rooms are not perfectly square and cabinet doors need room to clear the wall. A freestanding-looking vanity still needs deliberate exposed-end treatment. If one side meets a tall linen cabinet or makeup desk, confirm countertop height, depth, toe kick alignment, and how the door styles continue across the elevation.
Floating vanities and furniture-style feet require structural and installation details that standard floor-set cabinets may not provide. Do not assume a conventional cabinet can be wall hung. Confirm how the selected series is intended to be supported and how plumbing will pass through it. For accessible or adaptable bathrooms, have the clear floor area, knee space, sink, counter, and hardware reviewed against the project requirements.
A tall linen cabinet can consolidate towels, paper goods, toiletries, and cleaning supplies, but its depth and door swing matter in a narrow bath. Check whether the cabinet will block a light switch, thermostat, towel bar, or the path into the shower. Confirm the ceiling height and the space needed to maneuver the cabinet through hallways and doors during delivery.
Wall cabinets can use space above a toilet, beside a mirror, or over a separate counter. Keep the storage shallow enough for comfortable head clearance and place frequently used items within reach. A cabinet above a toilet should not interfere with tank access. Cabinets near mirrors need fillers or spacing so doors, pulls, and mirrored medicine cabinets can open without contact.
Use one coordinated cabinet series wherever separate bathroom storage pieces are meant to read as a set. Door profile, overlay, sheen, wood variation, and paint color can appear different under bathroom lighting. Review a physical sample in the room when an exact color decision matters, especially beside tile, flooring, metal finishes, and countertop samples.
Bathroom cabinets are intended for conditioned interior spaces, not direct water exposure. Good ventilation, repaired plumbing leaks, sealed countertop joints, and routine cleanup protect the cabinet finish. Standing water around the toe kick or cabinet sides can damage wood products and finishes. Use bath fans and follow the finish-care guidance for the selected series.
Painted, stained, textured, and high-gloss finishes each change the character of the room. Light finishes can make a small bath feel more open, while darker colors create contrast with pale counters and tile. Wood-grain finishes introduce natural movement. The best choice should be evaluated with the actual countertop, flooring, tile, wall color, and lighting instead of from a screen alone.
Finish the design with the correct end panels, fillers, toe kick, and molding. An exposed vanity end beside a toilet or doorway will be visible at close range. If a countertop has an overhang or side splash, coordinate it with the finished panel thickness and available wall space. Small bathroom dimensions leave little room for corrections after fabrication.
You can build a bathroom cabinet cart from exact item numbers or upload a dimensioned plan for a draft takeoff. Include the room dimensions, sink and plumbing locations, countertop selection, fixture specifications, project ZIP code, and requested delivery timing. Photos are useful for remodels, but they should support rather than replace measurements.
Before payment, review the selected construction, cabinet series, finish, quantities, exposed ends, fillers, hardware drilling, countertop scope, freight, and unloading requirements. Confirm that the delivery path can accommodate tall cabinets and countertop pieces. Store delivered cabinets in a clean, dry, conditioned area until installation.
For multifamily bathrooms, organize the order by unit type and floor. Repeated plans still need a controlled schedule because mirrored units, accessible units, plumbing changes, and finish packages can alter the cabinet list. Labeling the approved takeoff by building, unit, and room makes receiving and installation easier to reconcile.
Vanity cabinets are sized and configured for bath use, including common vanity heights and sink arrangements. A kitchen base cabinet should not be substituted without checking depth, height, plumbing, countertop, and door or drawer clearances.
Yes, when the selected series offers compatible sink and storage units. Confirm both plumbing centers, bowl sizes, drawer clearances, fillers, finished ends, and the full countertop dimensions before ordering.
Yes. Quartz and granite are quoted by project after the material, final dimensions, edge, backsplash, sink cutouts, delivery, and installation needs are known.
No cabinet should be treated as waterproof. The cabinetry is for conditioned interior use and should be protected from leaks, standing water, excessive humidity, and direct shower or tub spray.
Yes. Upload the plans, unit matrix, finish schedule, plumbing details, accessibility requirements, project ZIP code, and target date. The takeoff remains editable and exceptions are flagged for human review.
Cabinet sizes, construction, finish, accessories, panels, fillers, trim, freight, tax, unloading, countertops, and installation determine the complete bathroom cabinets cost.
Approve the dimensioned layout, item numbers, quantities, series, finish, exposed ends, clearances, delivery access, freight, and interfaces with fixtures or equipment.
Build a useful cabinet plan from wall dimensions, openings, appliances, utilities, and clearances.
Balance sink placement, drawer storage, plumbing, and finishes before choosing a bathroom vanity.
Compare cabinet construction, interior access, installation planning, and series selection.
A practical review sequence for item numbers, series, finished sides, accessories, and approvals.