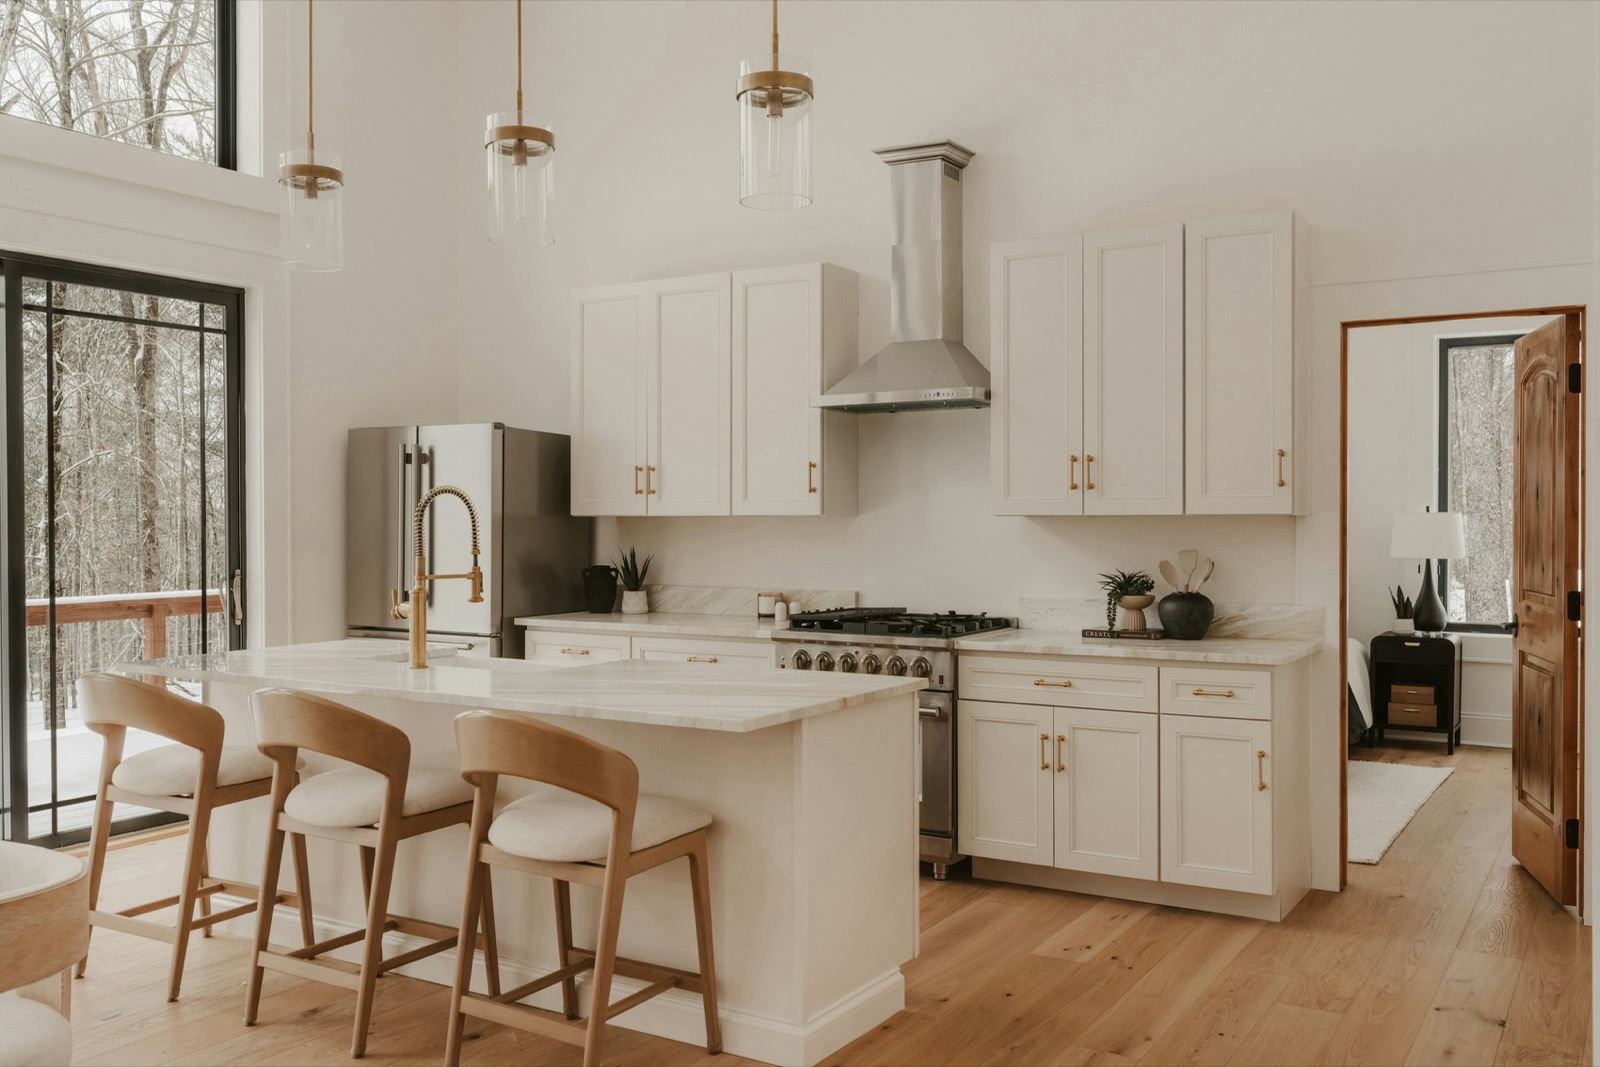
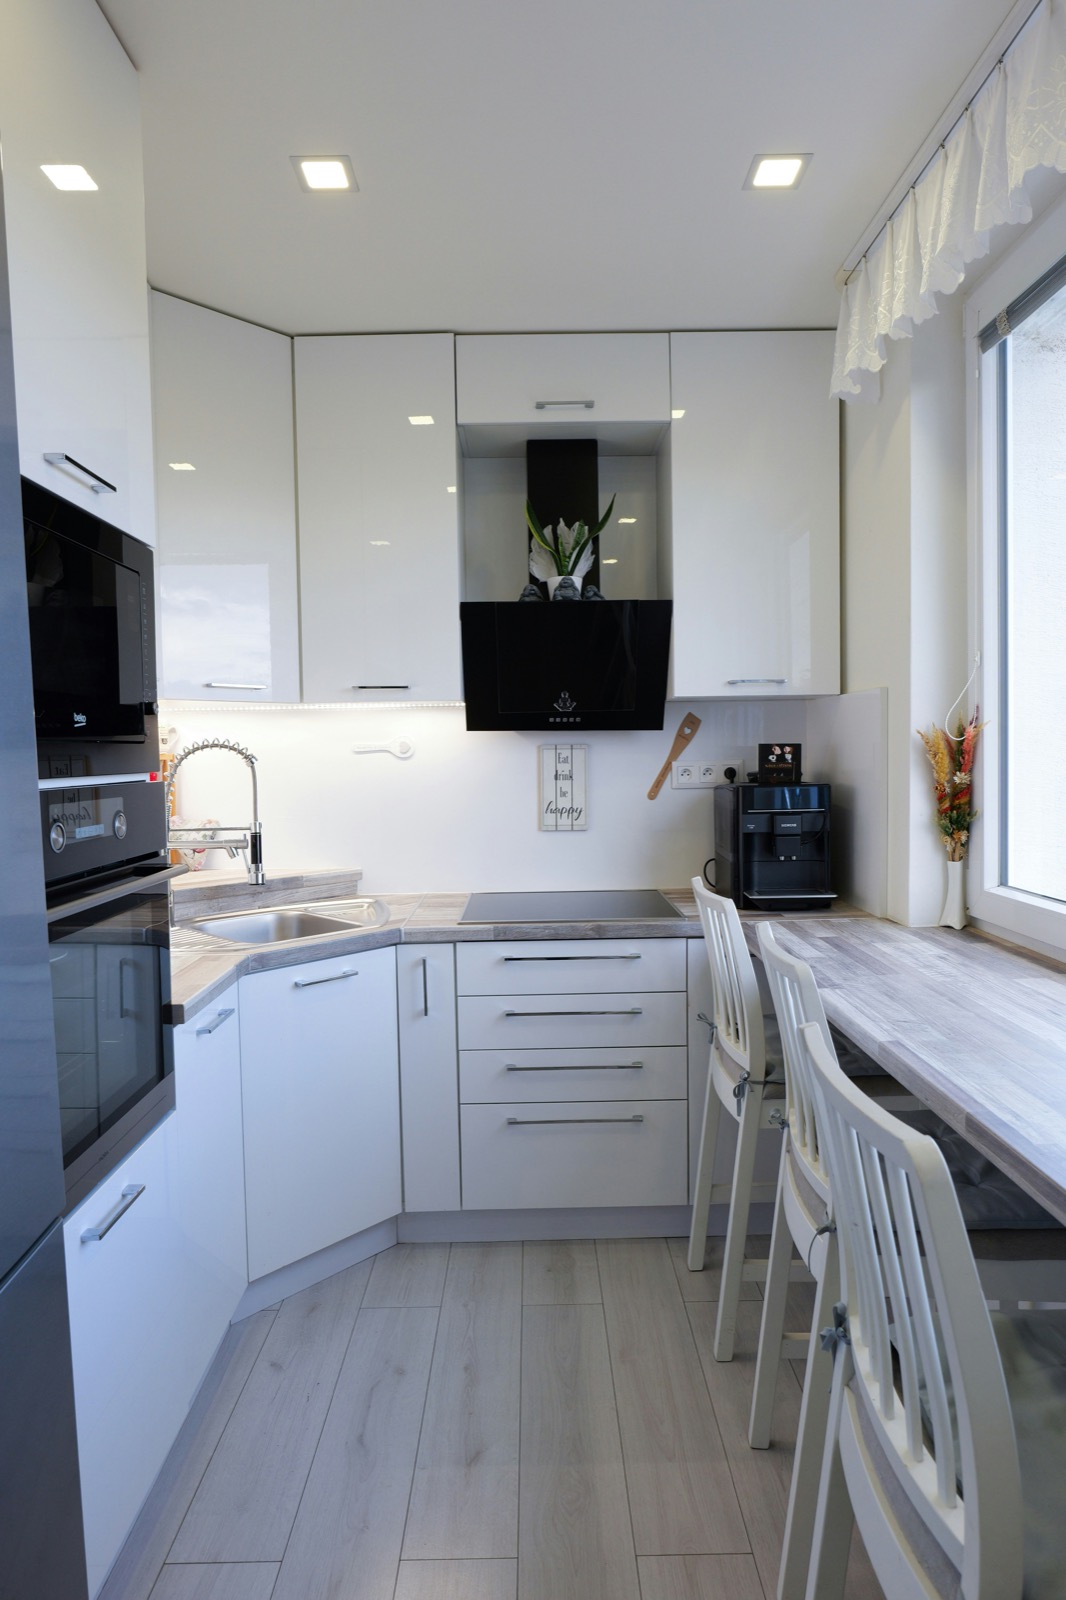
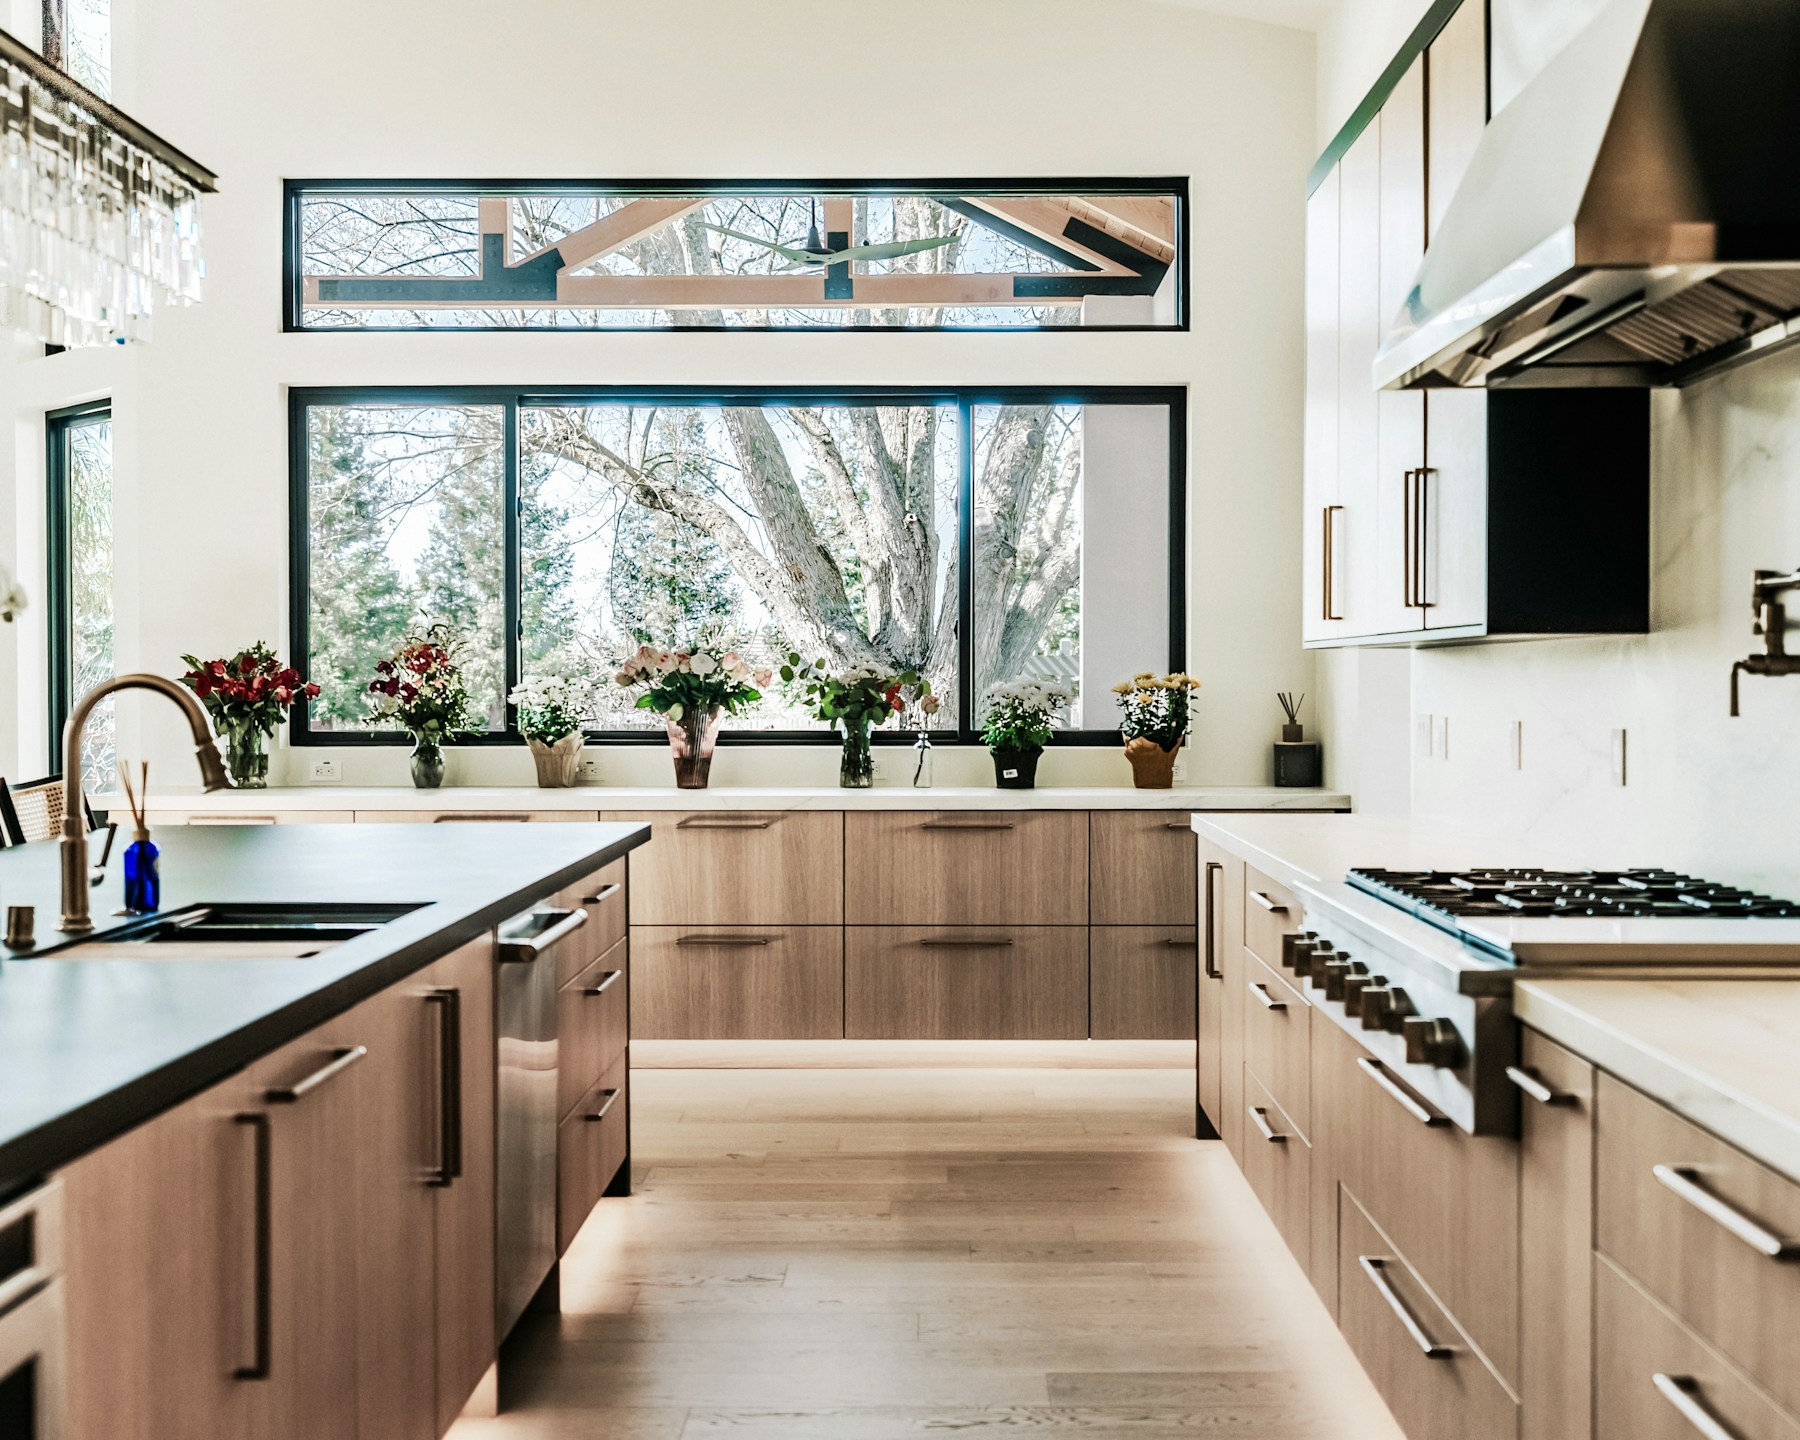
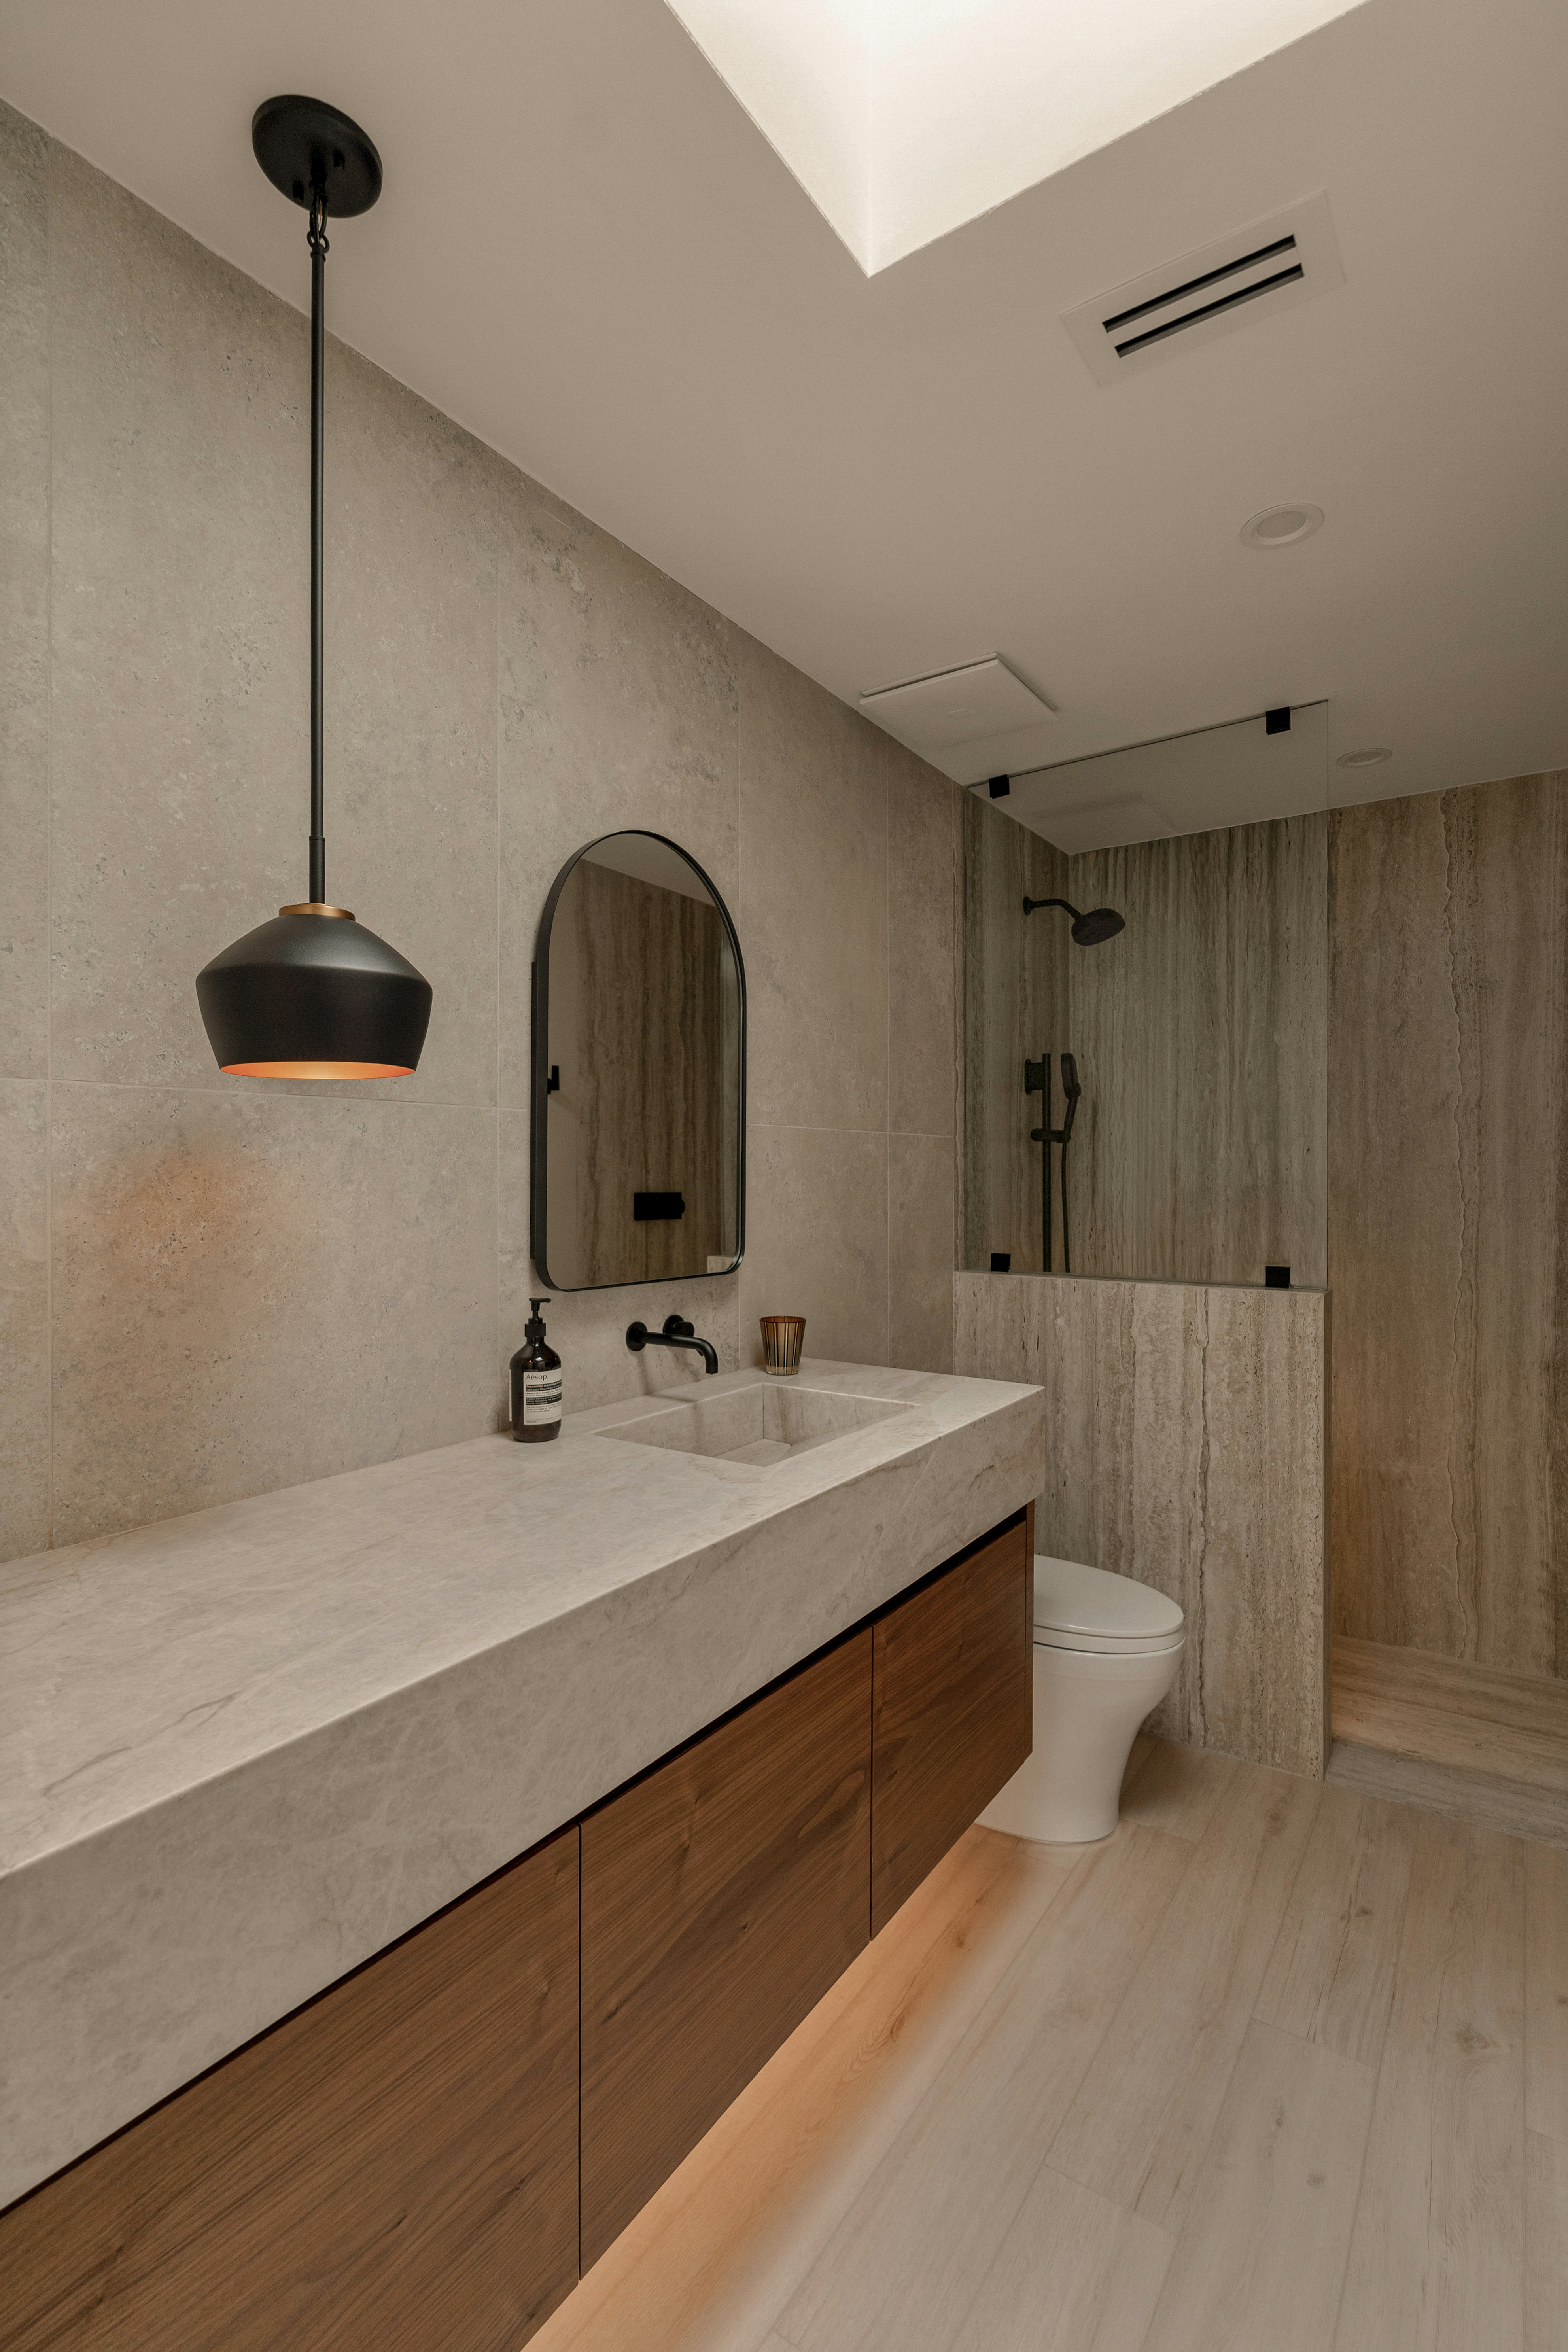
In this guide
Start with the materials that stay
Gather samples of flooring, countertops, backsplash tile, and wall paint before narrowing the cabinet finish. If something is staying in the room, use it as the starting point. A finish should make sense beside these surfaces, not only on its own.
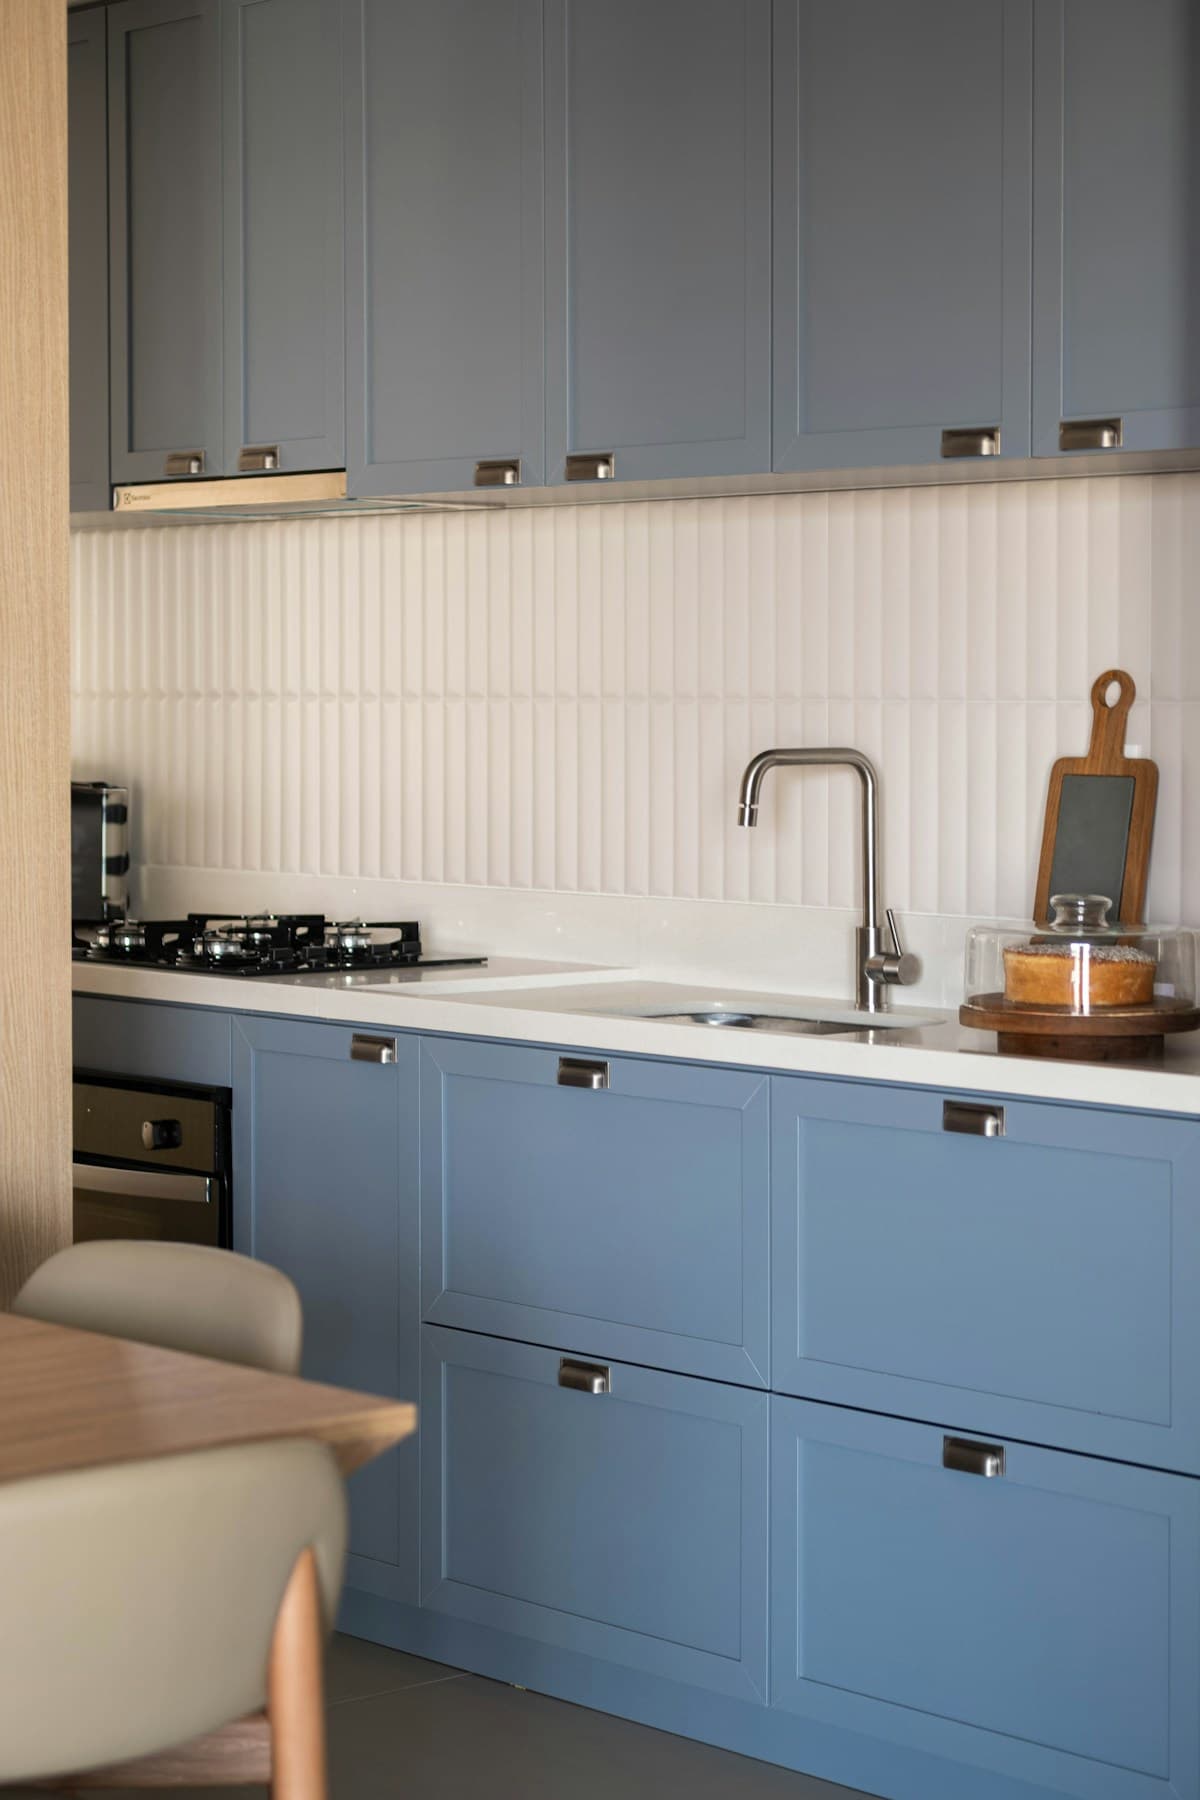
Notice whether the room’s existing materials lean warm, cool, or neutral. You do not need to match every undertone exactly, but compare them together before committing to a contrast.
See samples in changing light
Place physical cabinet samples vertically, as the doors will appear, and look at them in daylight and under your evening lighting. Move them to more than one part of the room. Shadows and nearby surfaces can change the impression of a color.
Screen images are useful for building a shortlist, but brightness settings and photography can shift color. Confirm the exact finish and series with a physical sample before final approval.
Use contrast with a clear purpose
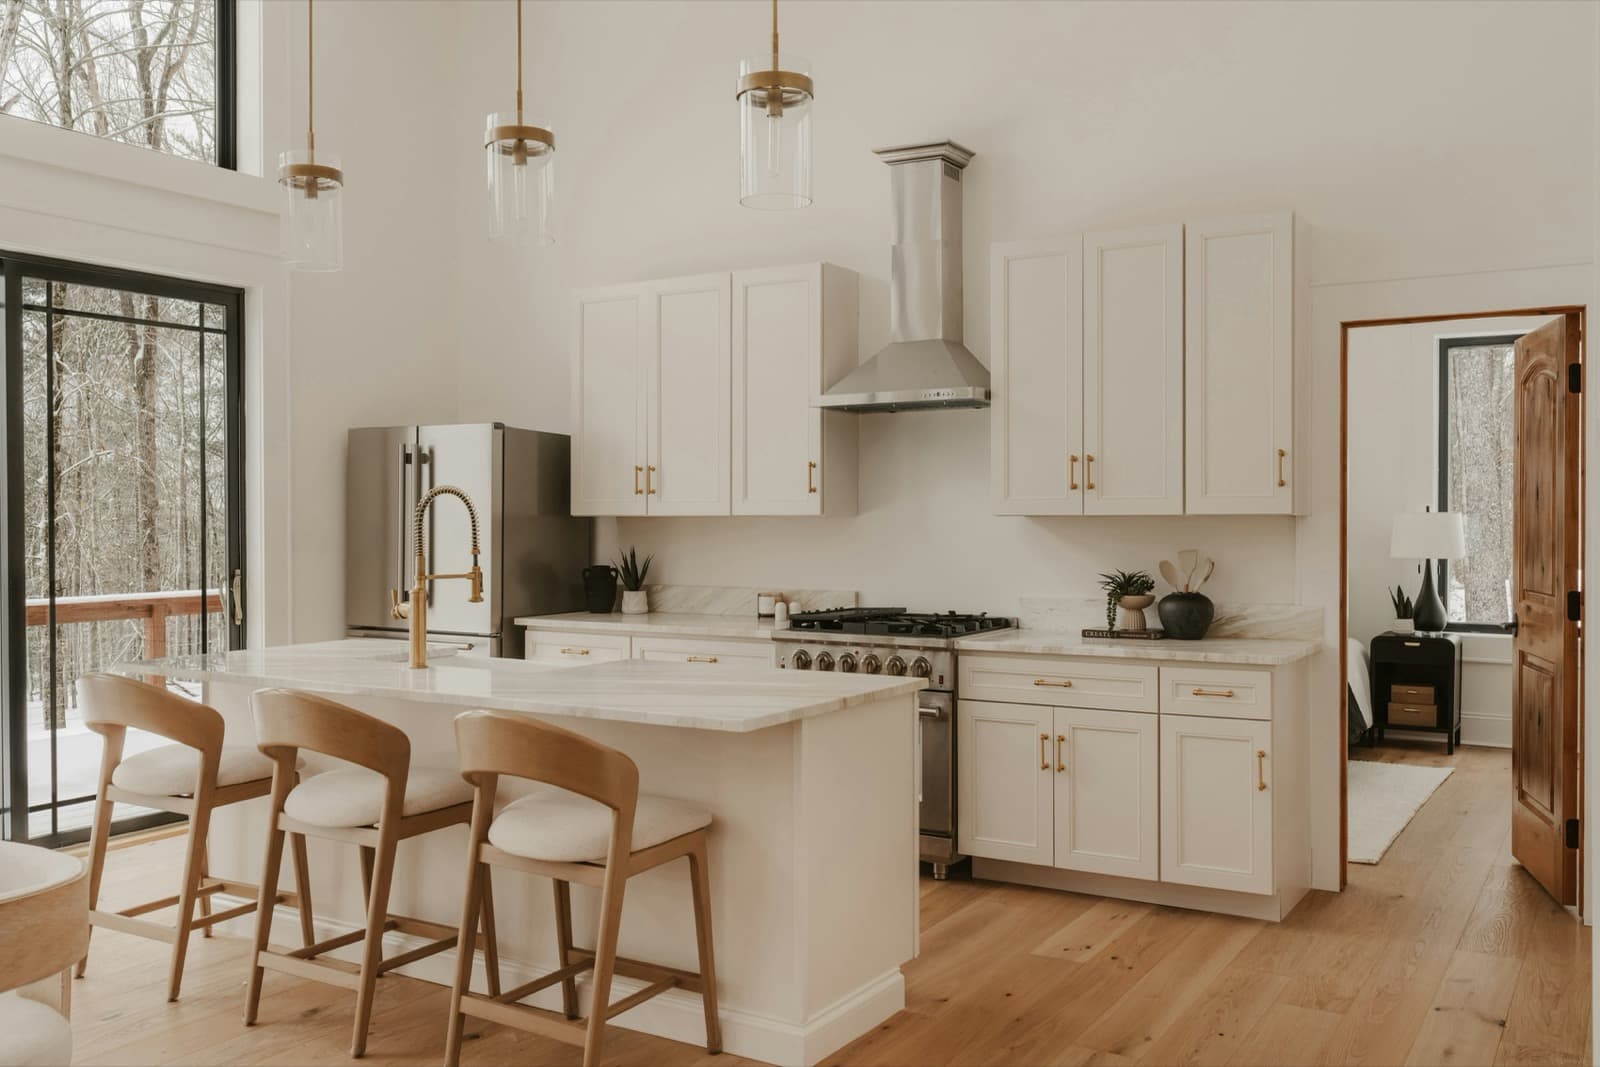
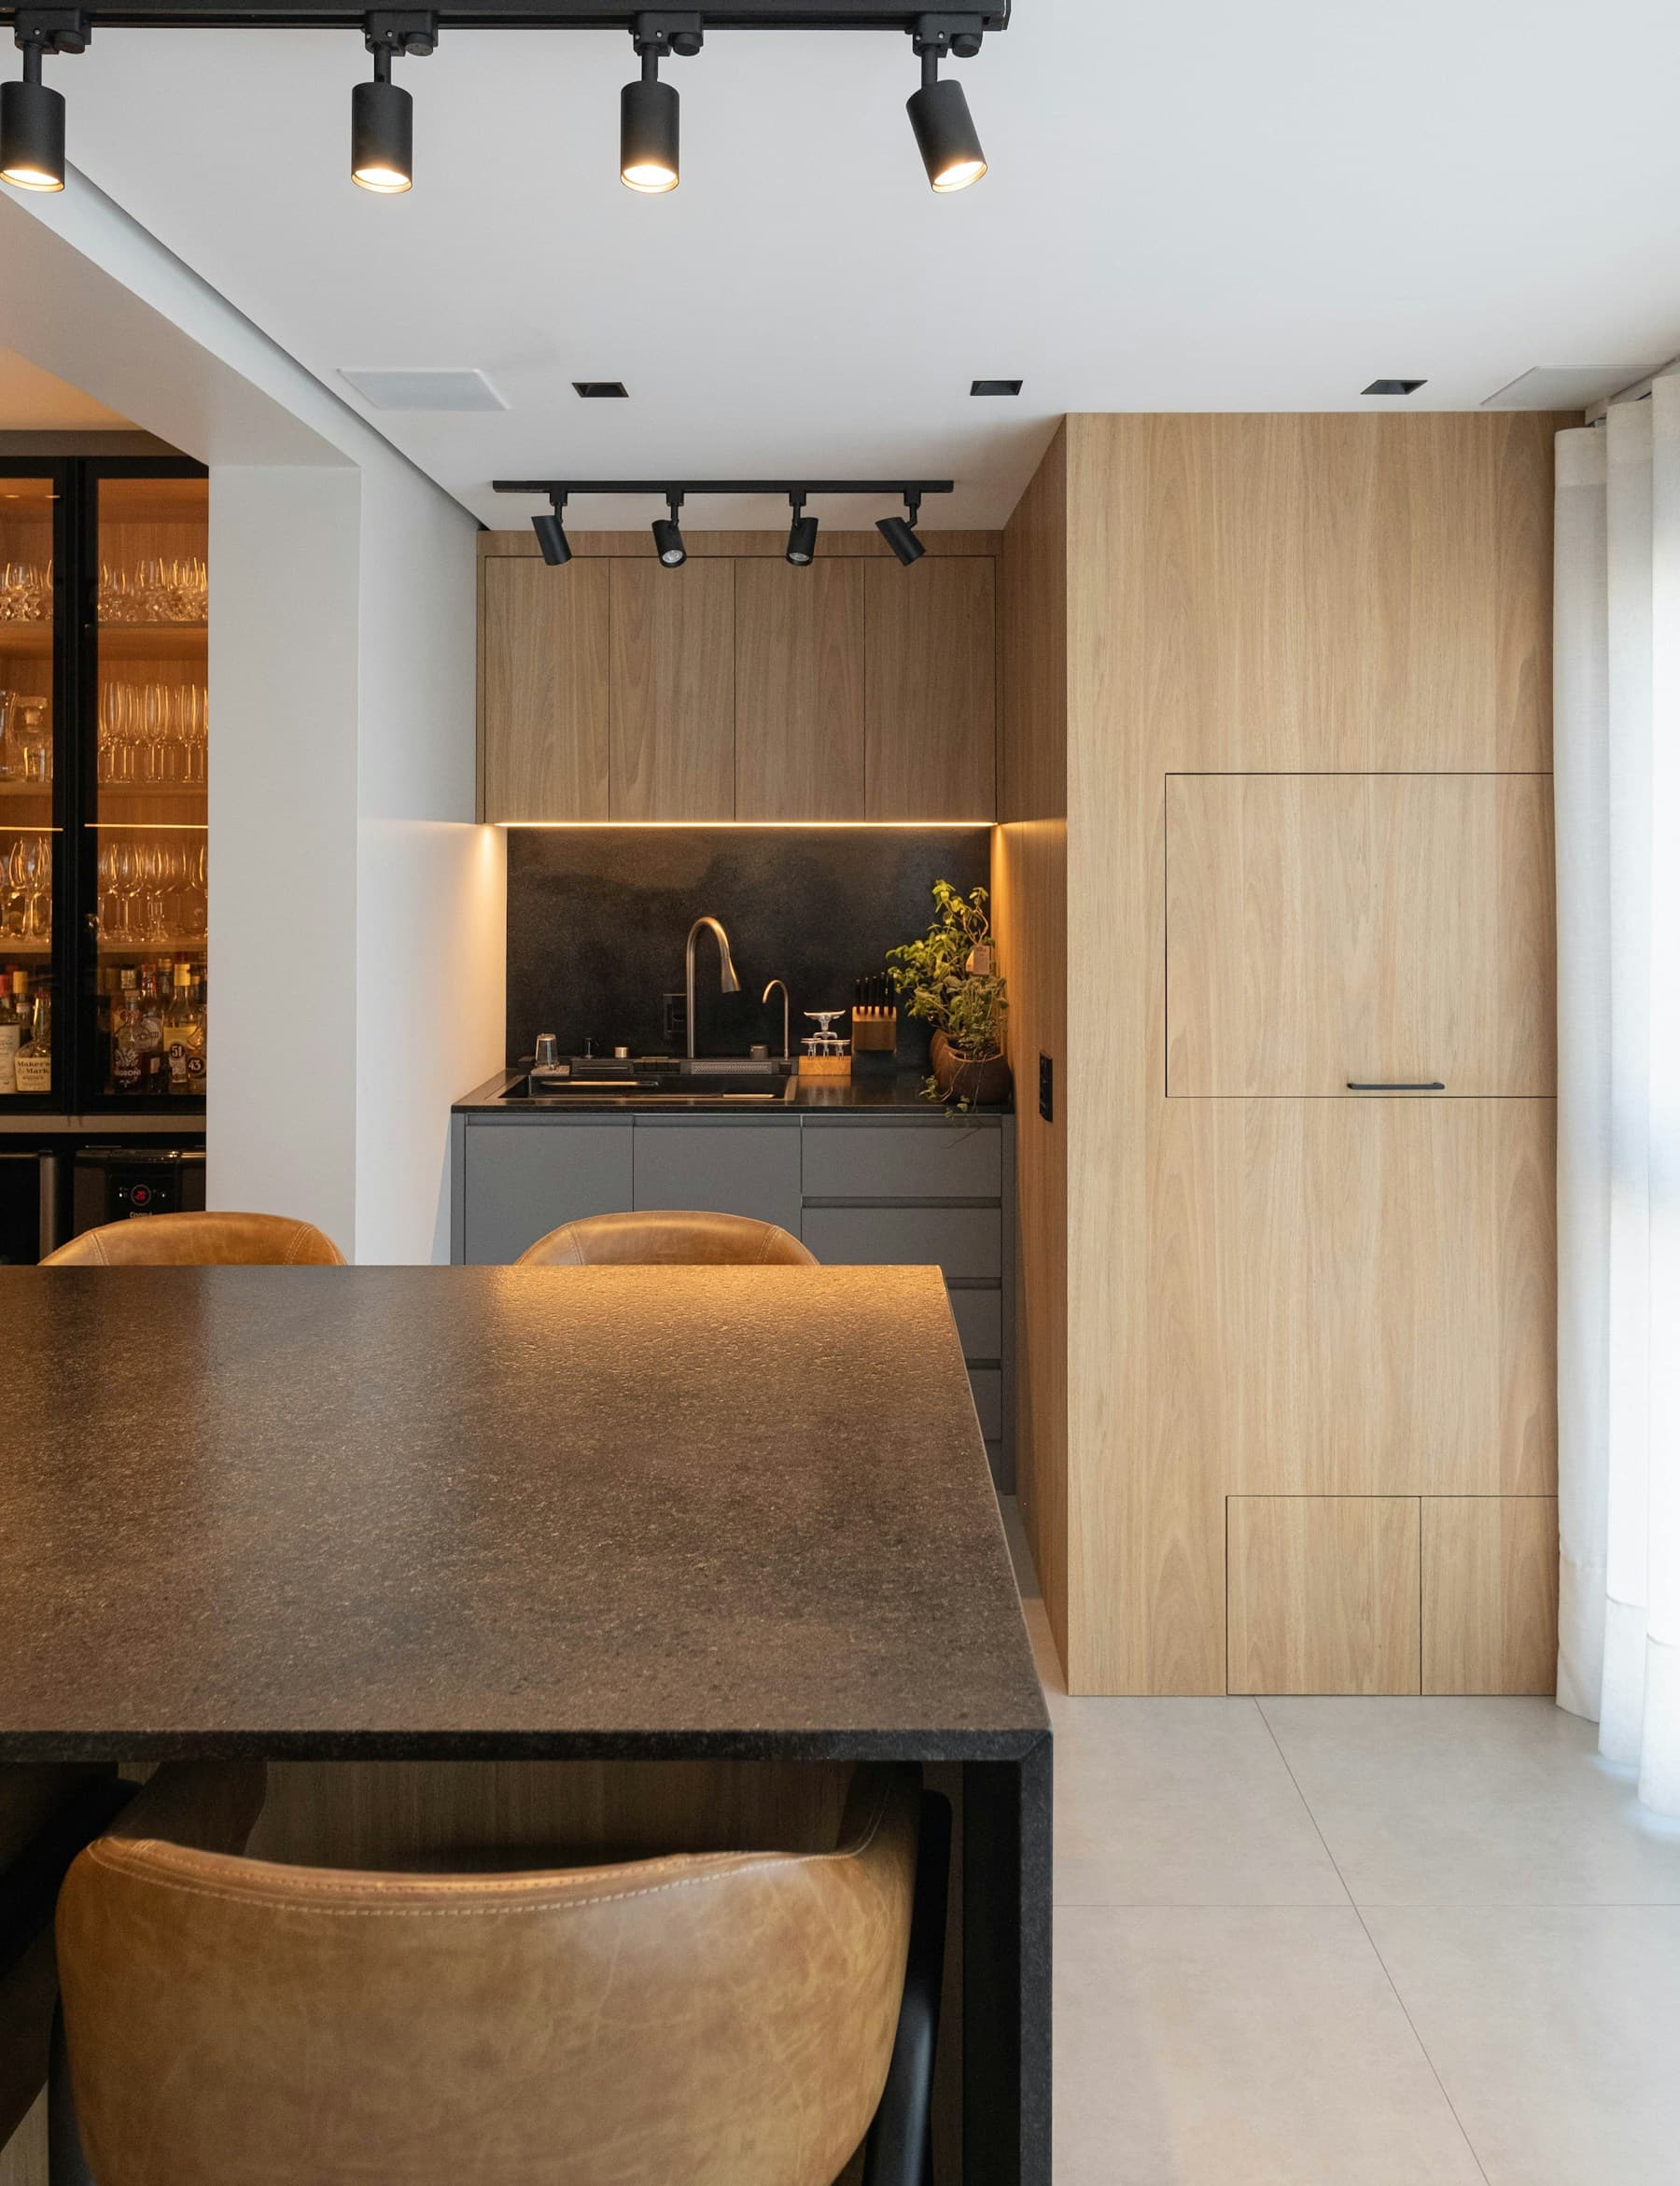
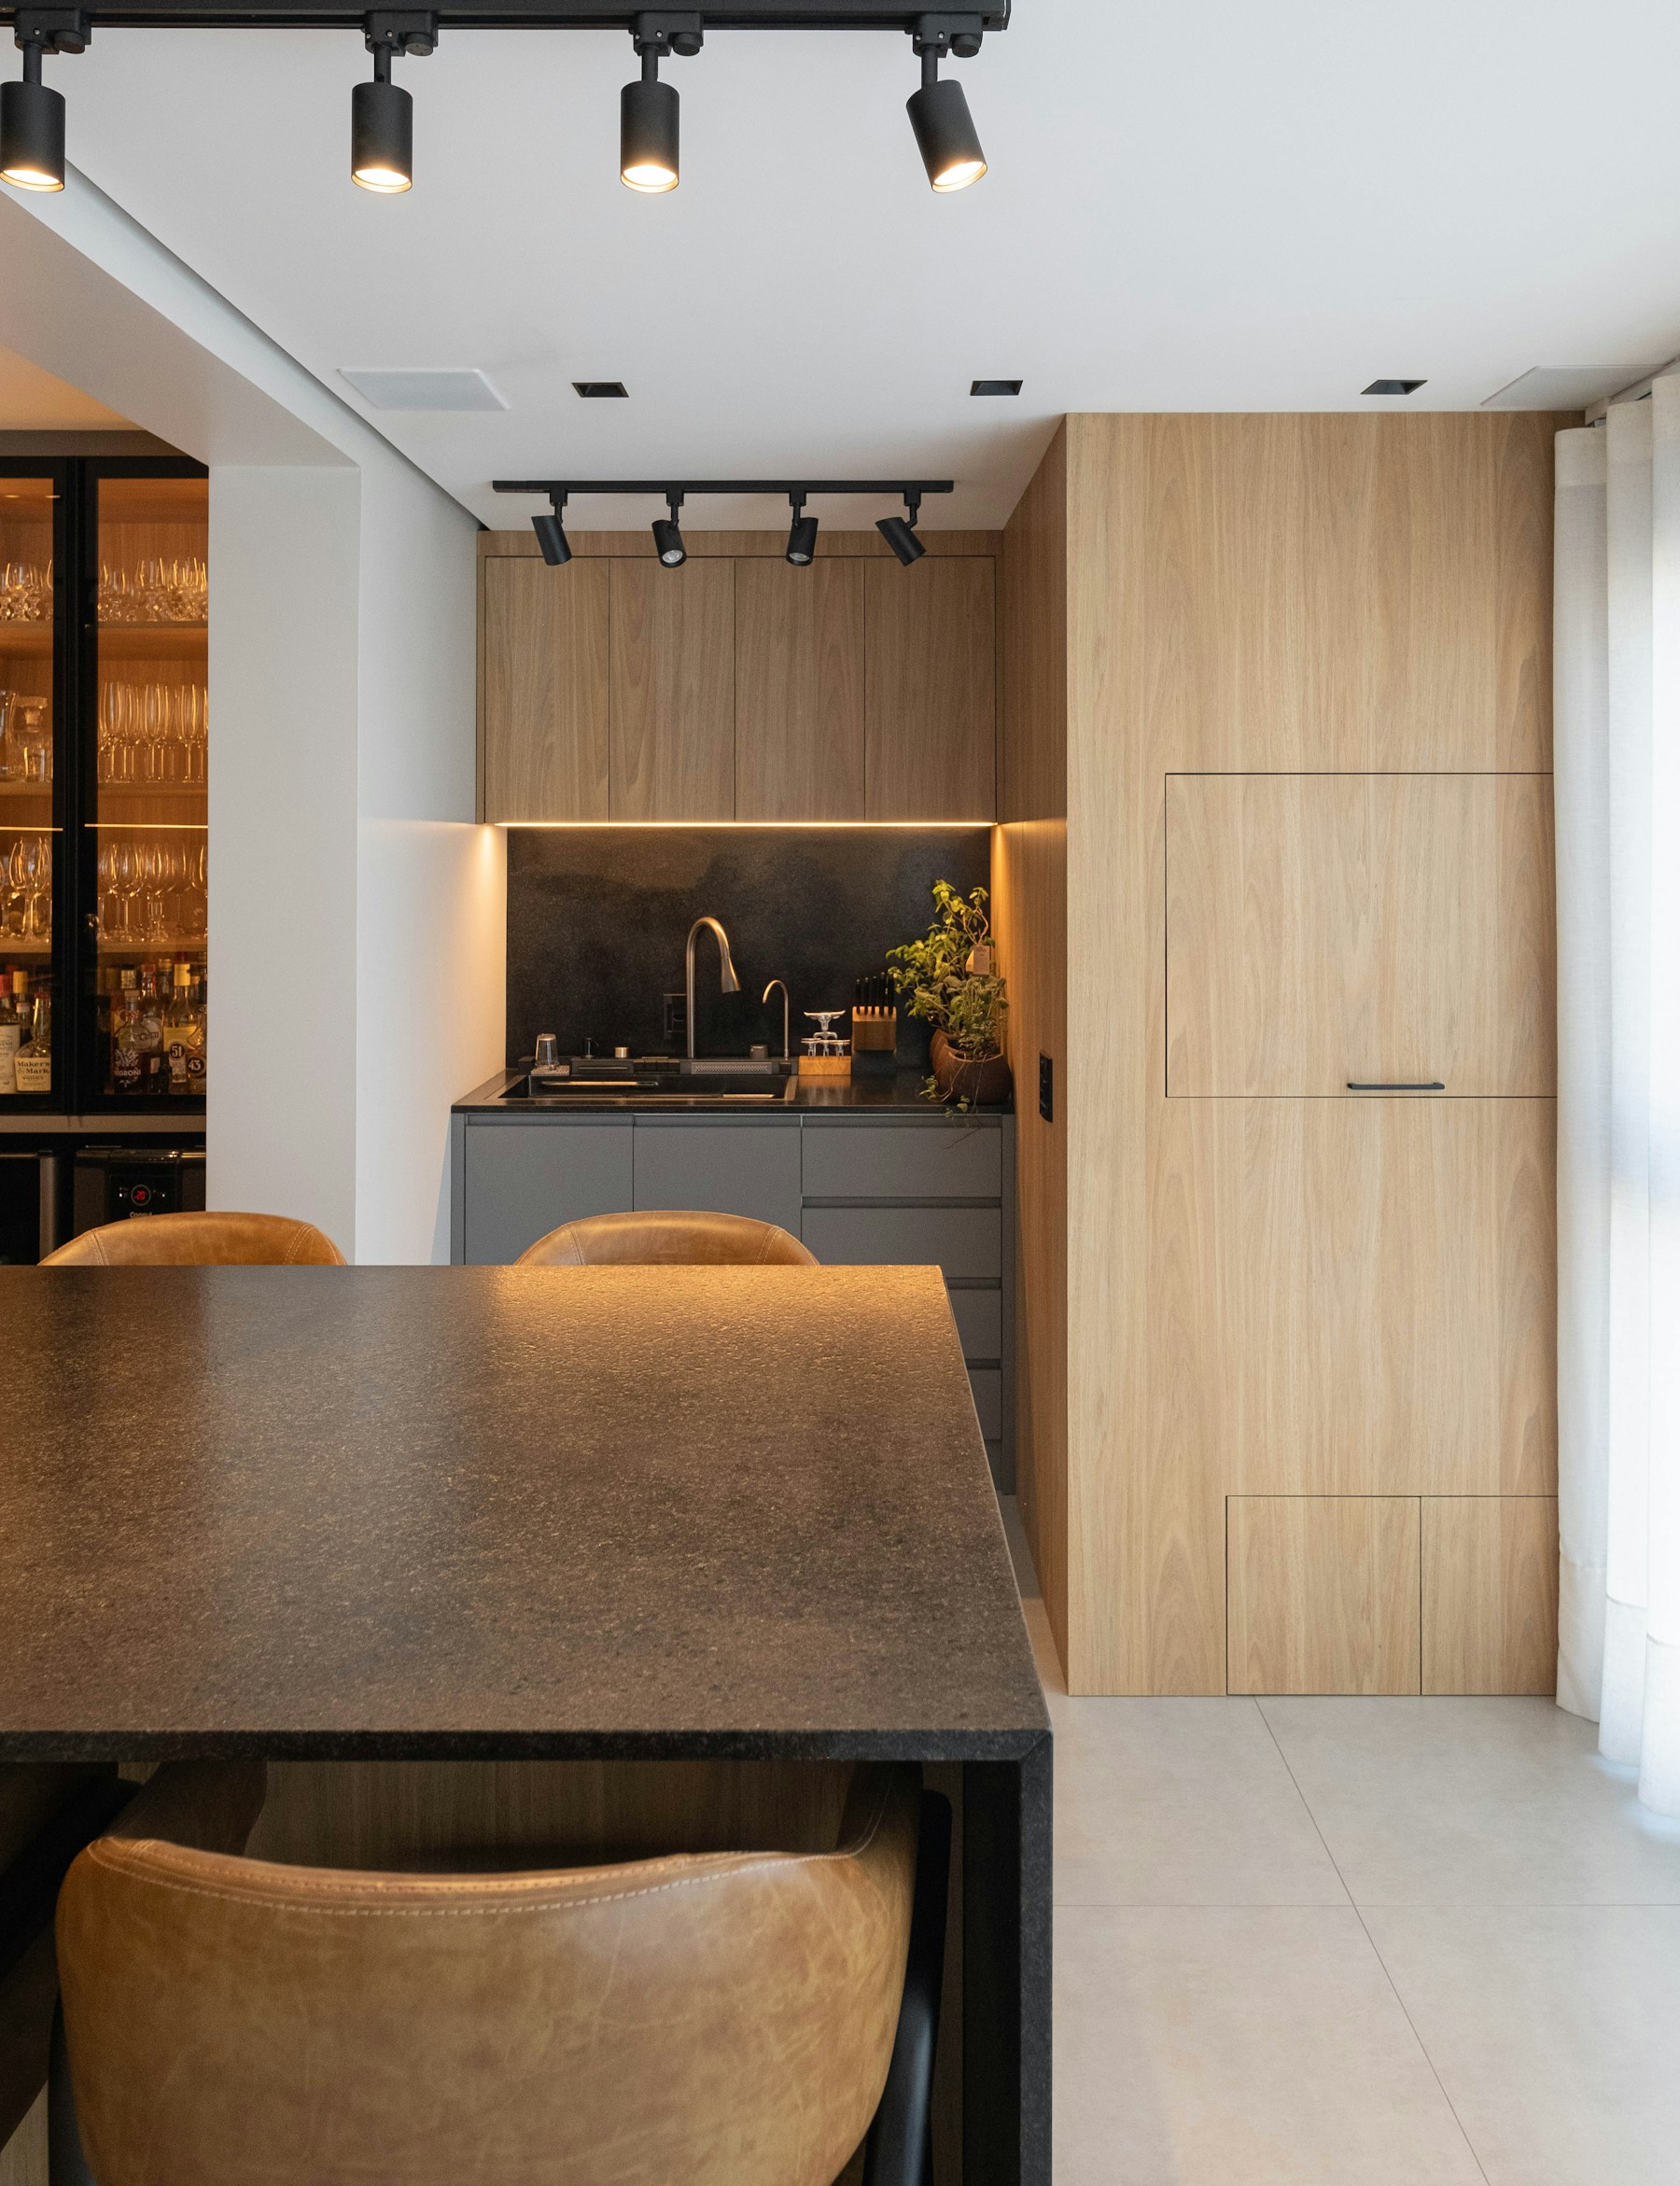
A contrasting island or pantry can give the room a focal point. Choose which element should stand out, then let the other finishes support it. Repeating a wood tone or metal finish elsewhere can help the choices feel connected.
Remember the exposed ends. If a darker cabinet front is paired with a visible side, specify the intended finish or matching panel so the completed cabinet looks deliberate from every angle.
Record the exact selection
Write down the finish name, code where applicable, cabinet series, and door style together. Similar names do not necessarily identify the same product, and finish availability can differ between series.
Review matching fillers, panels, and molding with the cabinet order. Keep your approved sample available during the final review and delivery inspection.
Ready to bring your ideas together? Explore the cabinet collection or share your measurements and plans with our team.