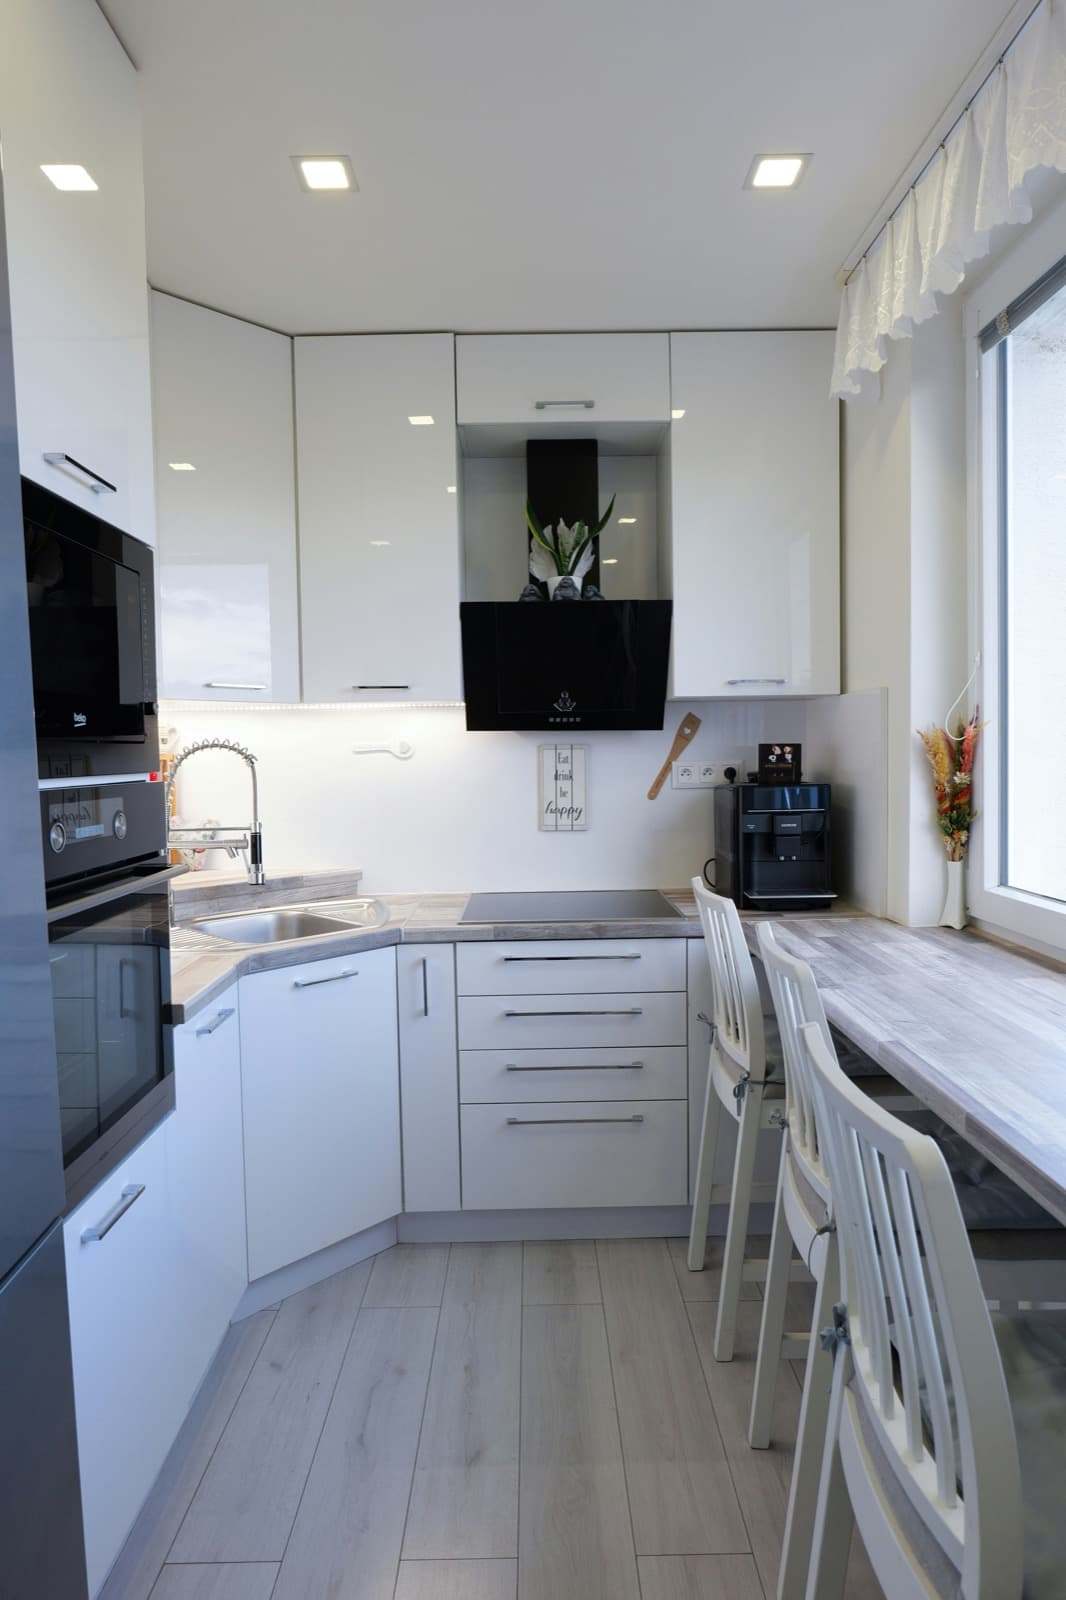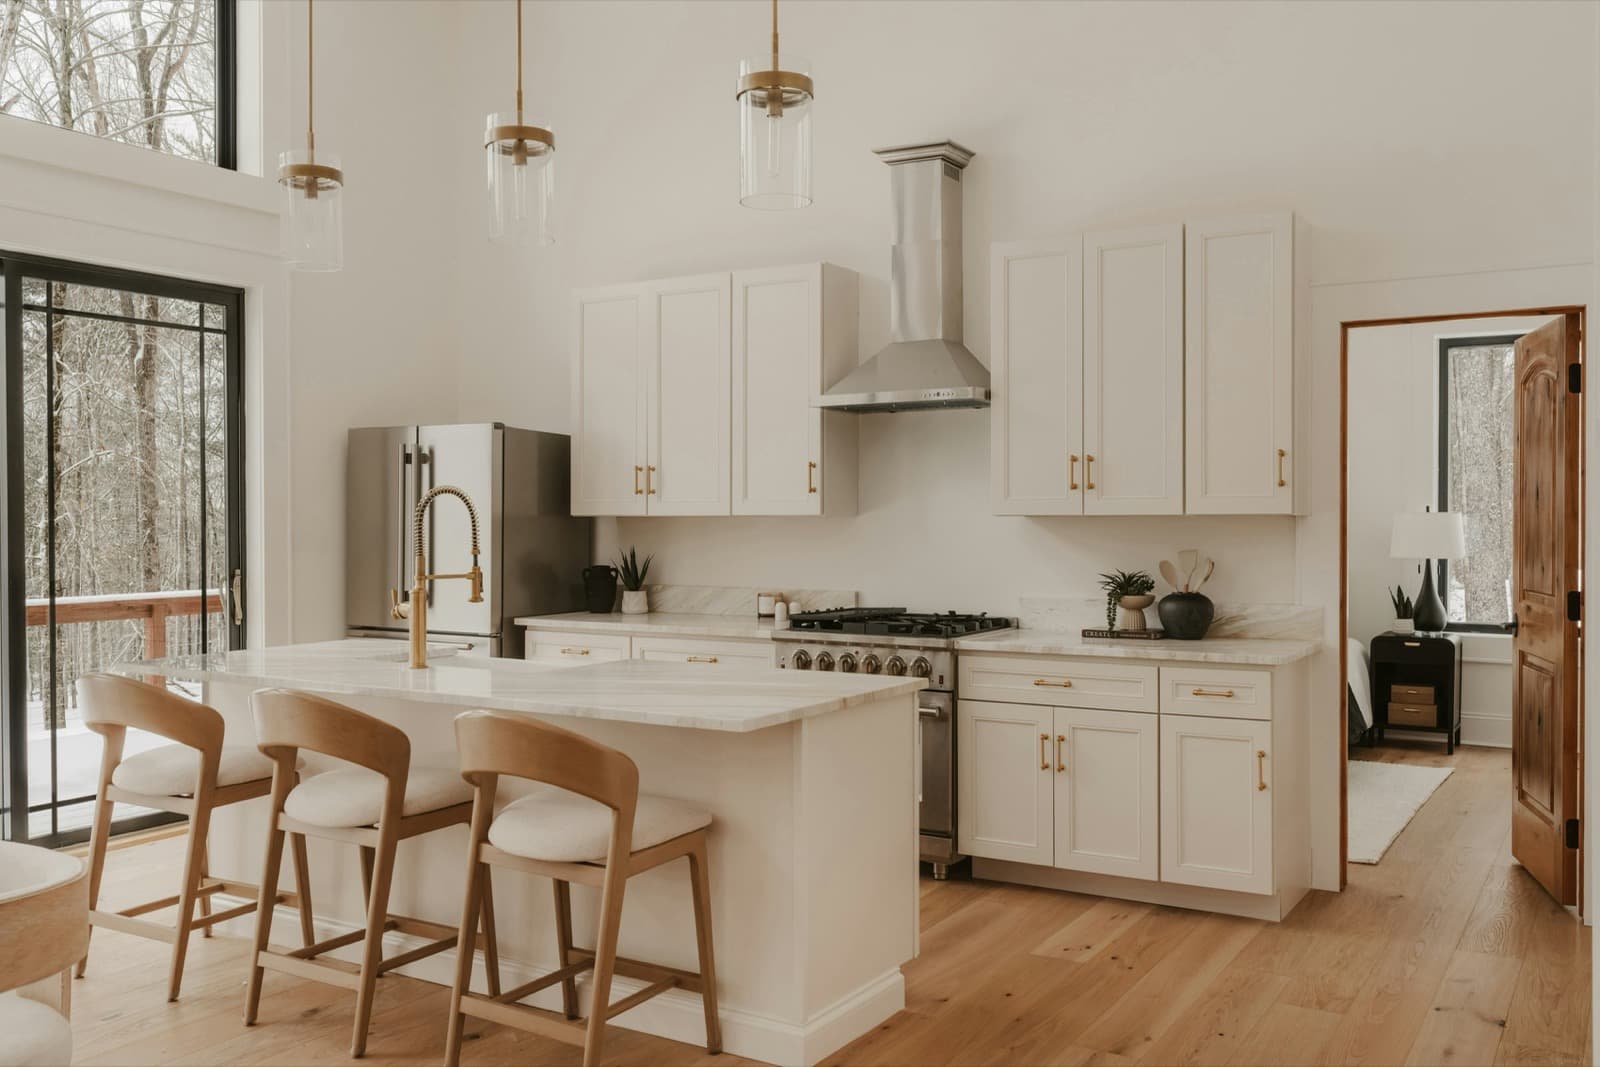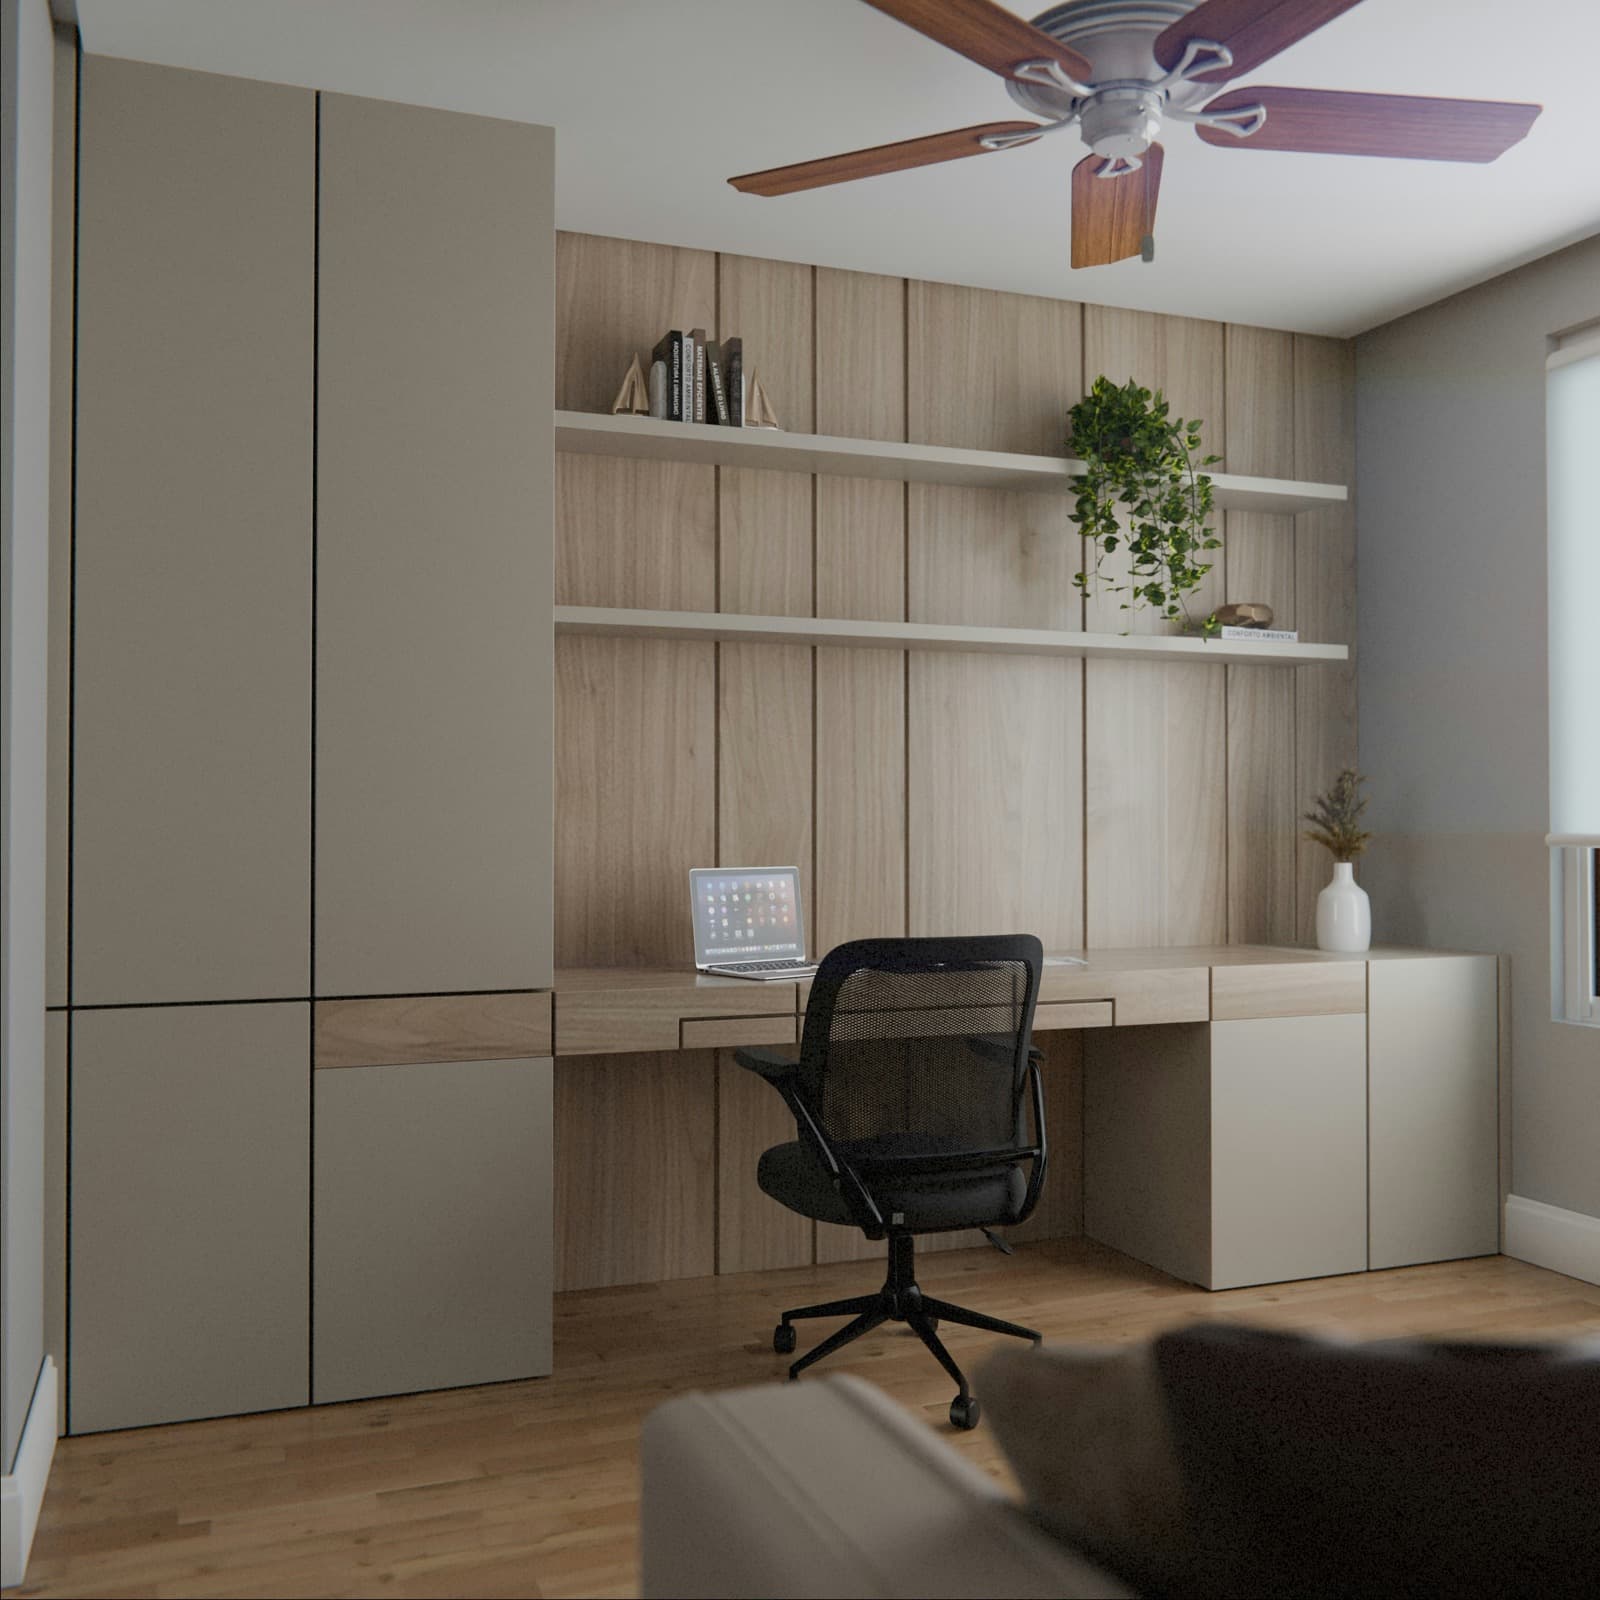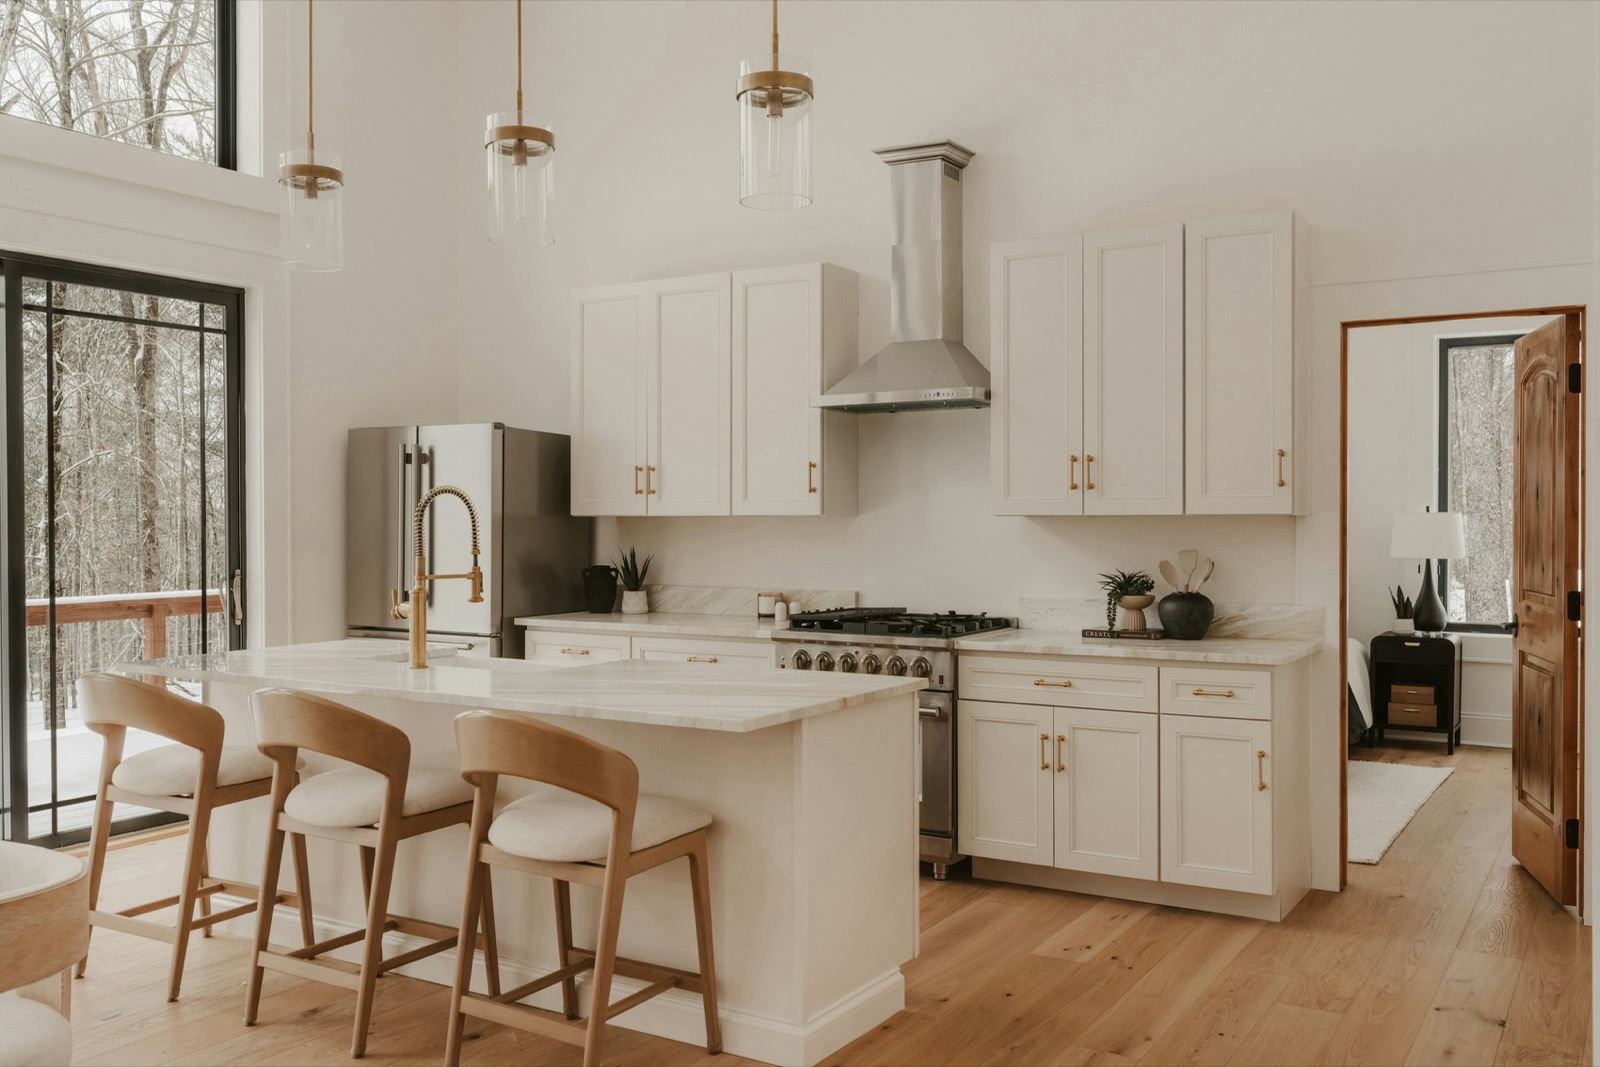
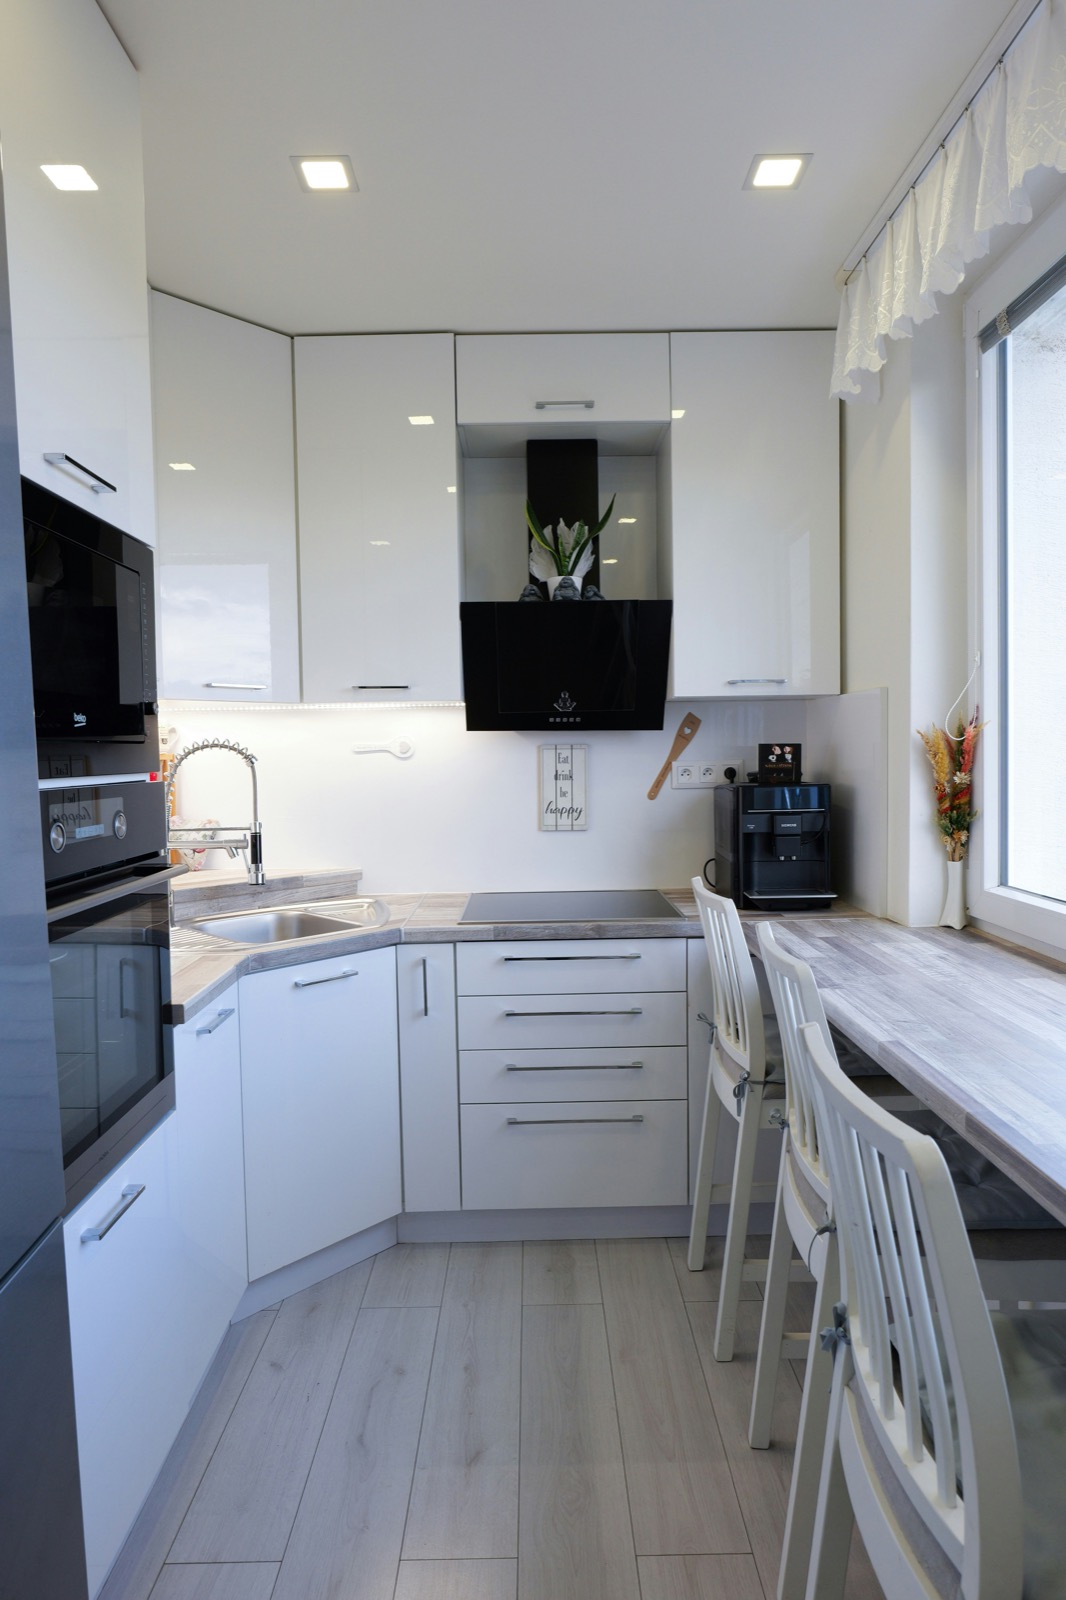
Make space for the everyday
Explore this look
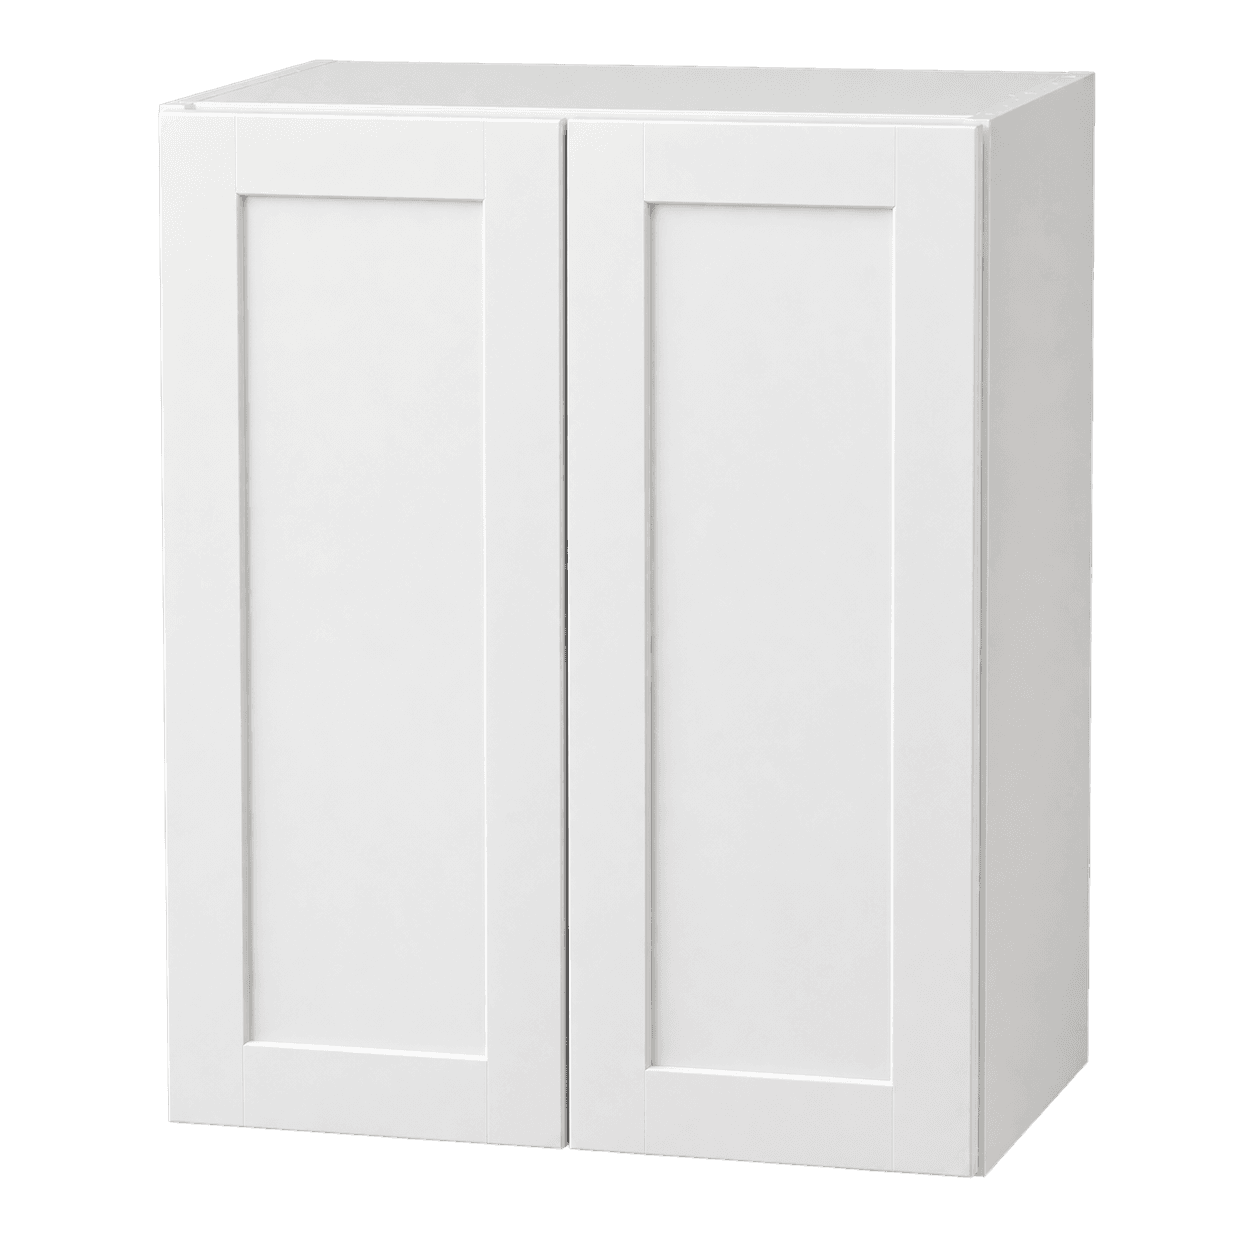
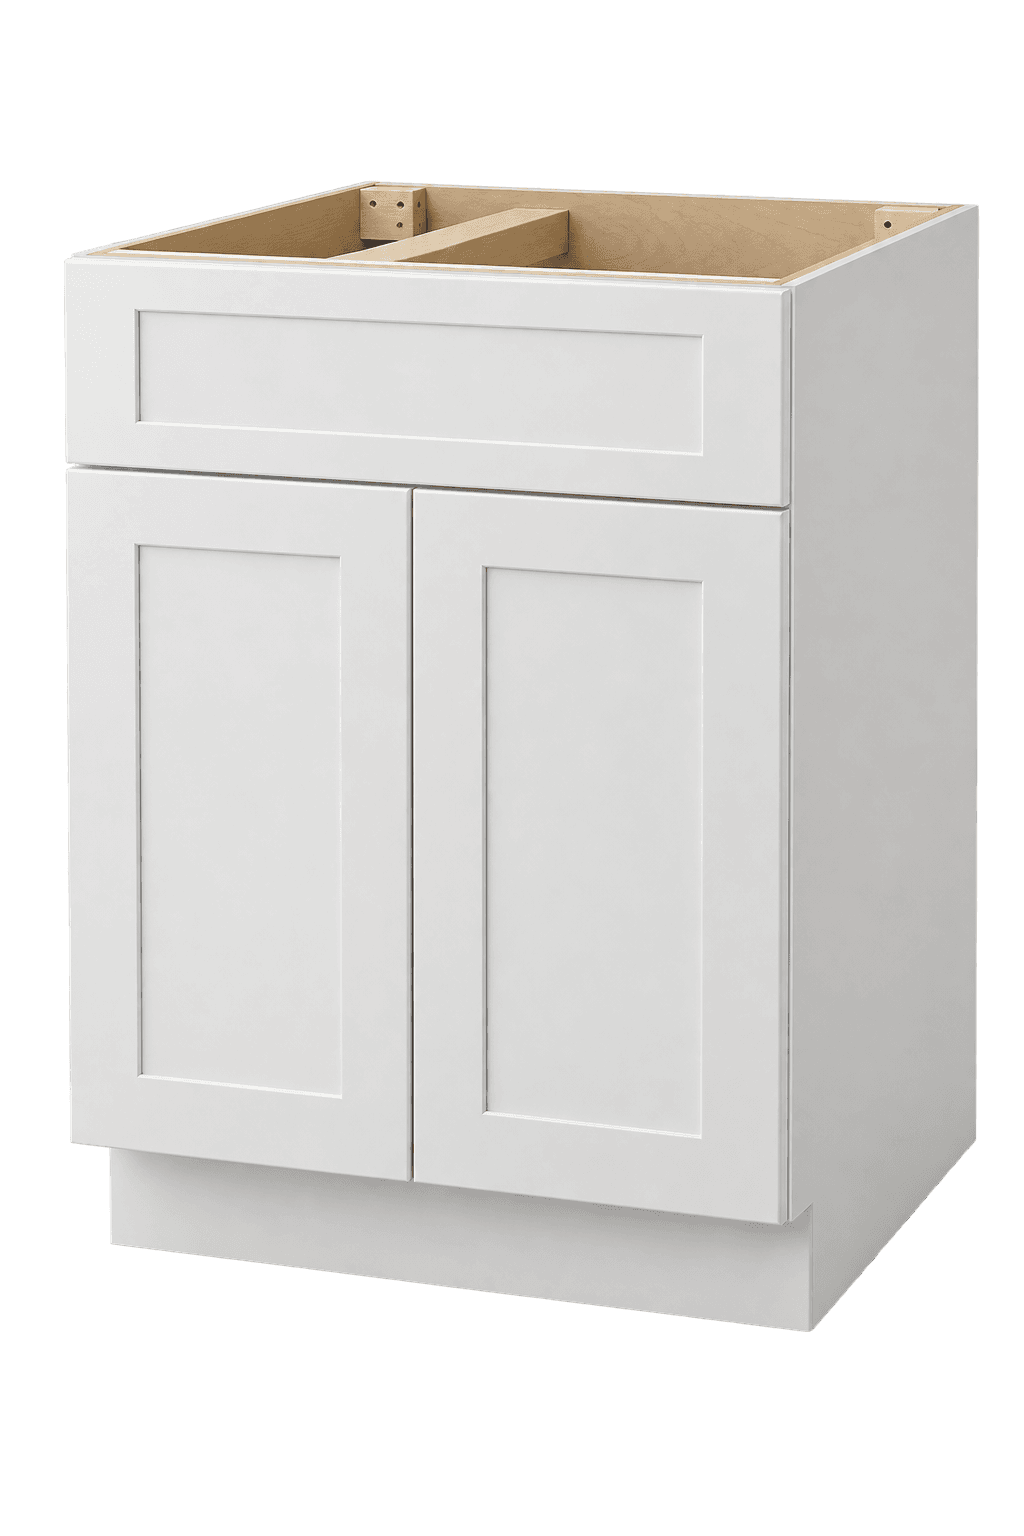
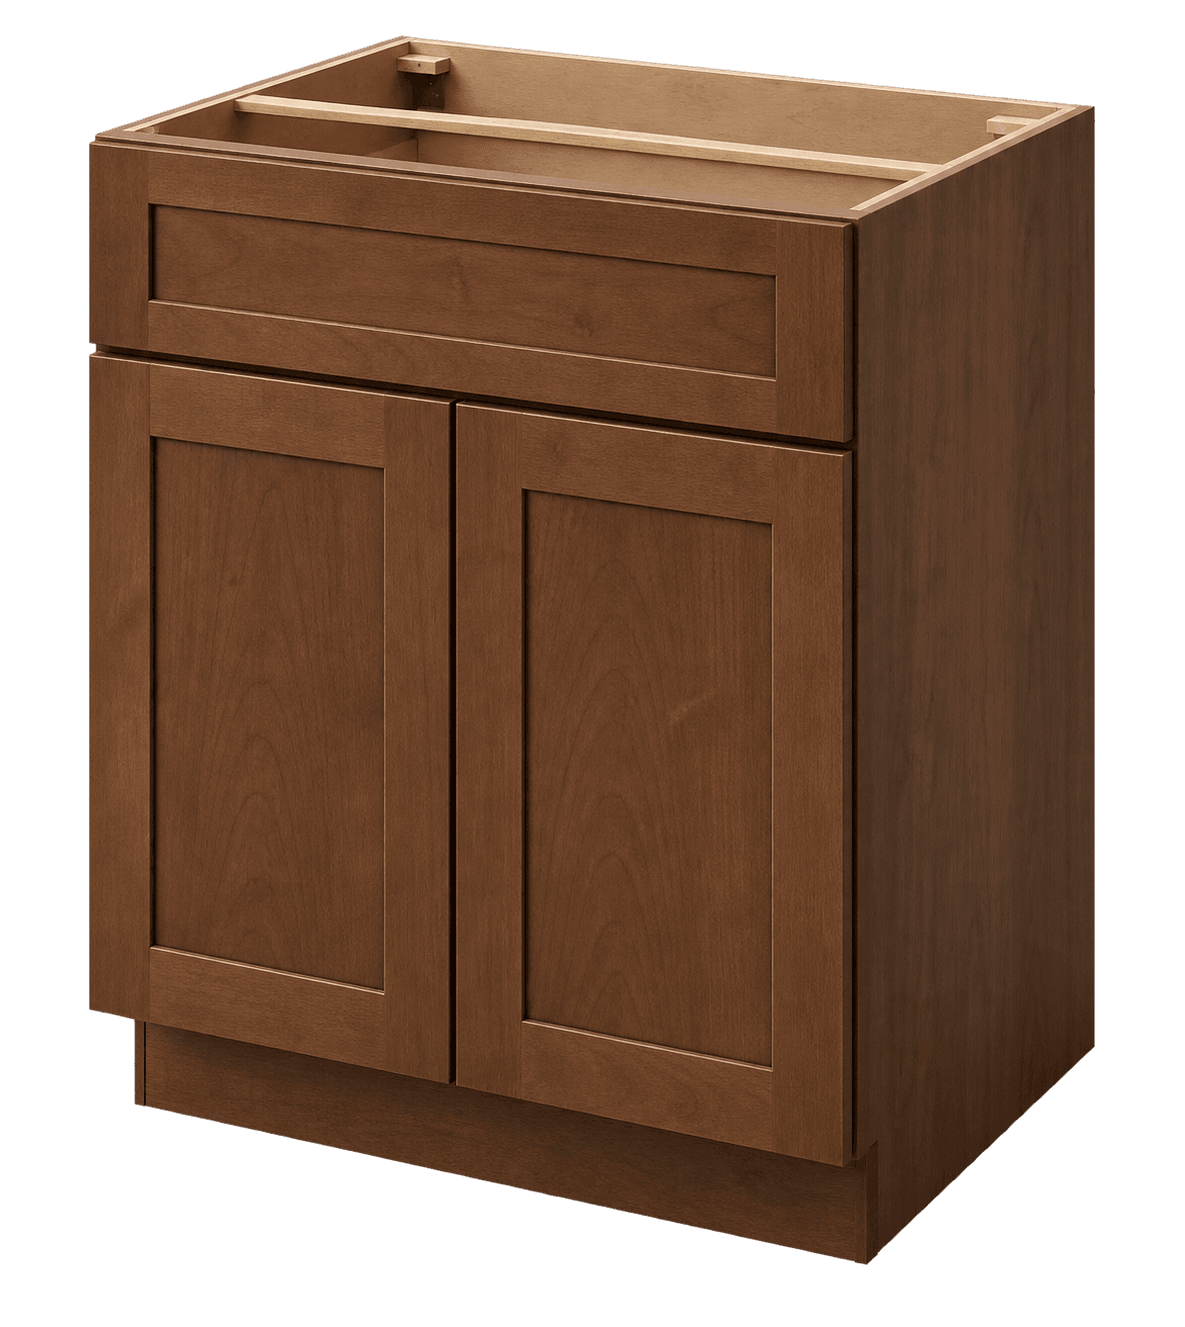
Cabinets to consider for your room. Confirm dimensions and finishes with your plan.
Plan your room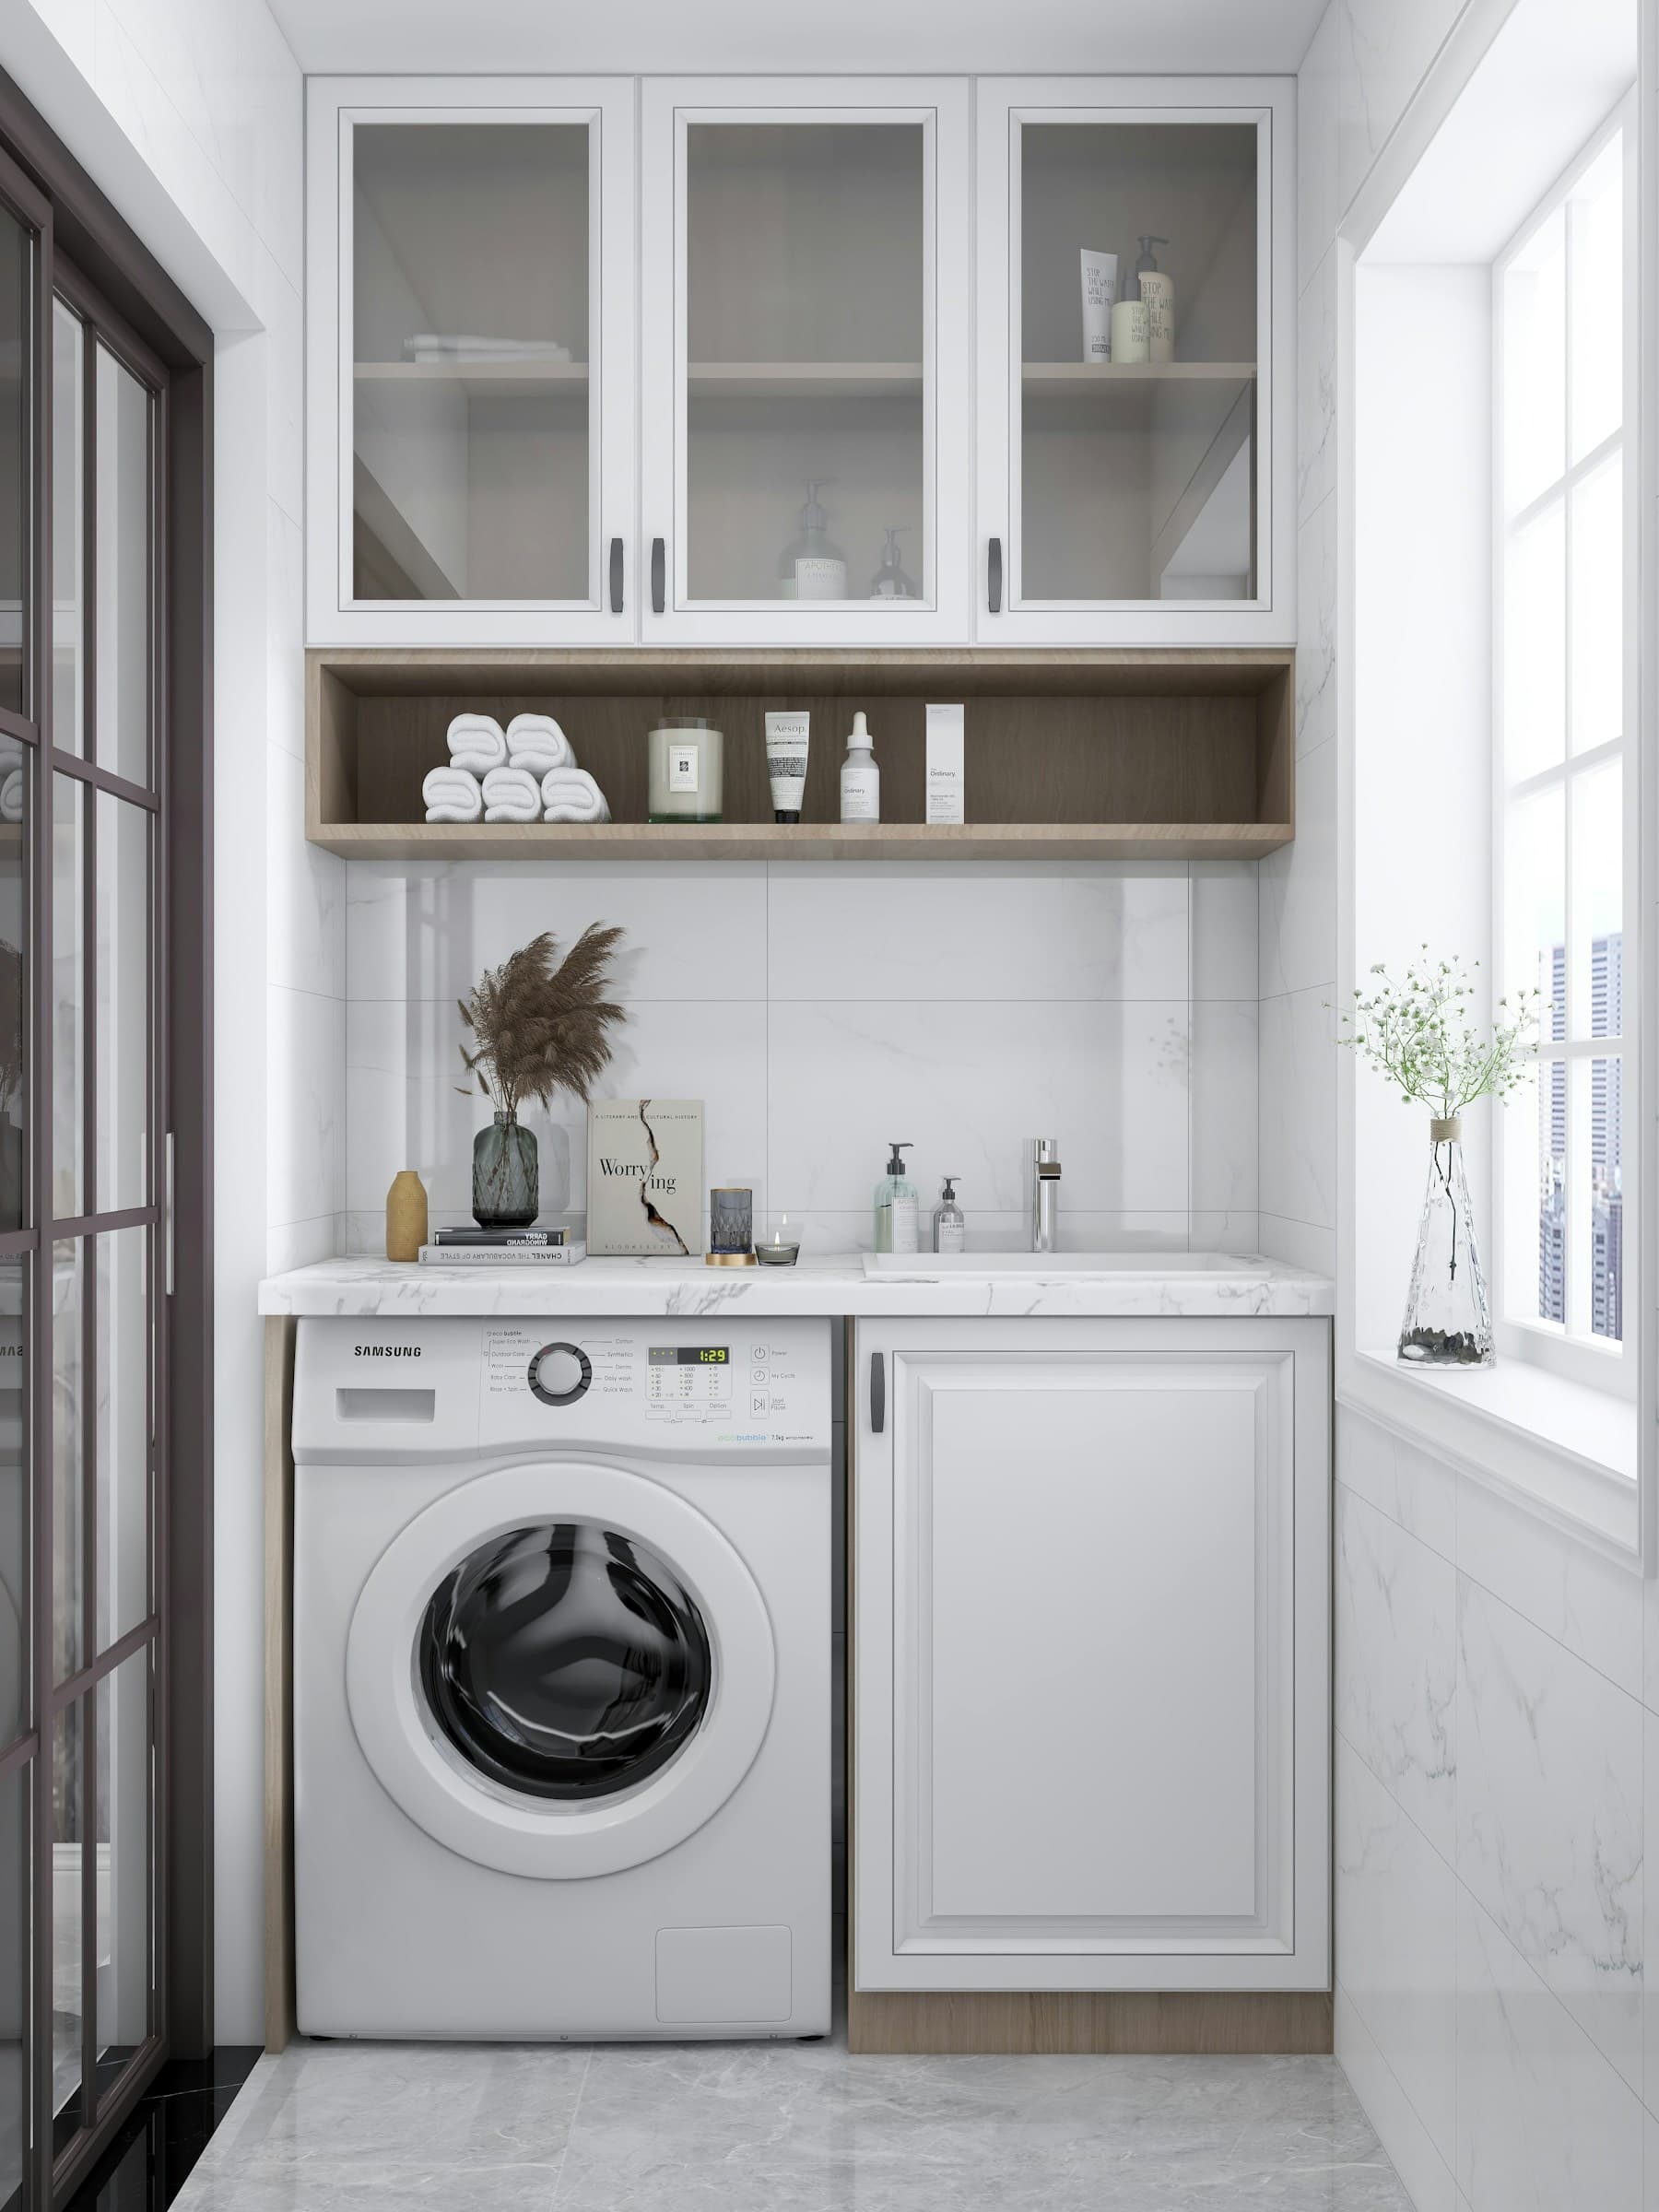
Find cabinet ideas and thoughtful storage for your laundry.
Cabinets to consider for your room. Confirm dimensions and finishes with your plan.
Plan your room
Cabinets to consider for your room. Confirm dimensions and finishes with your plan.
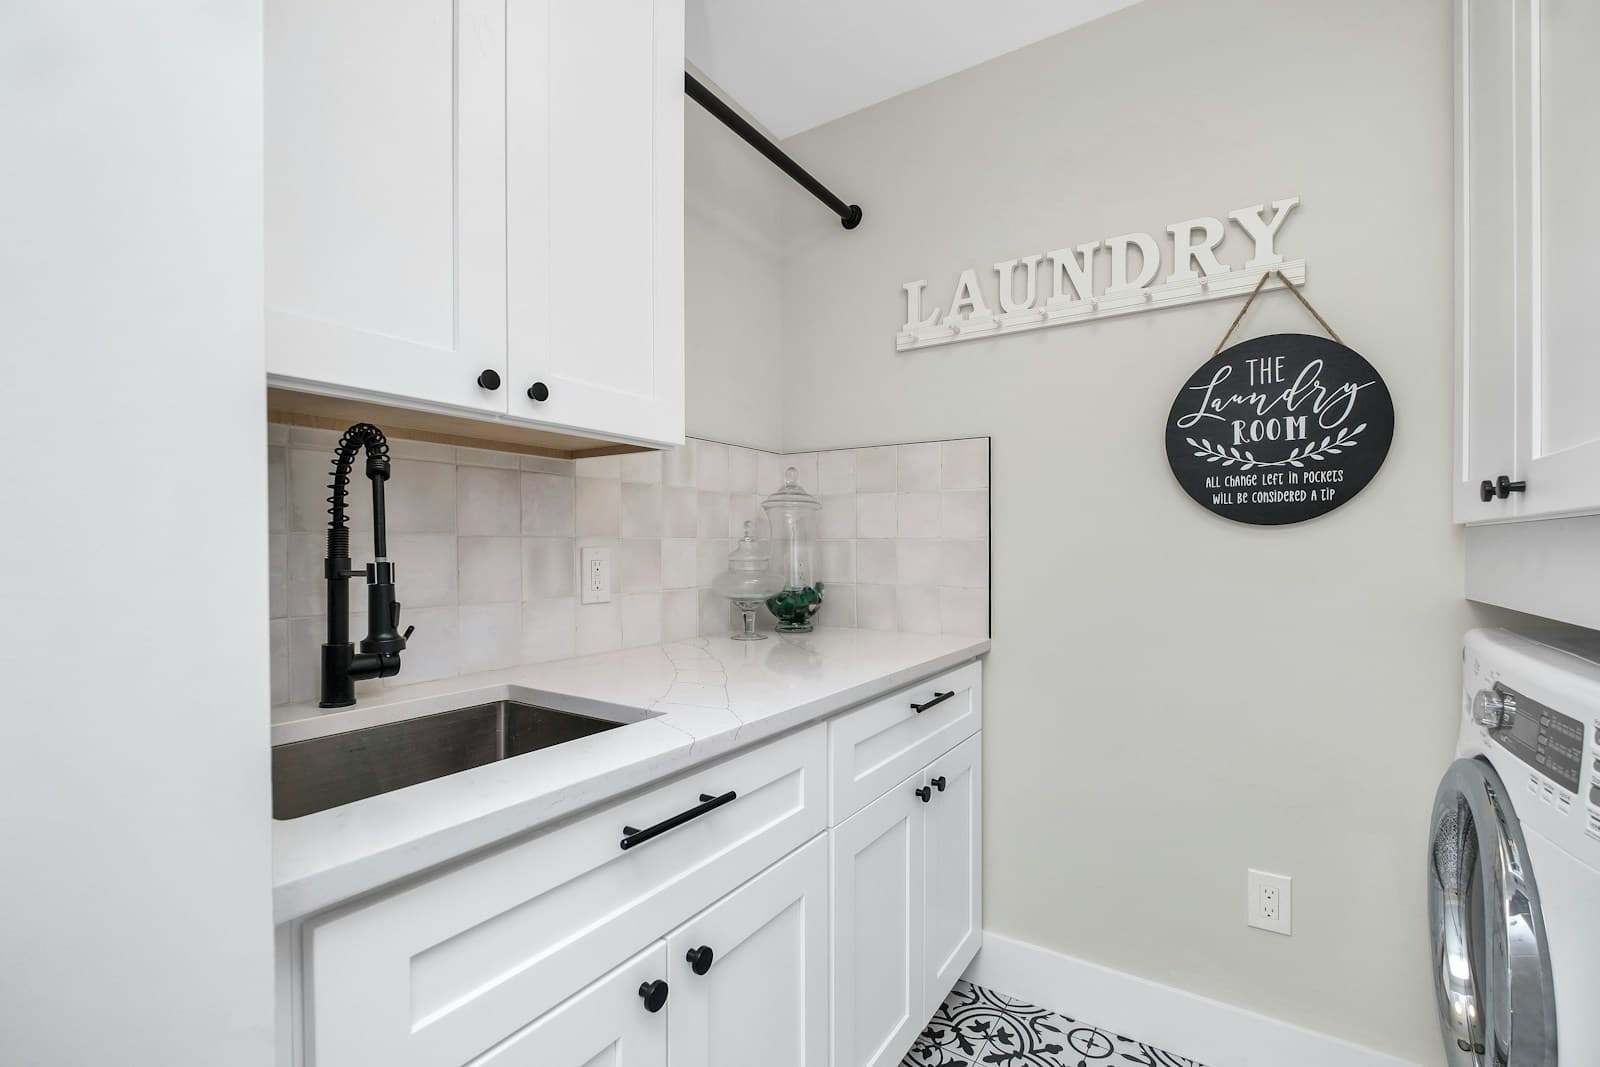
Plan your roomPlan laundry room cabinets around washers, dryers, utility sinks, hanging space, cleaning supplies, and folding counters.
Laundry cabinetry must be planned around the actual washer and dryer, not a generic appliance symbol. Record each model number and use the current specification sheet for overall width, depth, height, door swing, controls, hoses, drain, gas connection, power cord, and dryer vent. A cabinet or counter that fits the machine body can still prevent a door from opening or a technician from reaching a connection.
Front-loading machines placed below a counter may require extra height for leveling, vibration, and airflow. Pedestals change the working height and can move wall cabinets out of comfortable reach. Top-loading washers need clear space above the open lid. A dryer duct should follow the appliance and local installation requirements without being crushed behind a deep cabinet panel.
Mark the water valves, drain box, outlet, gas shutoff, and vent termination on the elevation. Keep access panels and shutoffs reachable. If appliances are stacked, confirm the approved stacking kit and the full assembled height. The surrounding cabinet plan should allow installation and future removal without dismantling the entire room.
A practical laundry room separates wet tasks from clean folding and household storage. Wall cabinets above the machines can hold detergent and supplies without taking floor area. A base cabinet beside the washer can support a folding counter. Drawer bases organize stain tools, clothespins, repair kits, and smaller items that disappear inside deep shelves.
If the room includes a utility sink, use a sink-base configuration and coordinate the bowl, faucet, drain, supply lines, and countertop cutout. Preserve room for plumbing repairs. A tall cabinet can hold a vacuum, broom, ironing board, or bulk paper goods, but the interior configuration must suit those tall items. Hanging rods and open shelves need clear space for garments without blocking doors or controls.
Small laundry closets require even tighter coordination. Check bifold, sliding, or swing doors in both open and closed positions. Ventilation and appliance clearances cannot be sacrificed for storage. When the closet has no spare depth, shallow wall storage elsewhere may be more useful than forcing cabinets directly above the machines.
Laundry cabinets are interior cabinetry and should be kept in a conditioned, dry space. Repair leaks promptly and avoid standing water at the toe kick. Use ventilation appropriate for the room and appliances. If the laundry area opens to a garage, porch, or other unconditioned area, confirm that the temperature and humidity remain suitable for the cabinet materials and finish.
A durable, cleanable countertop can turn an appliance wall into a folding station. Quartz is one option because it offers a broad color range and a nonporous surface, but every countertop project still needs field dimensions, support, seams, edge details, and cutouts. Do not template the final top until the base cabinets and relevant panels are installed and secured.
Choose a cabinet finish that works with the flooring, appliance color, wall paint, and lighting. White and pale finishes can brighten an interior room. Wood tones and darker colors can make open laundry areas feel more like the adjoining living space. Order or review samples when color coordination is important.
Laundry rooms often end cabinets against walls, appliance sides, or tall utility equipment. Fillers create space for door and drawer operation and absorb small variations in the room. Finished panels provide a clean side beside an exposed washer or dryer and can support the visual edge of a countertop. Toe kick and molding should be listed just as carefully as the cabinet boxes.
Before ordering, trace the installation sequence. A tall cabinet may have to enter before a stacked laundry unit. A countertop spanning appliances may need removable support or a planned installation path. Valves, cleanouts, drain pans, electrical panels, and utility meters must remain accessible. Cabinet installers should coordinate with the plumber, electrician, appliance installer, and countertop fabricator.
Verify the route from the delivery point to the laundry room. Narrow stairs, turns, elevators, and door openings can limit assembled cabinet sizes. Freight delivery also requires a receiving plan, inspection, and dry storage. Photograph visible damage and reconcile the shipment before installation begins.
Start with the wall, base, tall, and accessory collections if you know the cabinet sizes. Configure the same construction, series, and finish on every coordinating line. Add the project and room name to cart notes so similar items are easier to separate during review and delivery.
For a layout review, upload a dimensioned elevation, appliance specifications, plumbing locations, room photos, the project ZIP code, and the requested completion date. The plan-reading tool can prepare the first item list, but uncertain conditions stay visible for review. It does not invent custom cabinet codes or approve field dimensions.
The final project price is confirmed after current cabinet availability, accessories, countertop scope, freight, unloading, tax, and delivery timing are reviewed. This checkpoint is especially important for laundry rooms because a single filler, panel, or appliance clearance can affect the entire wall.
Often, yes. The final cabinet height and depth must preserve appliance controls, lids, doors, hookups, ventilation, service access, and comfortable reach. Use the exact appliance specifications.
A countertop may work over compatible front-loading machines when height, airflow, vibration, service access, support, and installation instructions are addressed. The cabinet and countertop plan should be reviewed with the appliance requirements.
Use a sink-base configuration sized for the bowl and plumbing. Confirm the sink, faucet, drain, supply lines, countertop cutout, and any required access before ordering.
Yes, when both rooms use the same available series and finish. Review physical samples in each room because lighting and surrounding materials can change how the finish appears.
Yes. Upload the measured layout, appliance model information, utility locations, project ZIP code, and timing. You receive an editable first draft with uncertain items marked for review.
Cabinet sizes, construction, finish, accessories, panels, fillers, trim, freight, tax, unloading, countertops, and installation determine the complete laundry room cabinets cost.
Approve the dimensioned layout, item numbers, quantities, series, finish, exposed ends, clearances, delivery access, freight, and interfaces with fixtures or equipment.
Build a useful cabinet plan from wall dimensions, openings, appliances, utilities, and clearances.
Plan storage around your washer, dryer, folding space, and the supplies you use every week.
Compare cabinet construction, interior access, installation planning, and series selection.
A practical review sequence for item numbers, series, finished sides, accessories, and approvals.