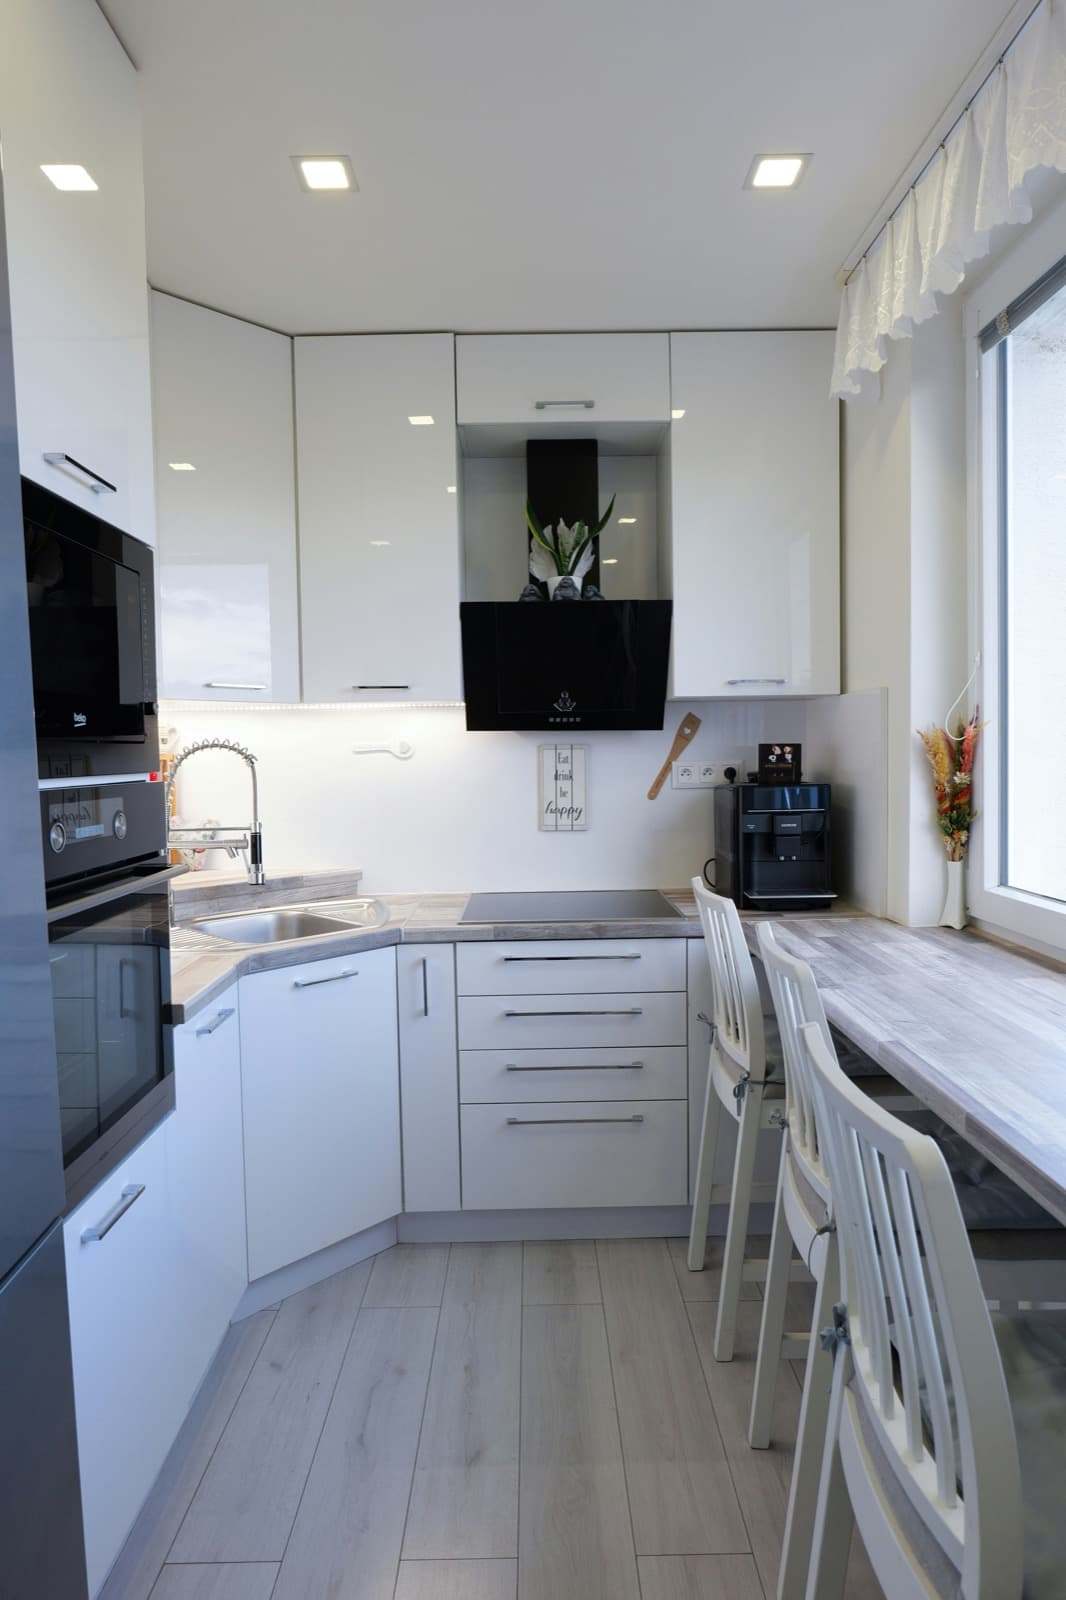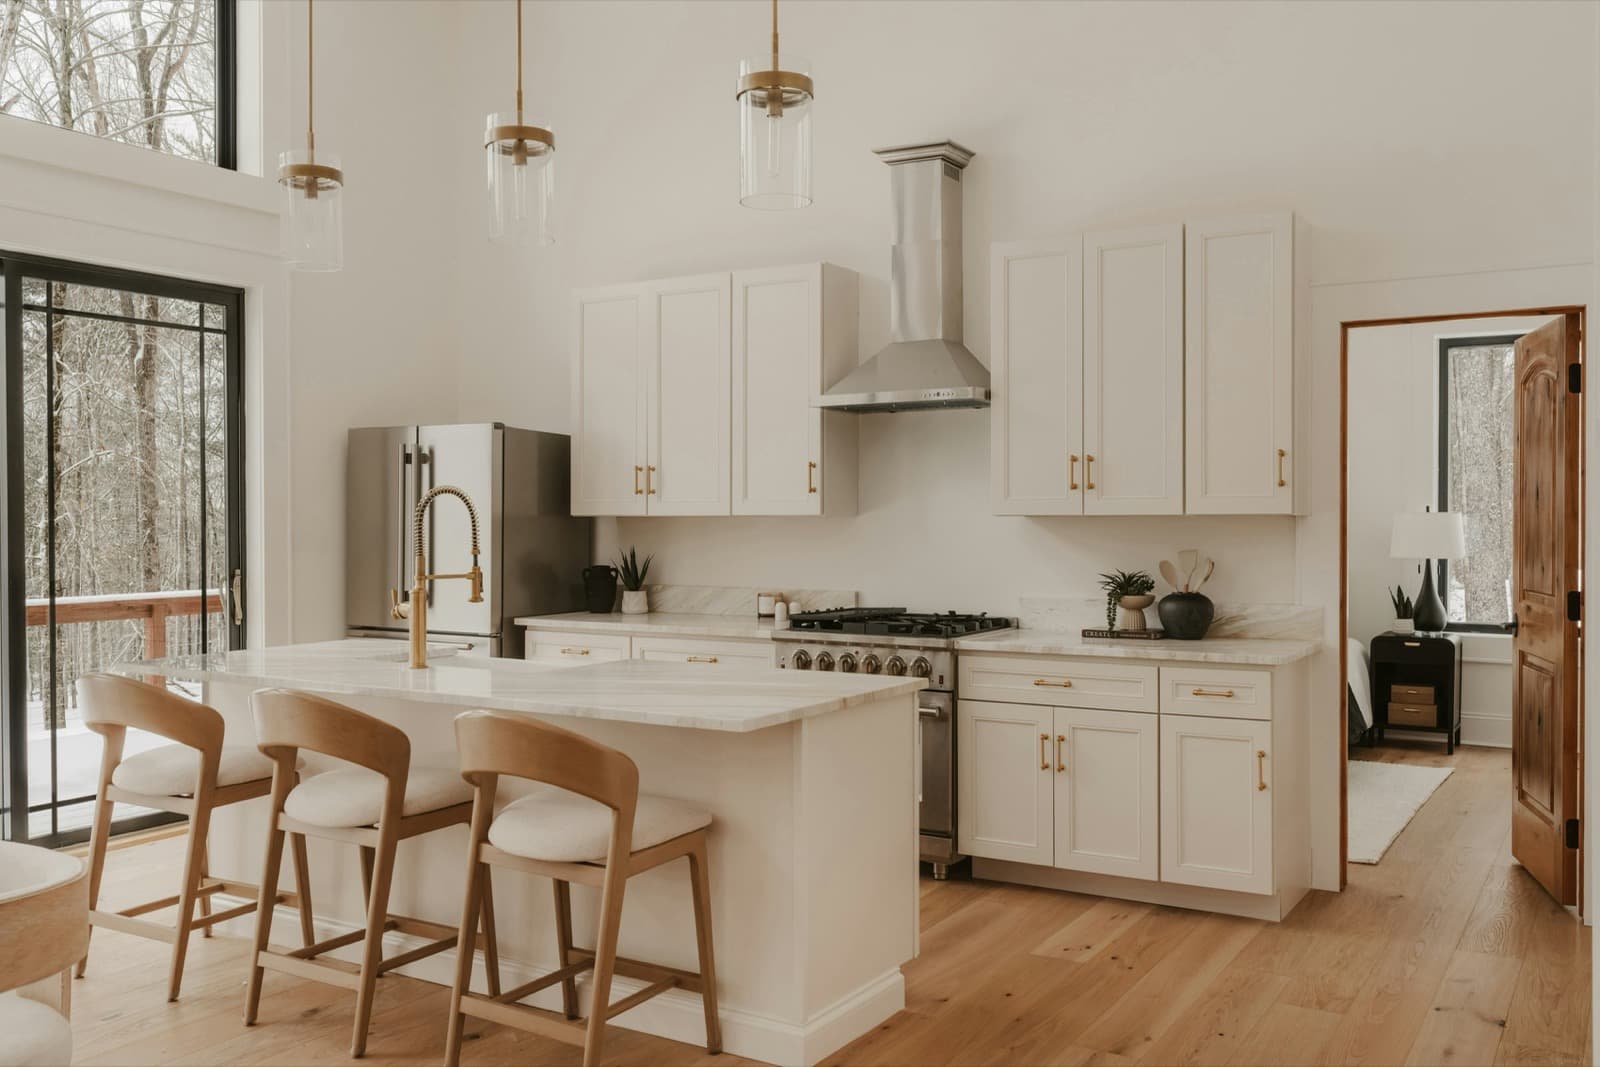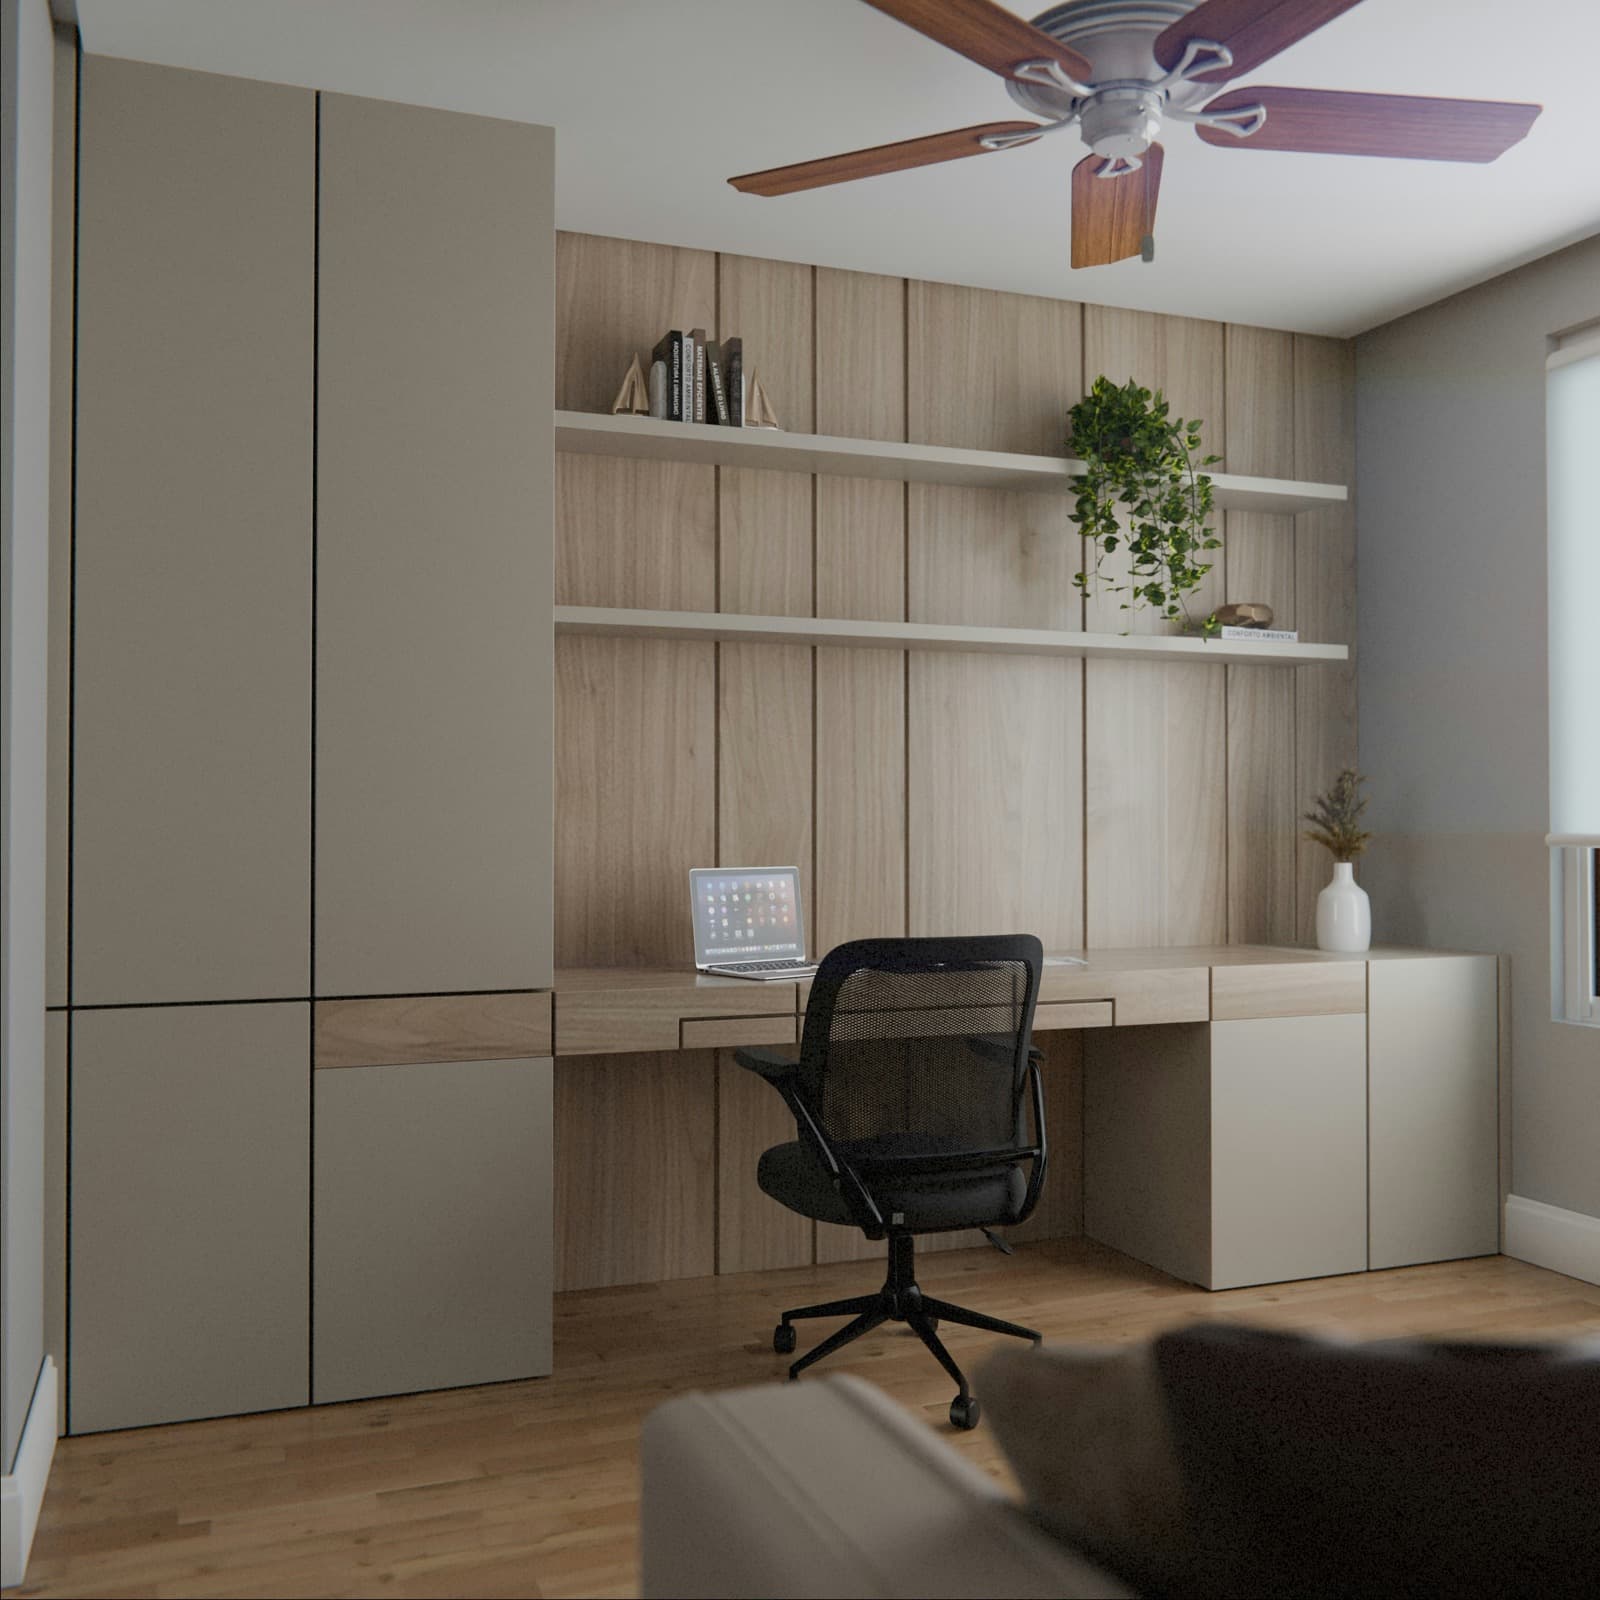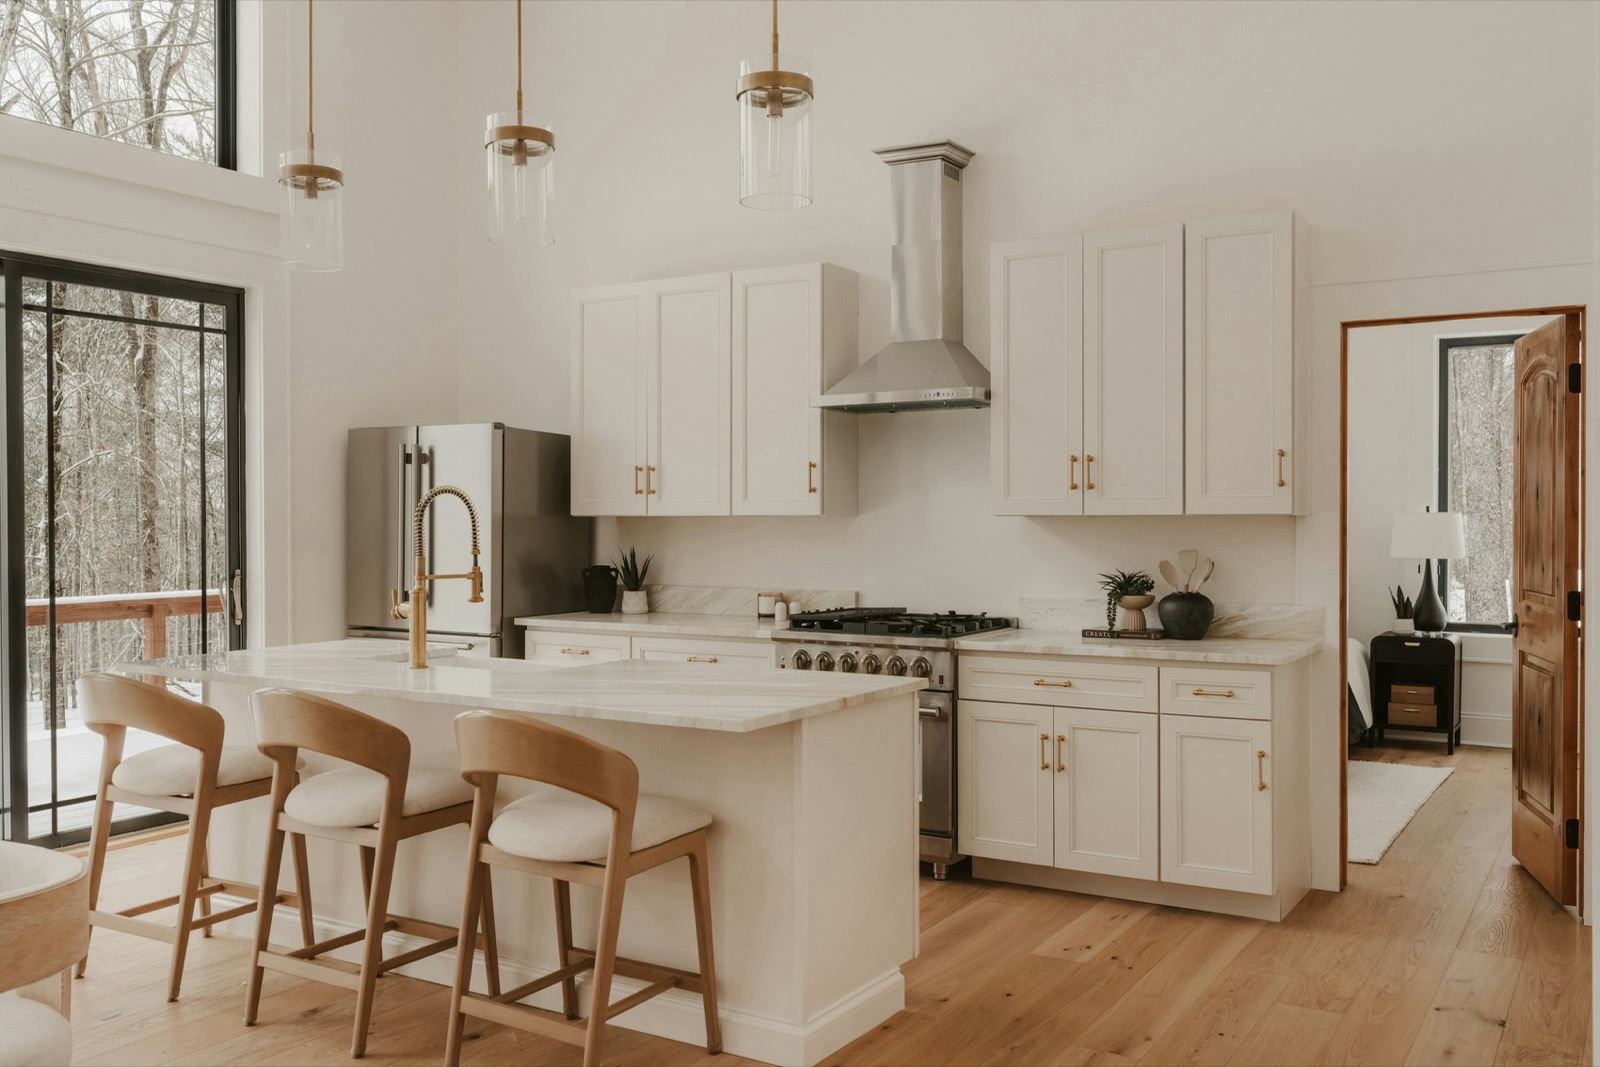
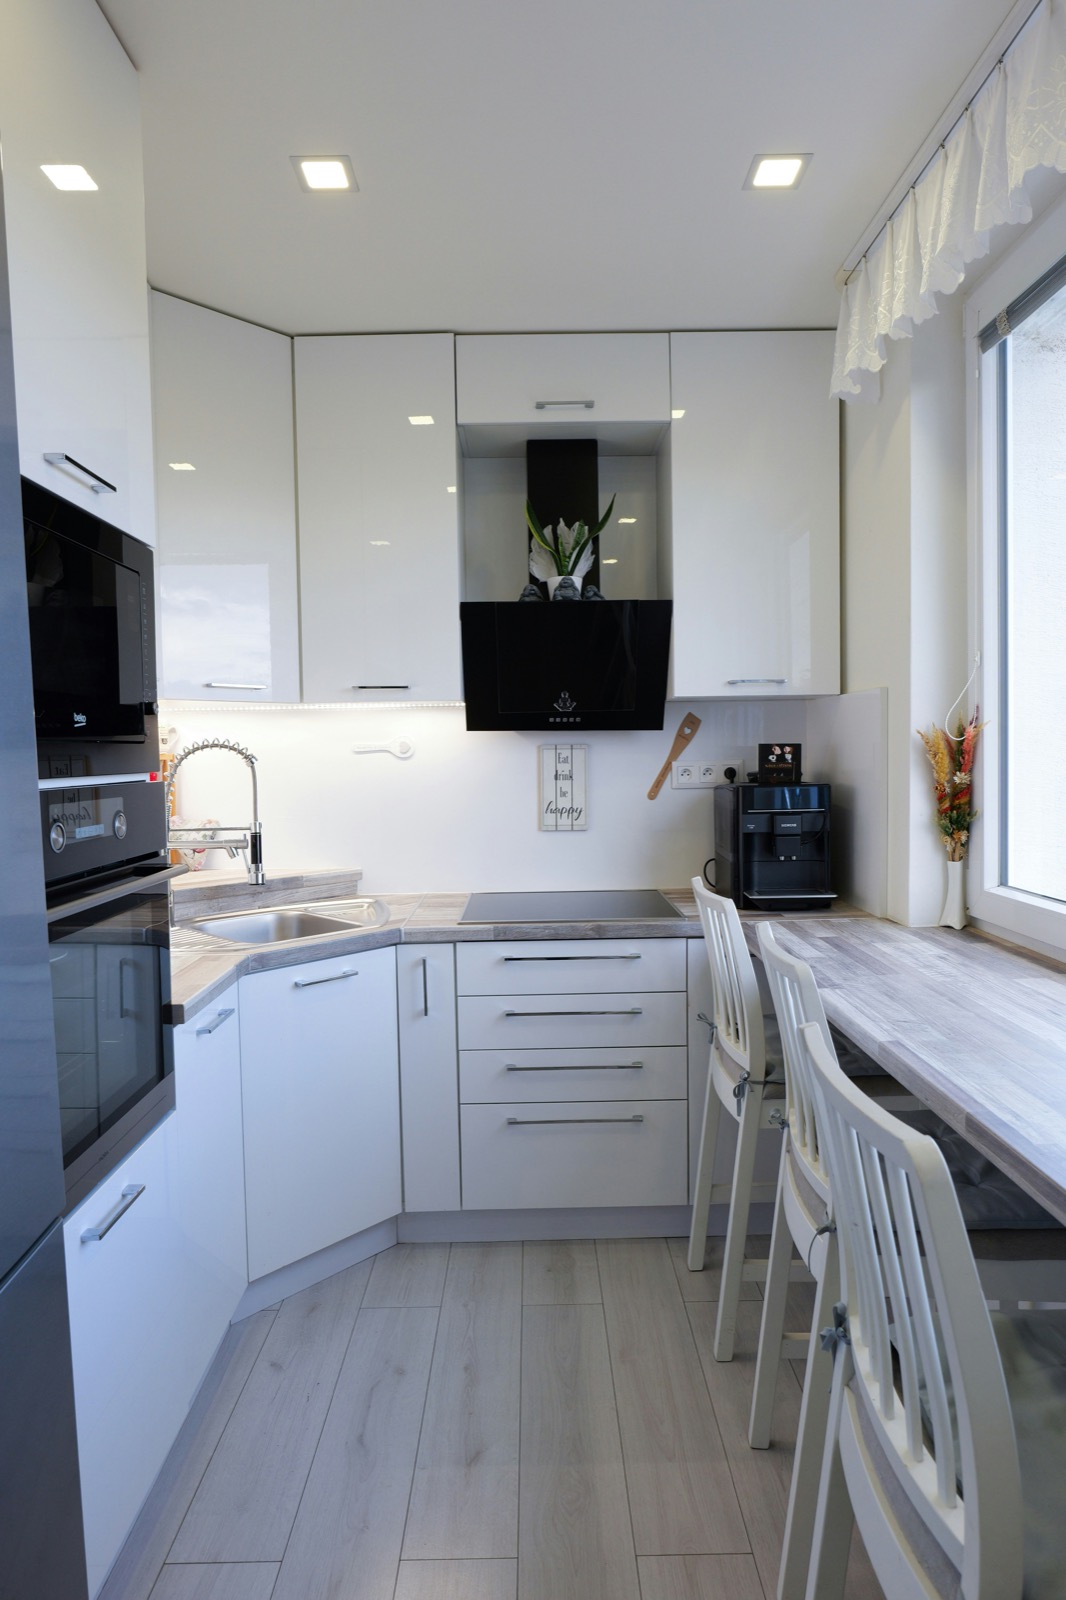
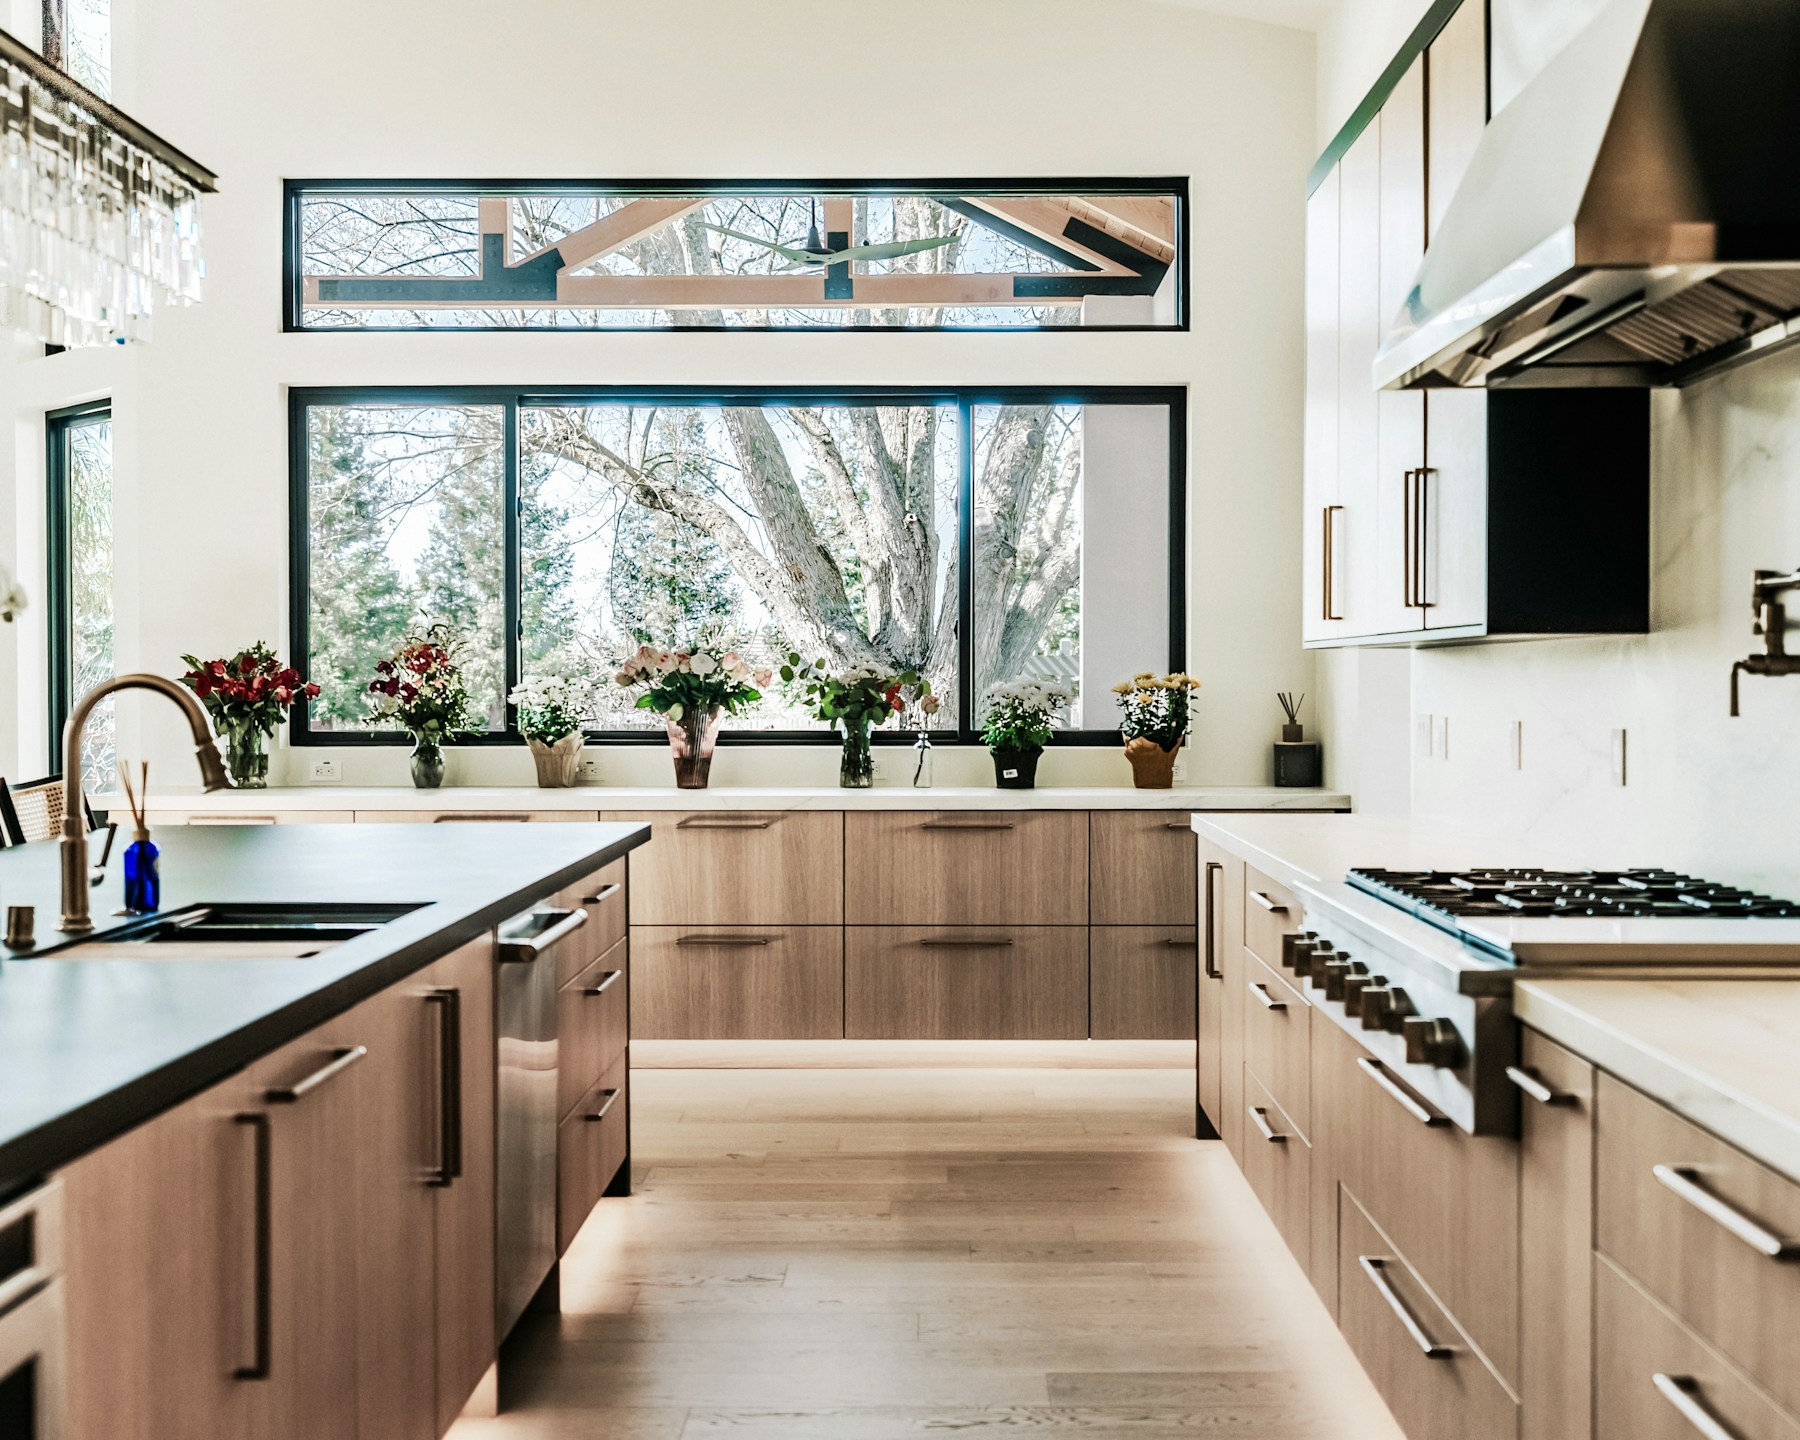
Everything within reach
Explore this look
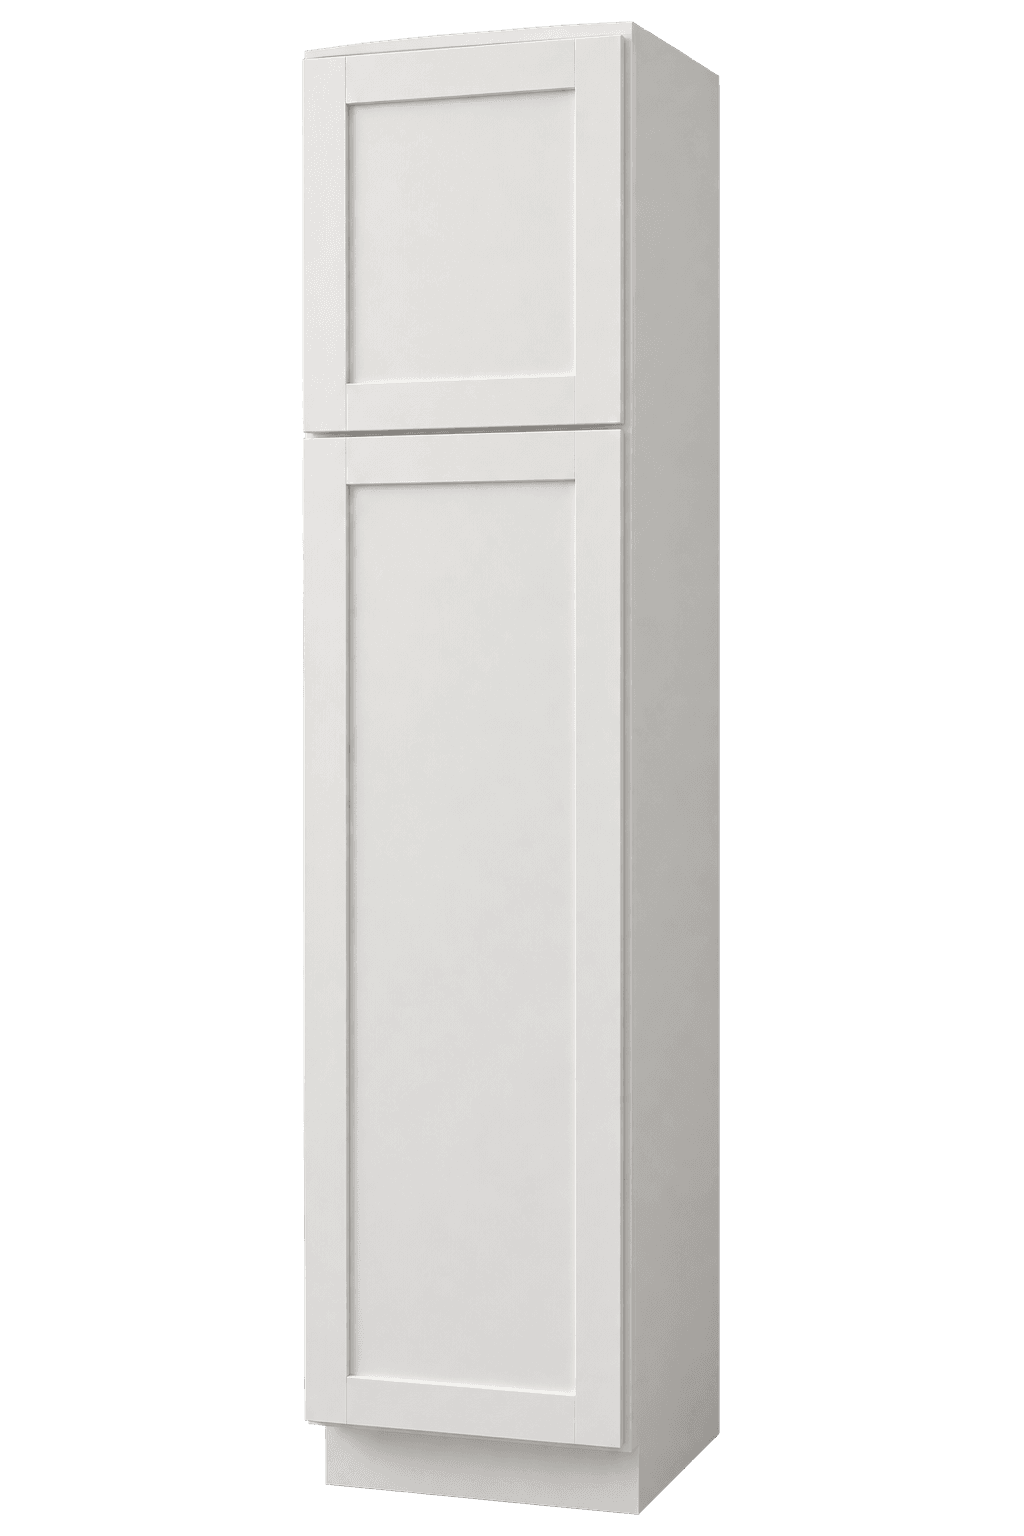
Cabinets to consider for your room. Confirm dimensions and finishes with your plan.
Plan your room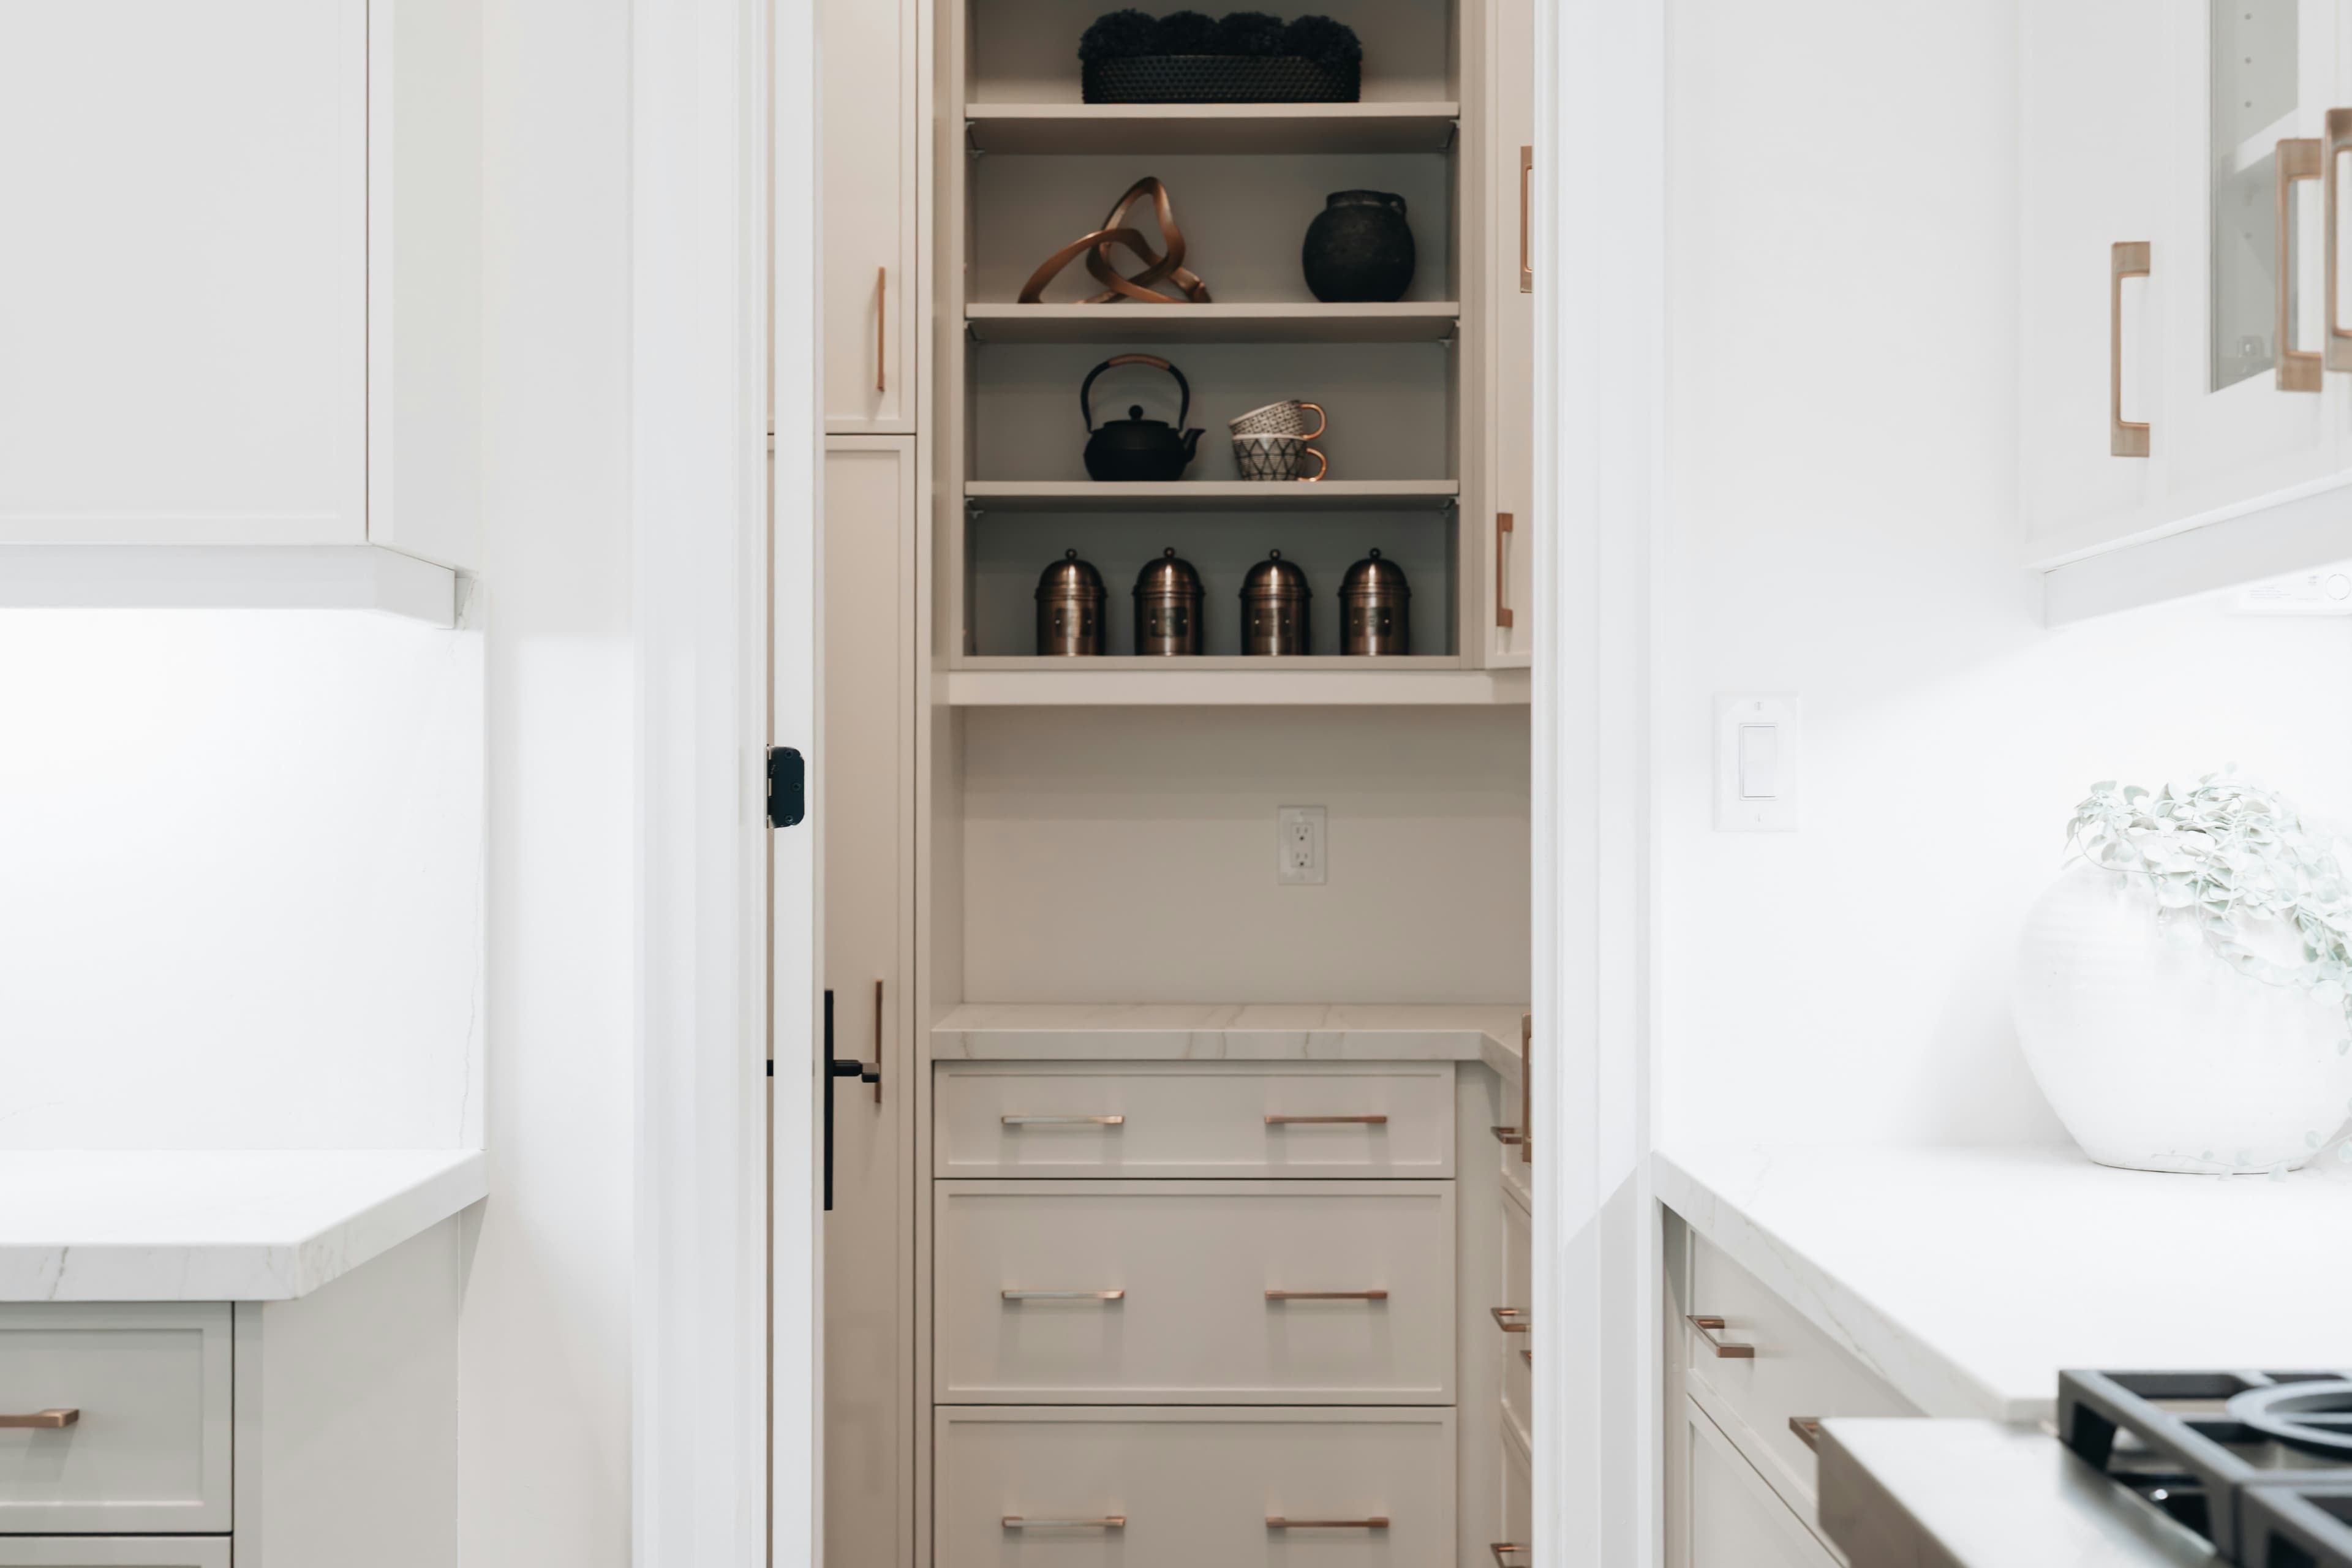
Find cabinet ideas and thoughtful storage for your pantry.
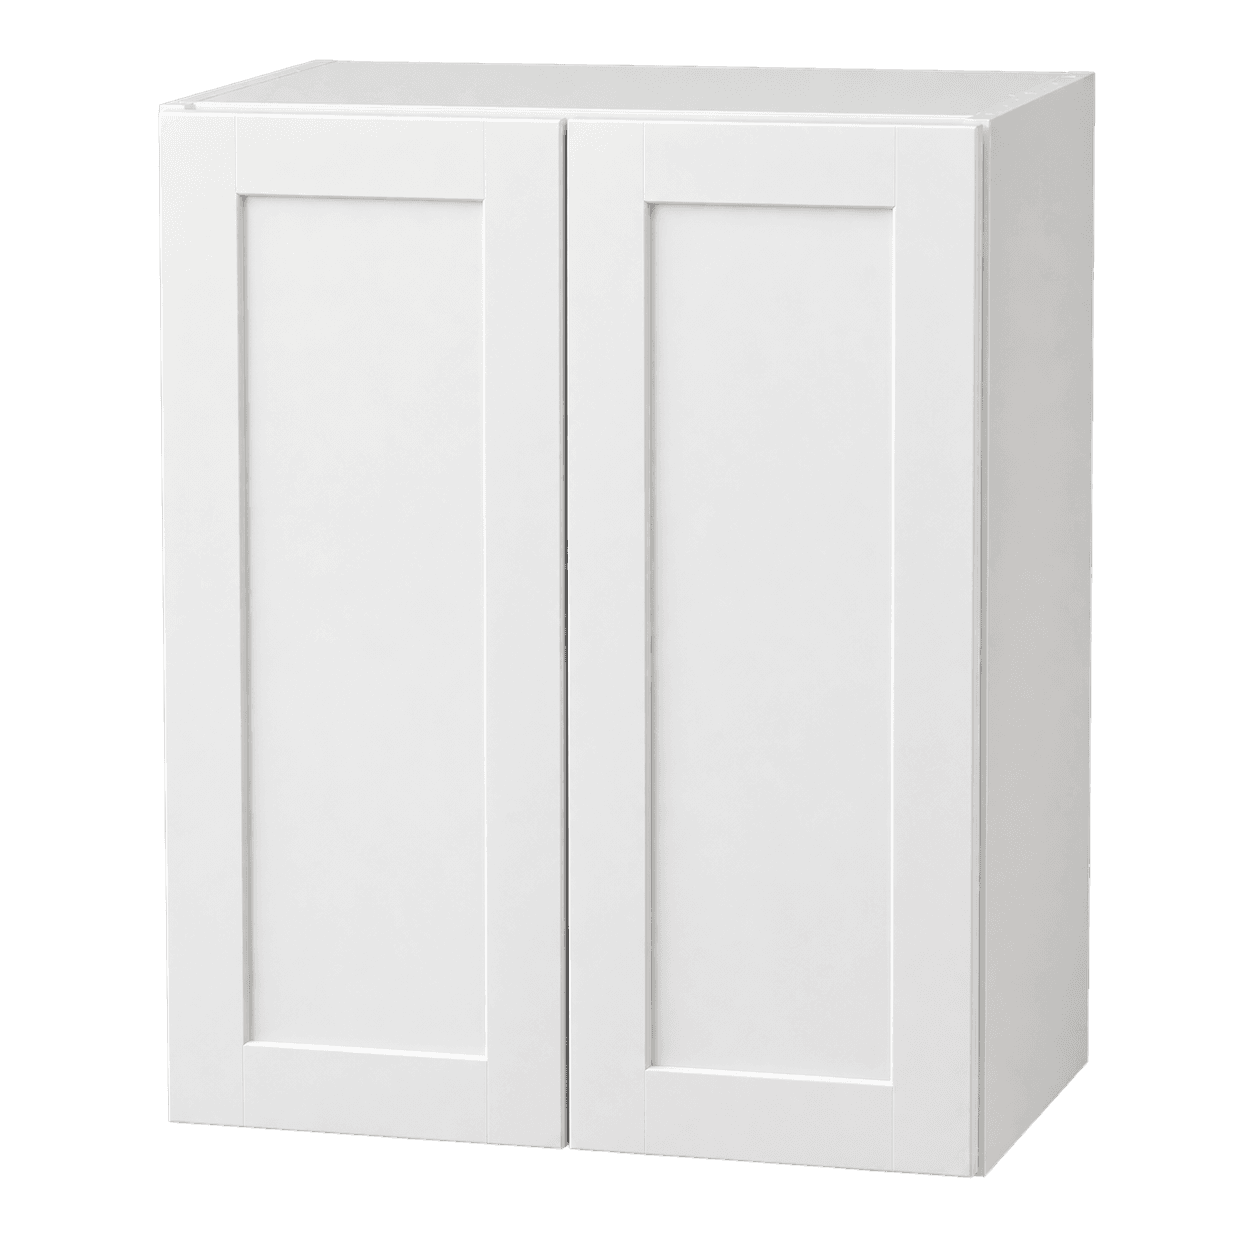
Cabinets to consider for your room. Confirm dimensions and finishes with your plan.
Plan your room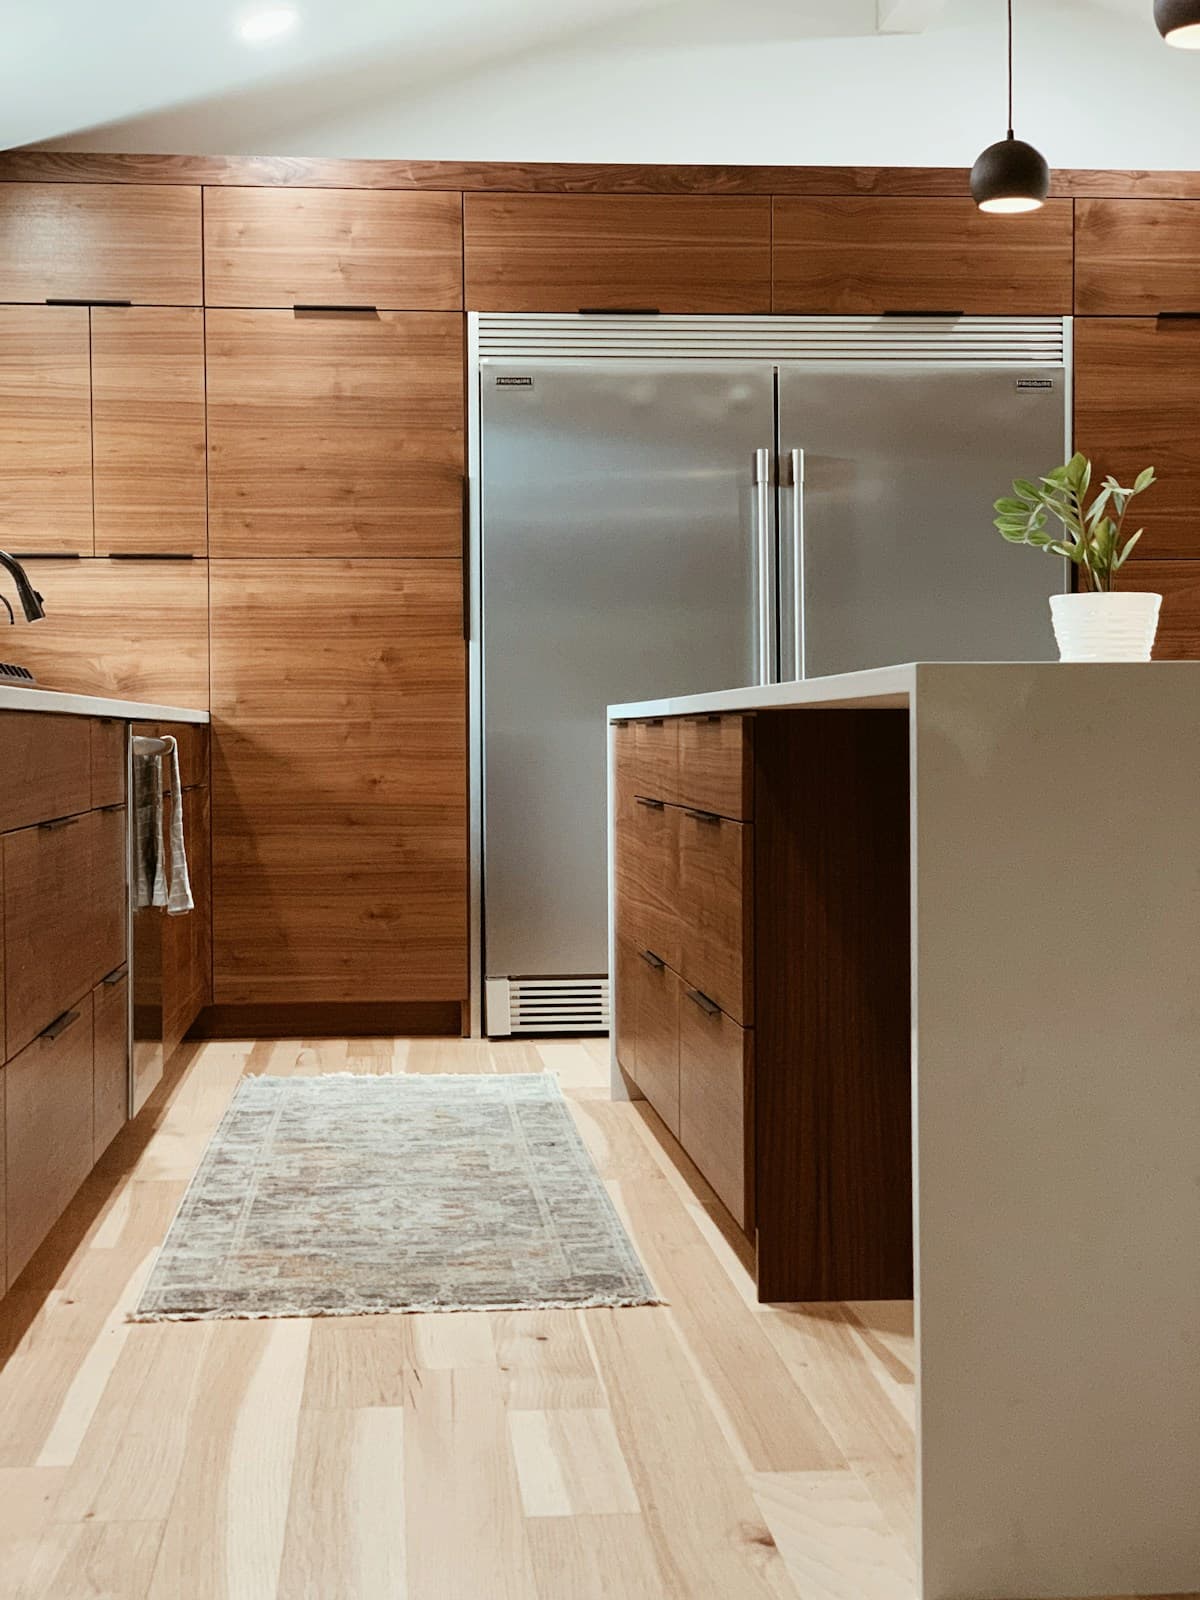
Cabinets to consider for your room. Confirm dimensions and finishes with your plan.
Plan your roomShop tall pantry cabinets and coordinating storage for food, countertop appliances, cleaning tools, and household overflow.
A pantry works best when the storage is planned around real groceries, cookware, serving pieces, and small appliances. Make a quick inventory before choosing cabinet sizes. Note tall bottles, bulk packages, cereal boxes, canned goods, baskets, pet food, mixers, slow cookers, and items that need child-resistant storage. Frequently used goods belong between knee and eye level, while lighter overflow items can use higher shelves.
Tall pantry cabinets concentrate storage on a narrow footprint. Interior shelves make the height flexible, while drawers or roll-out accessories can improve access to deep lower areas. Confirm which organizers are available for the selected cabinet and whether they are included or ordered separately. Door-mounted storage also needs clearance from interior shelves and adjacent hardware.
A butler pantry or appliance pantry may combine base and wall cabinets with a worktop. This creates a place for coffee makers, microwaves, mixers, or serving preparation outside the main kitchen. Check appliance ventilation, electrical outlets, heat, steam, and door-clearance requirements before enclosing an appliance or placing it below an upper cabinet.
Measure the finished ceiling at the front and back of the planned cabinet run. Soffits, crown molding, sloped ceilings, and uneven floors can change the usable height. An assembled tall cabinet also needs enough diagonal clearance to be tilted upright in the room. Check hallways, doors, stairs, and ceiling fixtures along the delivery path.
Tall cabinet doors need space to open past walls, casing, refrigerator handles, and neighboring pulls. A filler at the wall can prevent binding and make the installation plumb even when the room is not square. Where the cabinet side remains visible, add the finish treatment intended for the chosen series. Do not assume the box side will match the door finish.
At the top, decide whether the cabinet stops below the ceiling, meets a soffit, or receives crown and filler. The answer affects the height, molding list, and installation sequence. At the floor, toe kick and finished end details should align with adjacent base cabinets if the pantry is part of a continuous kitchen elevation.
Wide shelves can hold a great deal but allow smaller packages to disappear behind each other. Grouping similar foods in bins, using shallow storage for cans, and reserving lower areas for heavy items can improve visibility. The best cabinet width depends on shelf loading, door access, and the products being stored, not just the remaining wall dimension.
Pull-out pantry mechanisms can bring stored items forward, but they add hardware, weight, and clearance requirements. Confirm that the accessory is designed for the specific cabinet. If simple adjustable shelves are more appropriate, plan shelf spacing around the tallest common container. Avoid creating many short shelves that cannot adapt as household needs change.
Utility pantries may also hold brooms, vacuums, ironing boards, or cleaning supplies. Keep household chemicals separated from food and stored appropriately for children and pets. A dedicated tall section can preserve vertical space, but the opening and internal shelf layout must match the tools. Record the desired use in the project notes before the cabinet is selected.
Pantry cabinets usually look most intentional when they share the construction, door style, and finish used on the connected kitchen elevation. A contrasting pantry can also work, but the transition should be deliberate. Review door samples beside the countertop, flooring, wall color, appliances, and nearby kitchen finish under the actual lighting.
If the pantry sits beside a refrigerator, account for refrigerator panels, hinge side, handle projection, ventilation, and the ability to remove the appliance. A pantry beside a corner must let both cabinet doors open and keep pulls from colliding. Beside an oven, follow the appliance instructions and ensure the cabinet configuration is suitable for that application.
A pantry counter can use quartz or granite, but fabrication is a separate project scope. Final measurements follow cabinet installation. Confirm exposed ends, support, backsplash, electrical cutouts, appliance cutouts, seams, edge profile, delivery, and installation before the countertop is released.
Shop tall cabinets by item number when you already have a schedule, or upload the kitchen and pantry elevations for help creating one. Add the ceiling height, wall dimensions, door and casing locations, appliance specifications, chosen cabinet series, finish preference, project ZIP code, and target date.
The cart should include every cabinet, filler, finished panel, toe-kick piece, molding, and organizer. During review, compare the cart line by line with the elevation. Confirm door swings, exposed sides, cabinet height, and accessory compatibility. Availability, freight, unloading, tax, and the final total are verified before payment.
When a project has several pantries or unit types, label the takeoff by building, floor, unit, and room. Mirrored layouts and accessibility variations should have separate schedules. Clear labels simplify receiving and keep similar-looking tall cabinets from being installed in the wrong location.
Choose a height that fits the finished ceiling, soffit, molding plan, adjacent cabinets, and installation clearance. Also verify the diagonal clearance needed to stand an assembled cabinet upright.
Interior accessories vary by cabinet and series. Check the configured product and list roll-outs or organizers separately when they are not included.
Yes, if the design preserves the refrigerator opening, hinge and handle clearance, ventilation, panels, service access, and appliance removal path. Use the current refrigerator specifications.
They can store many countertop appliances, but any appliance used inside or below cabinetry must follow its ventilation, electrical, heat, steam, and clearance instructions.
Yes. Include dimensions, ceiling height, adjacent appliances, intended storage, series and finish preferences, project ZIP code, and target date. The draft is reviewed before ordering.
Cabinet sizes, construction, finish, accessories, panels, fillers, trim, freight, tax, unloading, countertops, and installation determine the complete pantry cabinets cost.
Approve the dimensioned layout, item numbers, quantities, series, finish, exposed ends, clearances, delivery access, freight, and interfaces with fixtures or equipment.
Build a useful cabinet plan from wall dimensions, openings, appliances, utilities, and clearances.
Bring groceries, small appliances, and serving pieces together with a pantry plan built around what you store.
Compare cabinet construction, interior access, installation planning, and series selection.
A practical review sequence for item numbers, series, finished sides, accessories, and approvals.