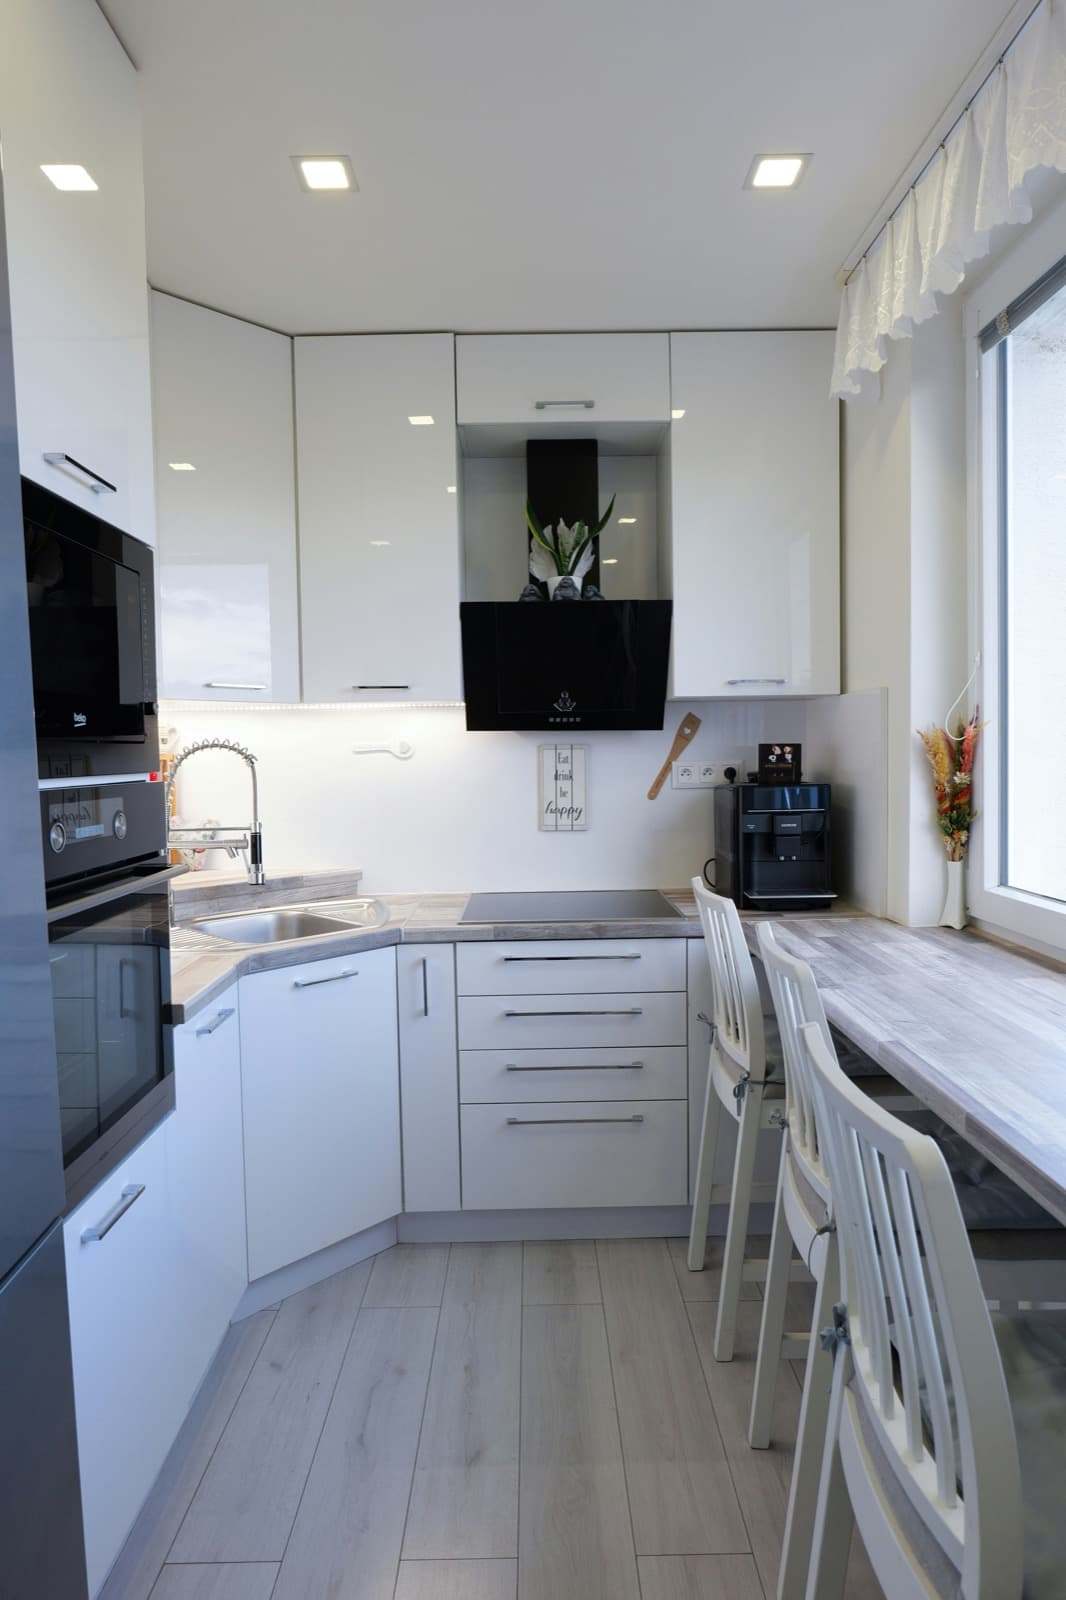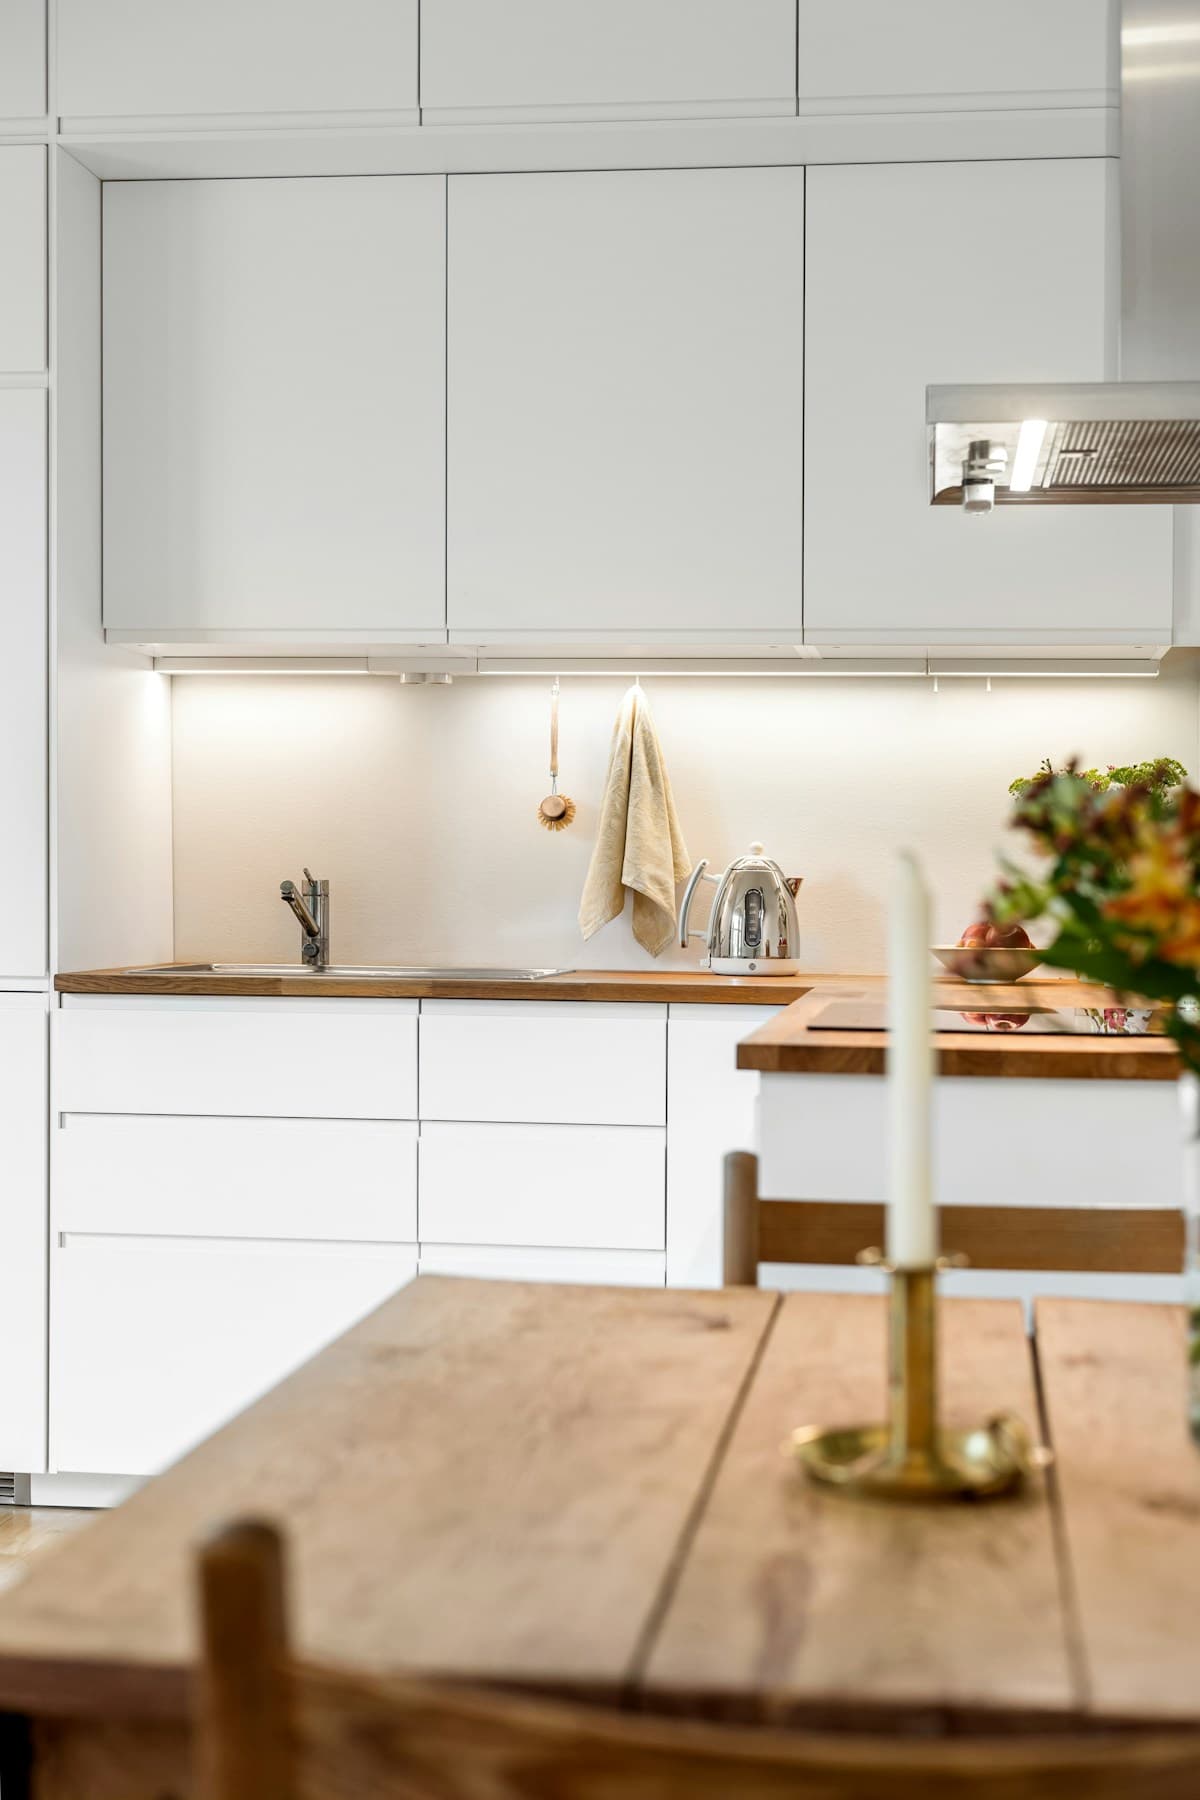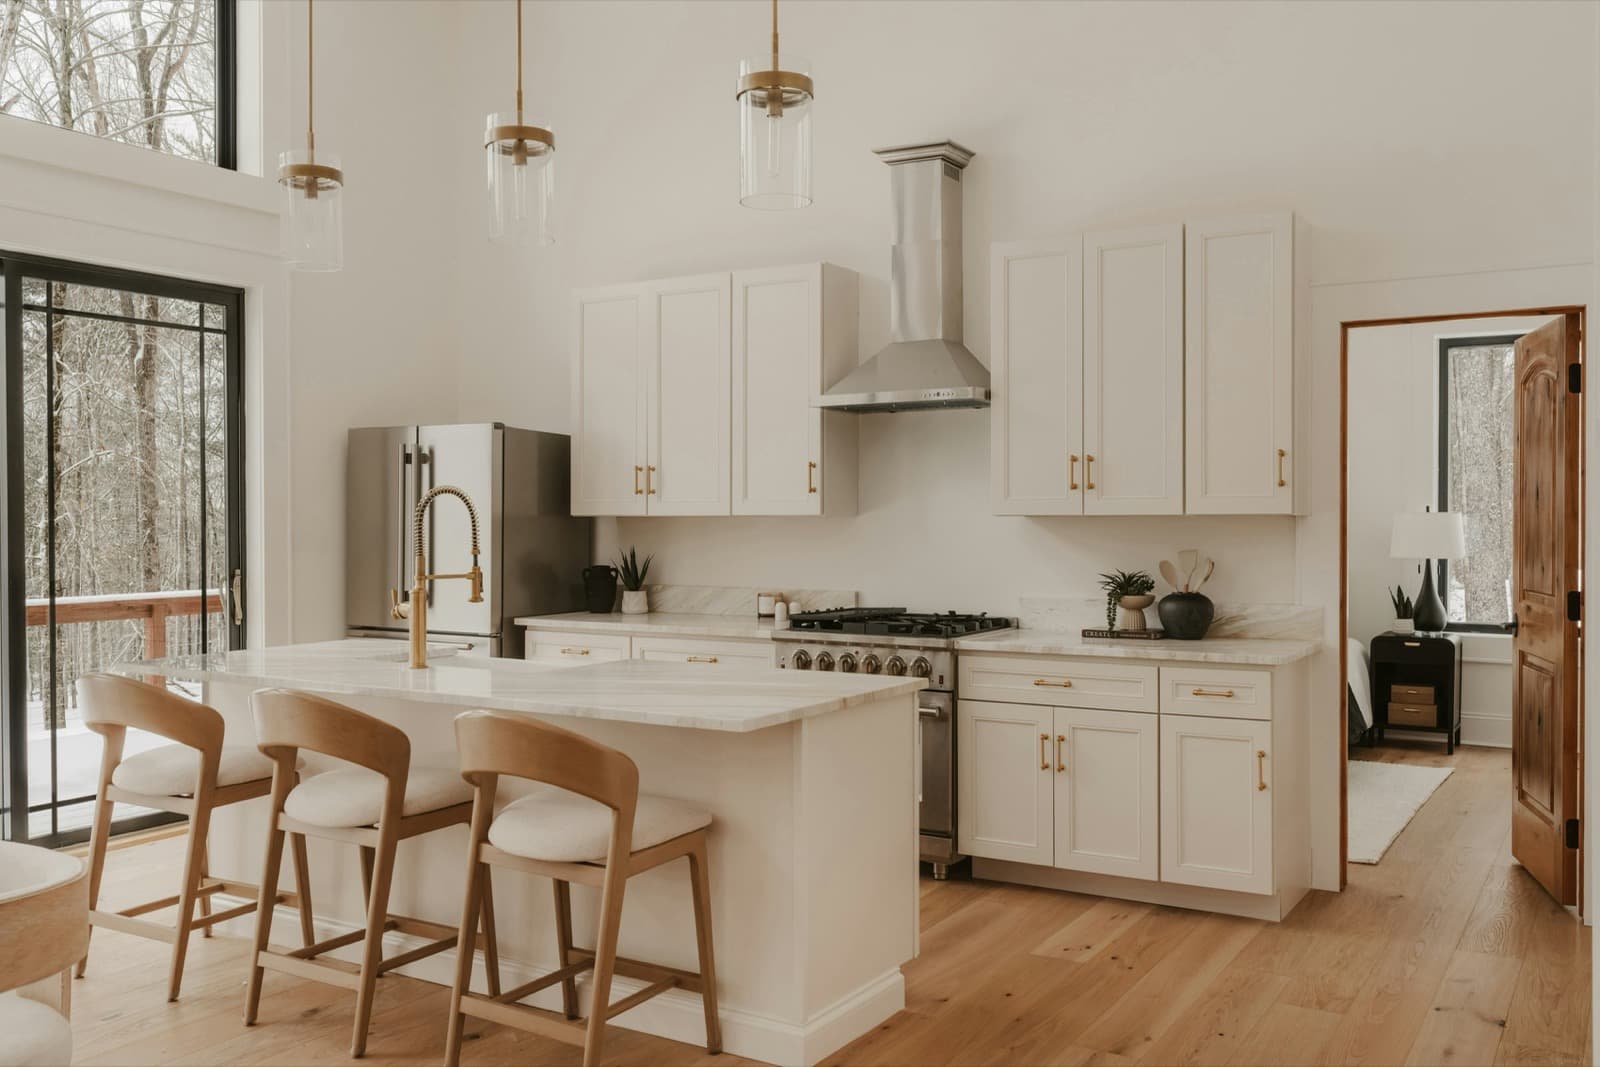
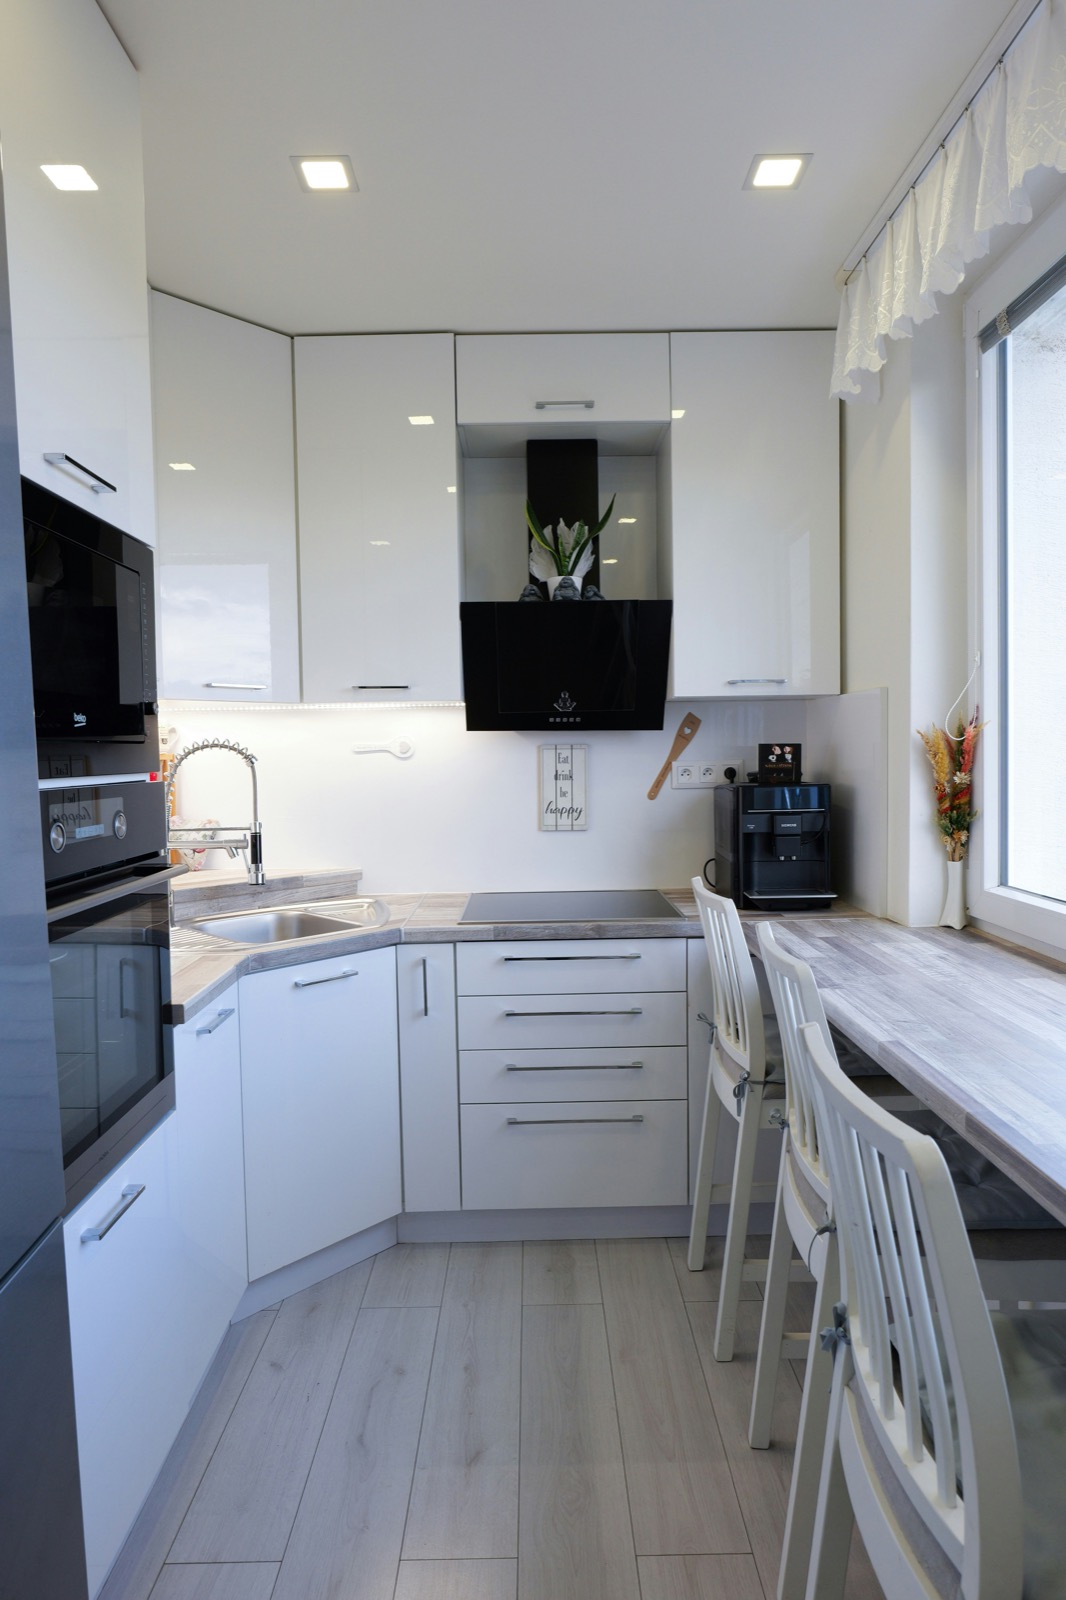
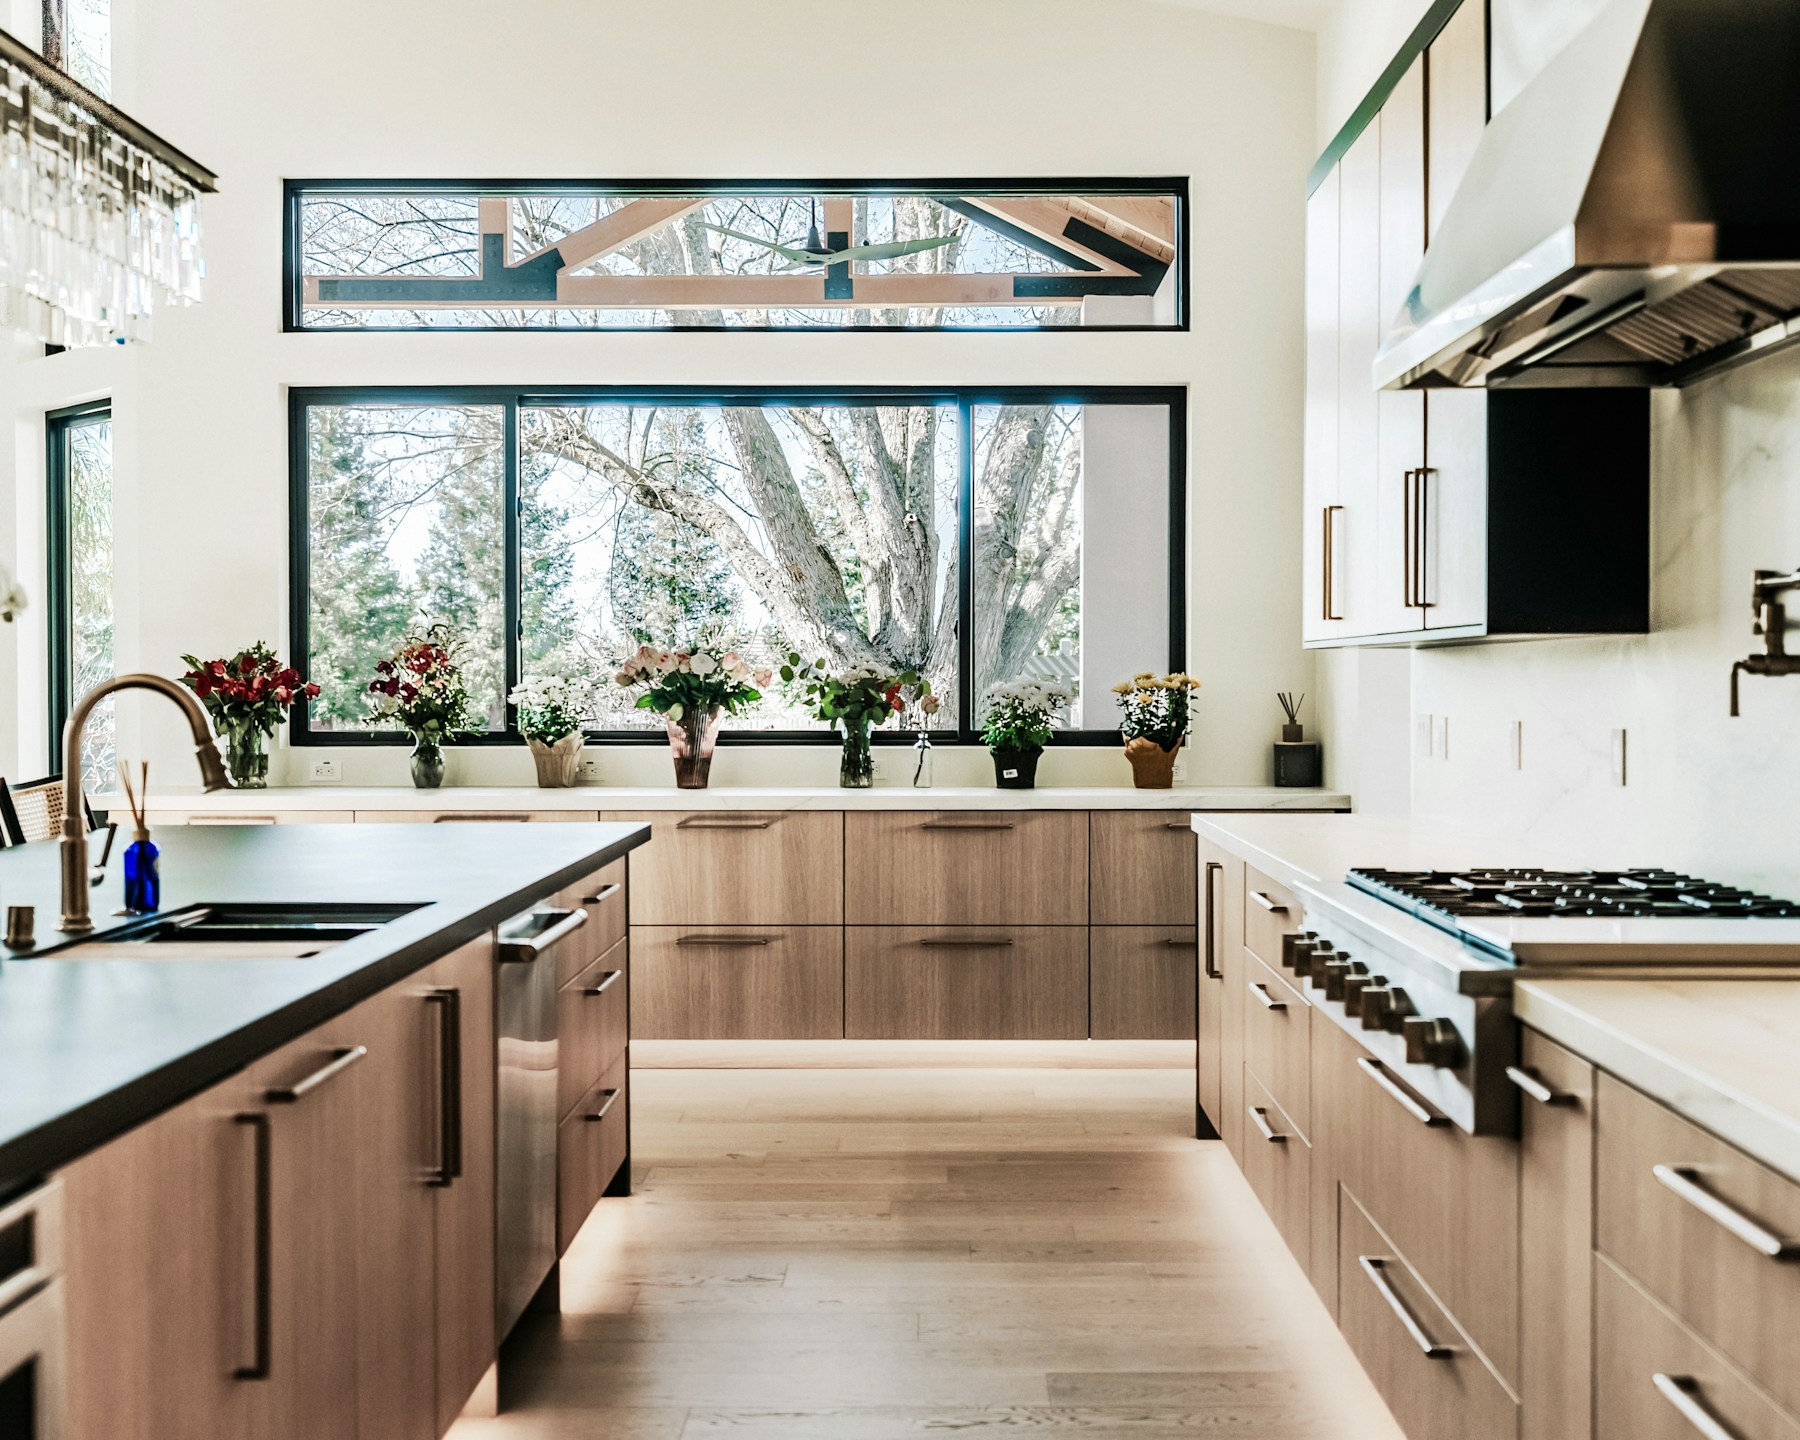
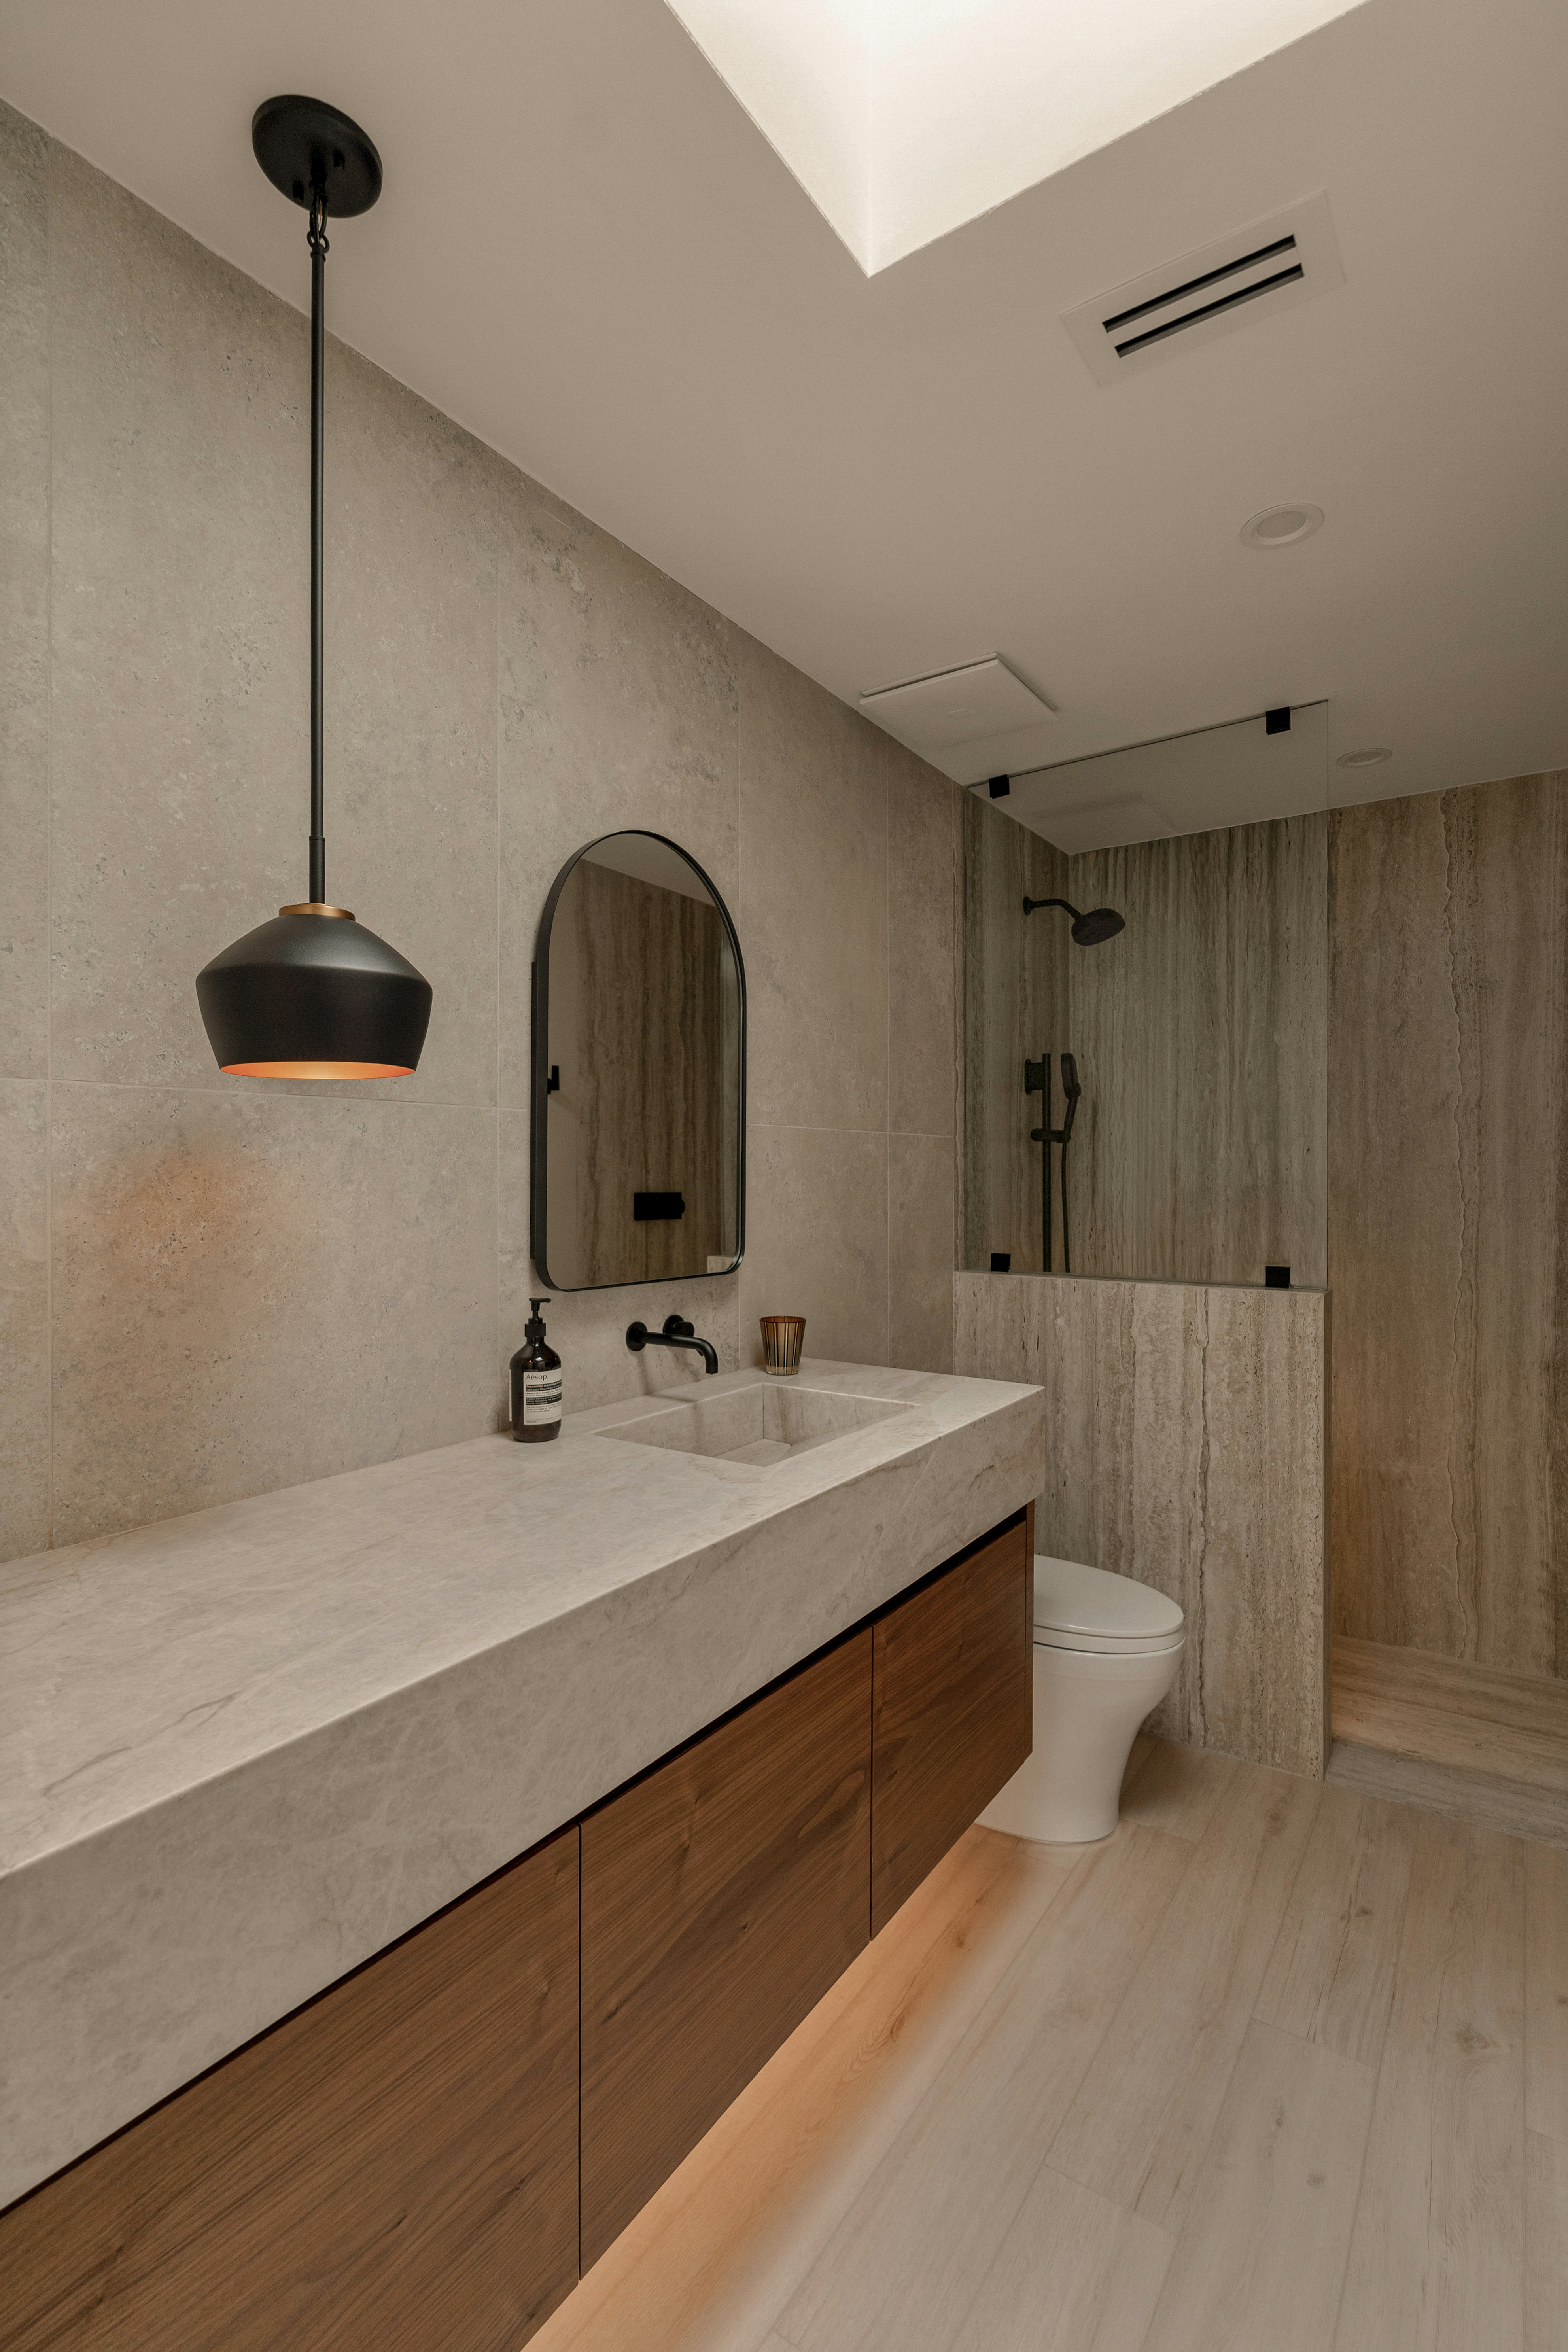
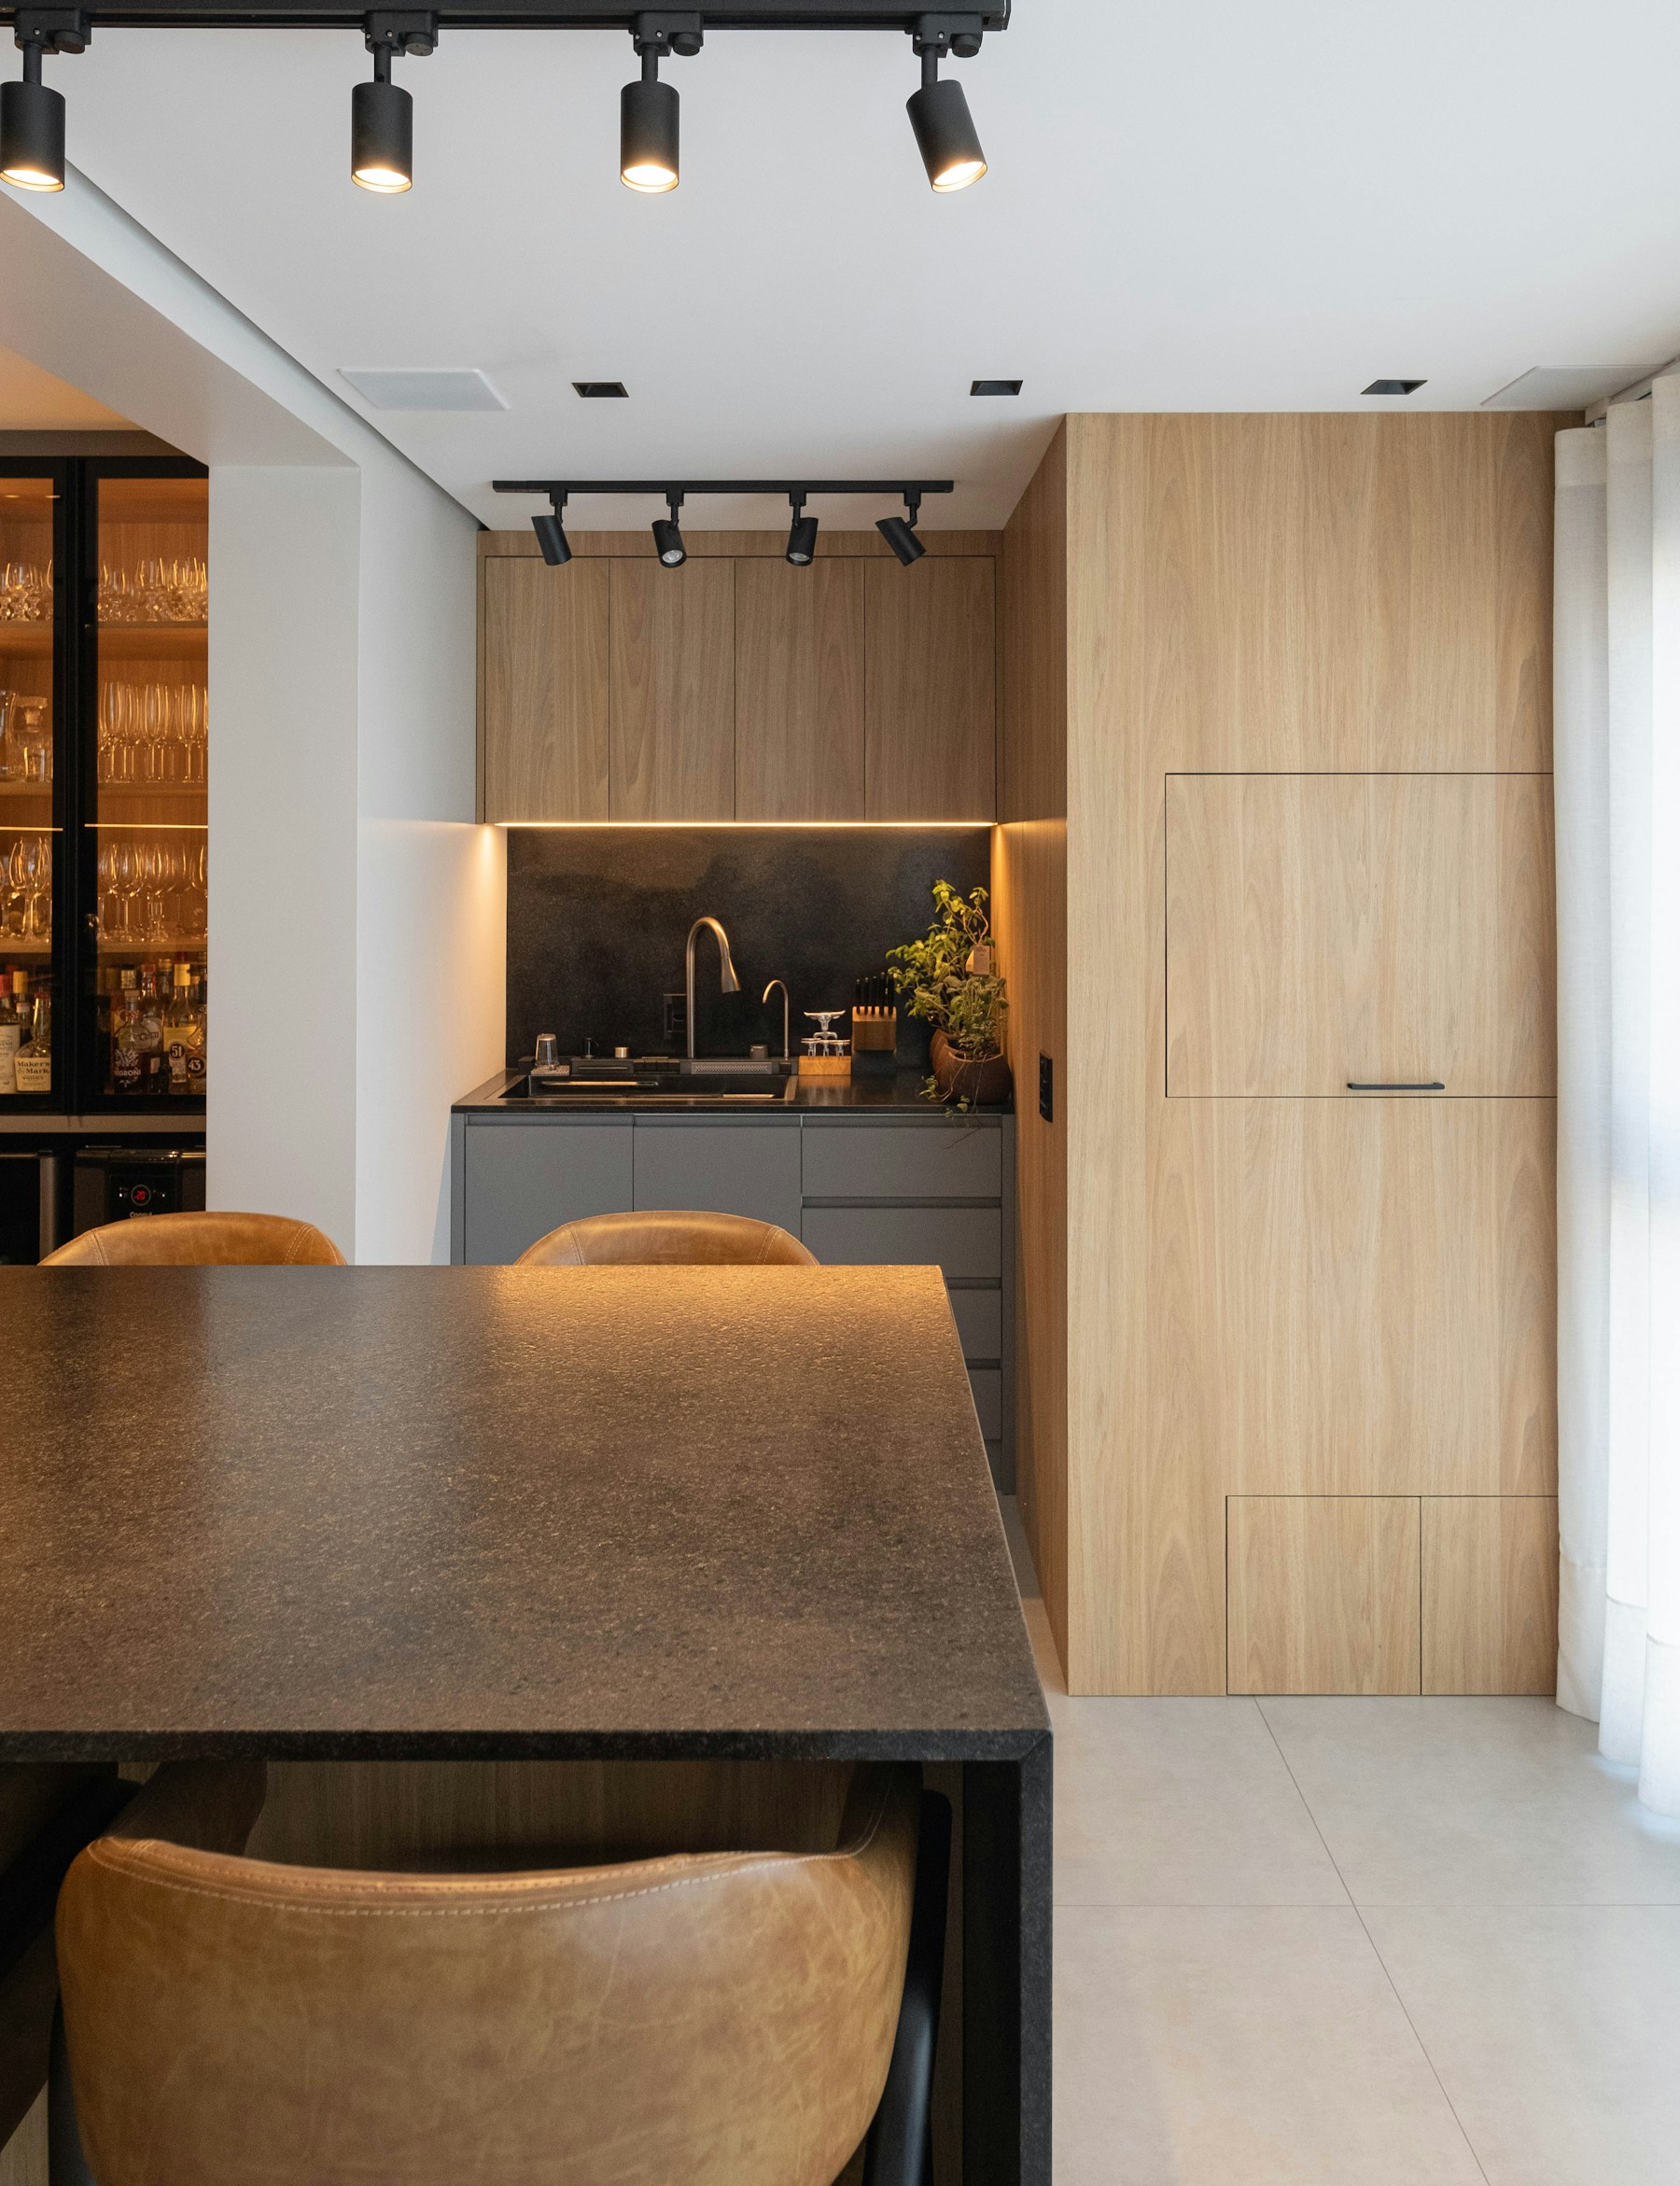
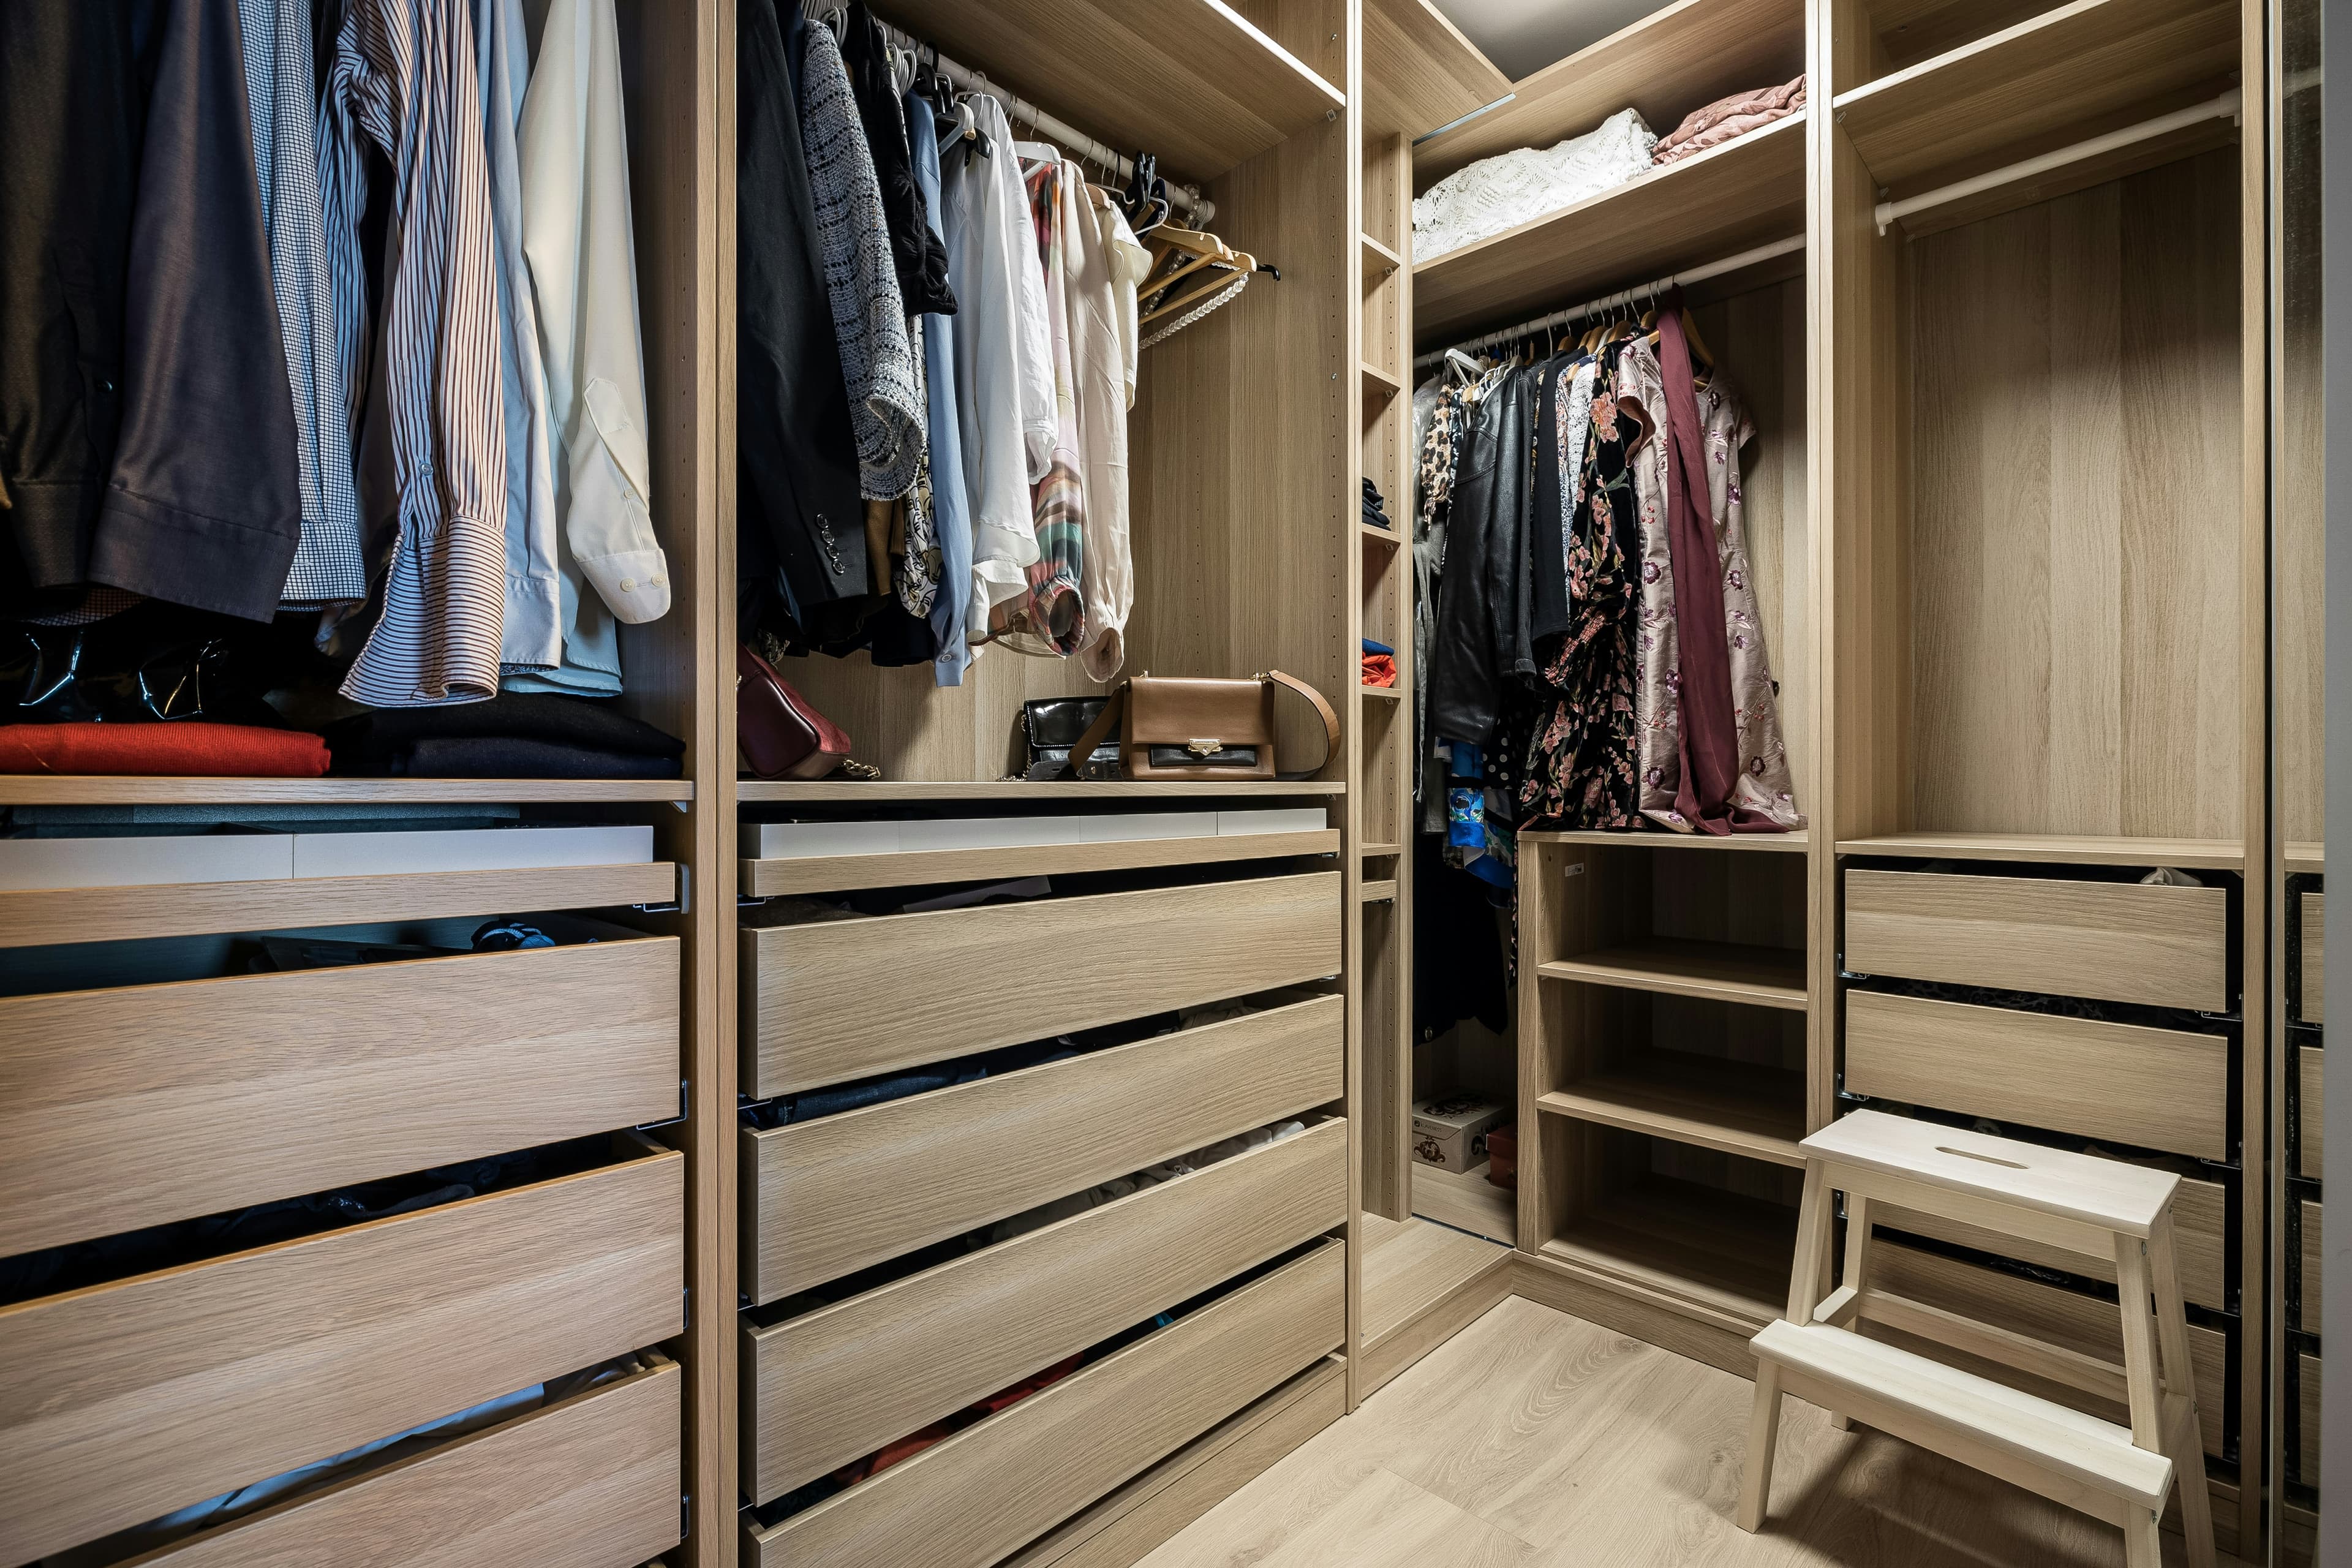
Put supplies in their place
Explore this look
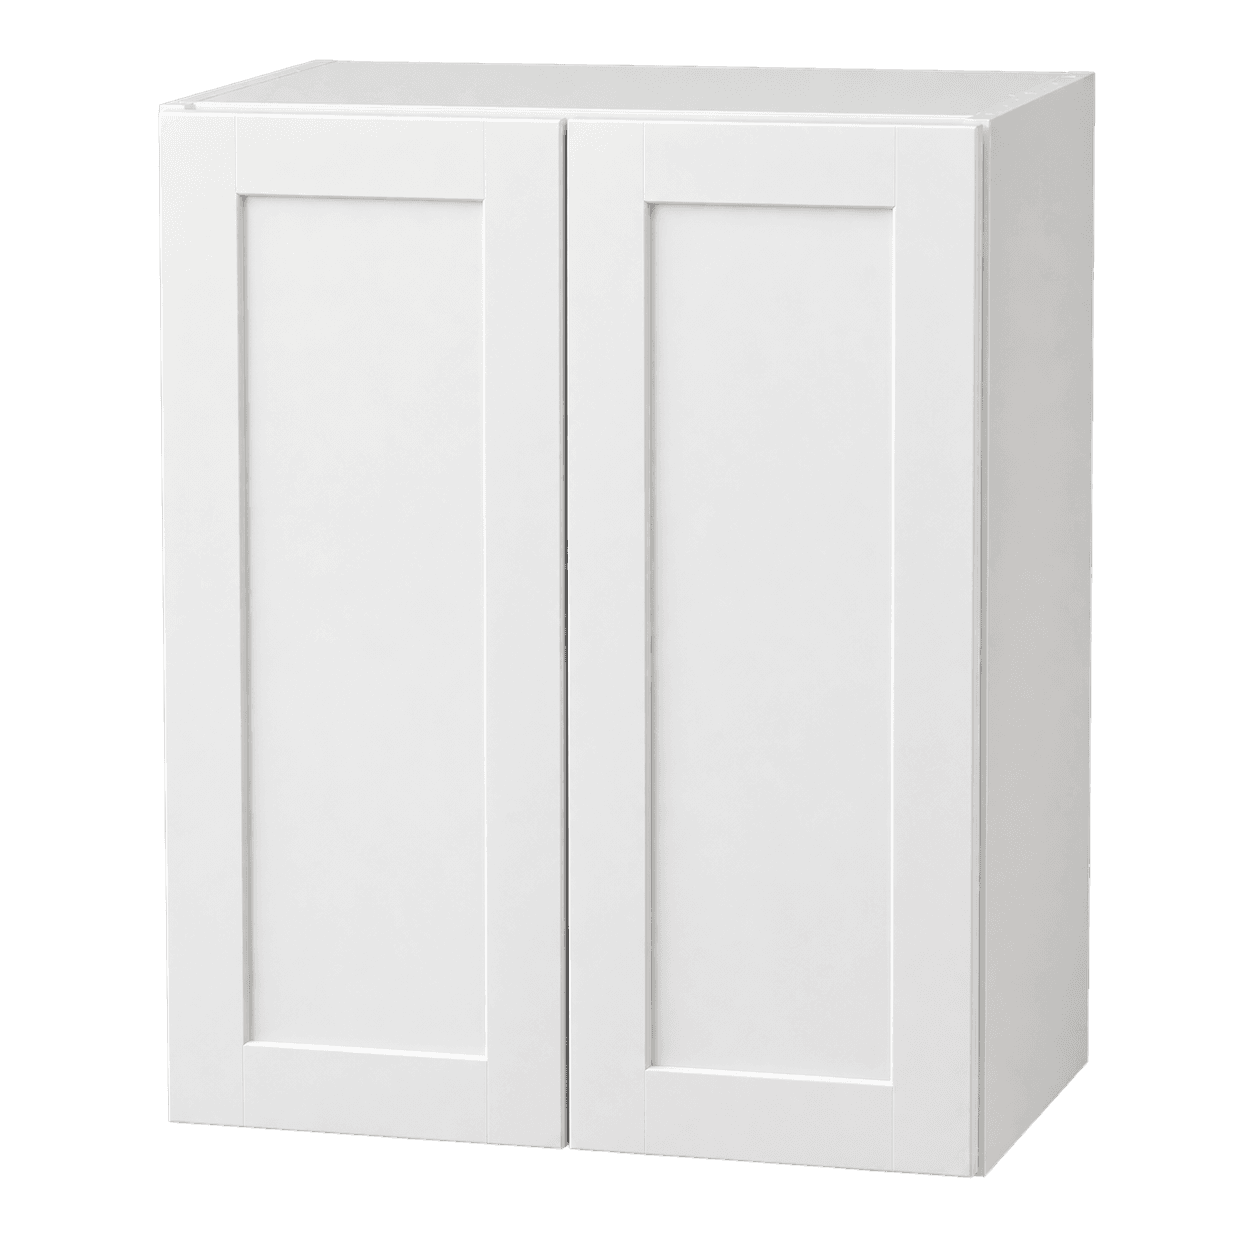
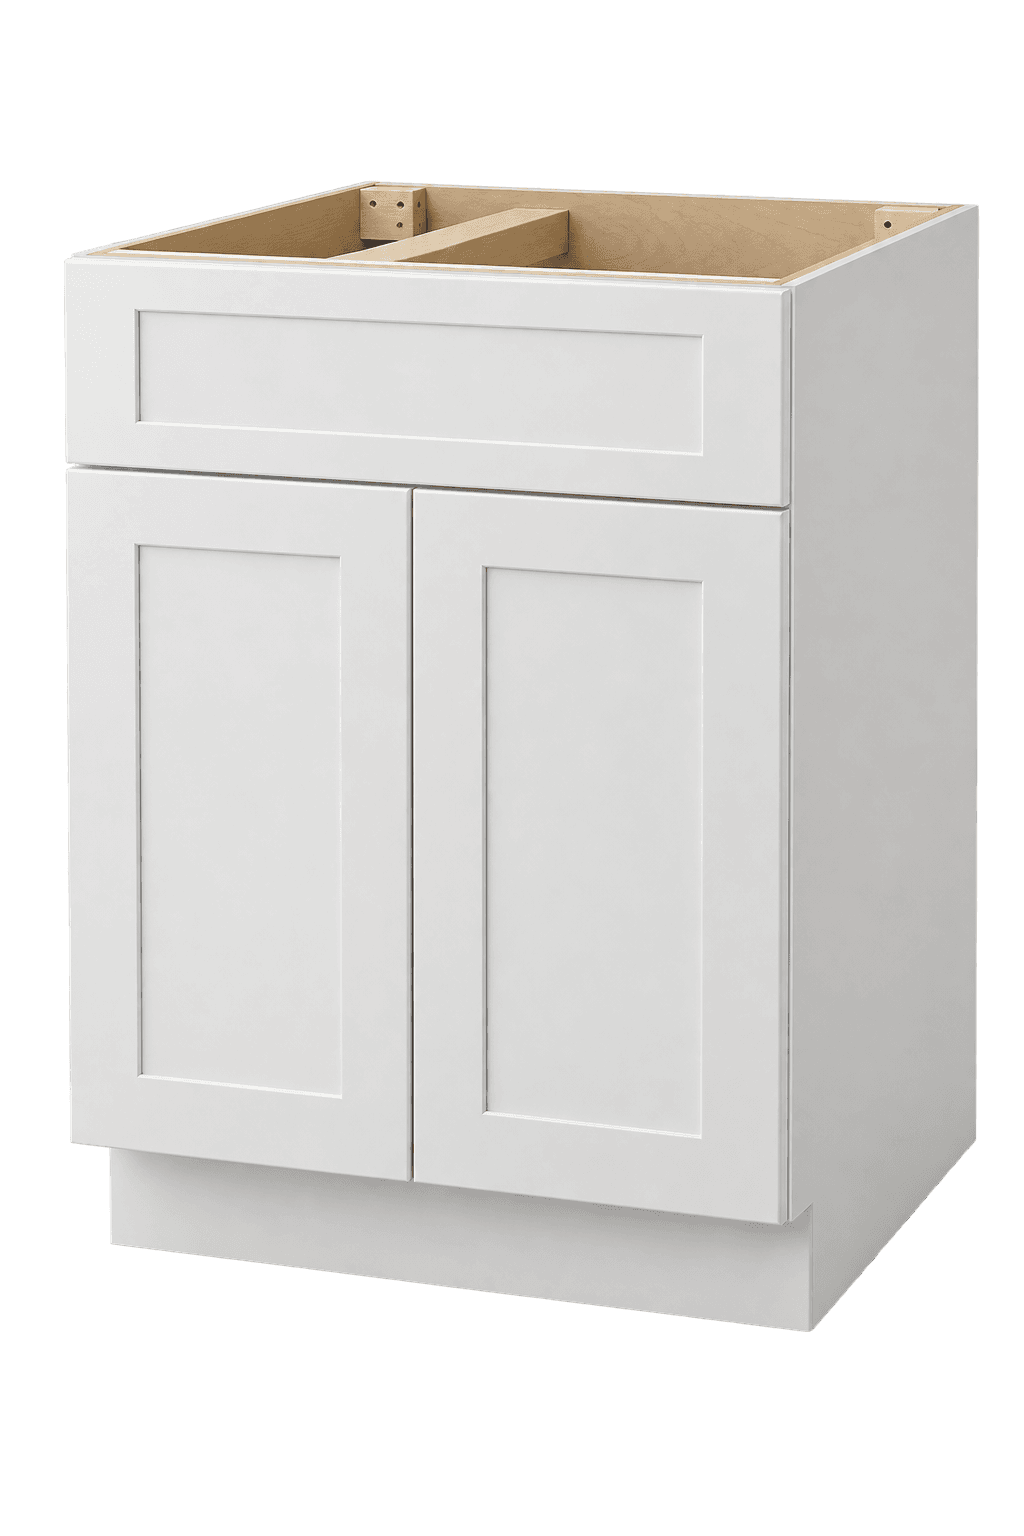
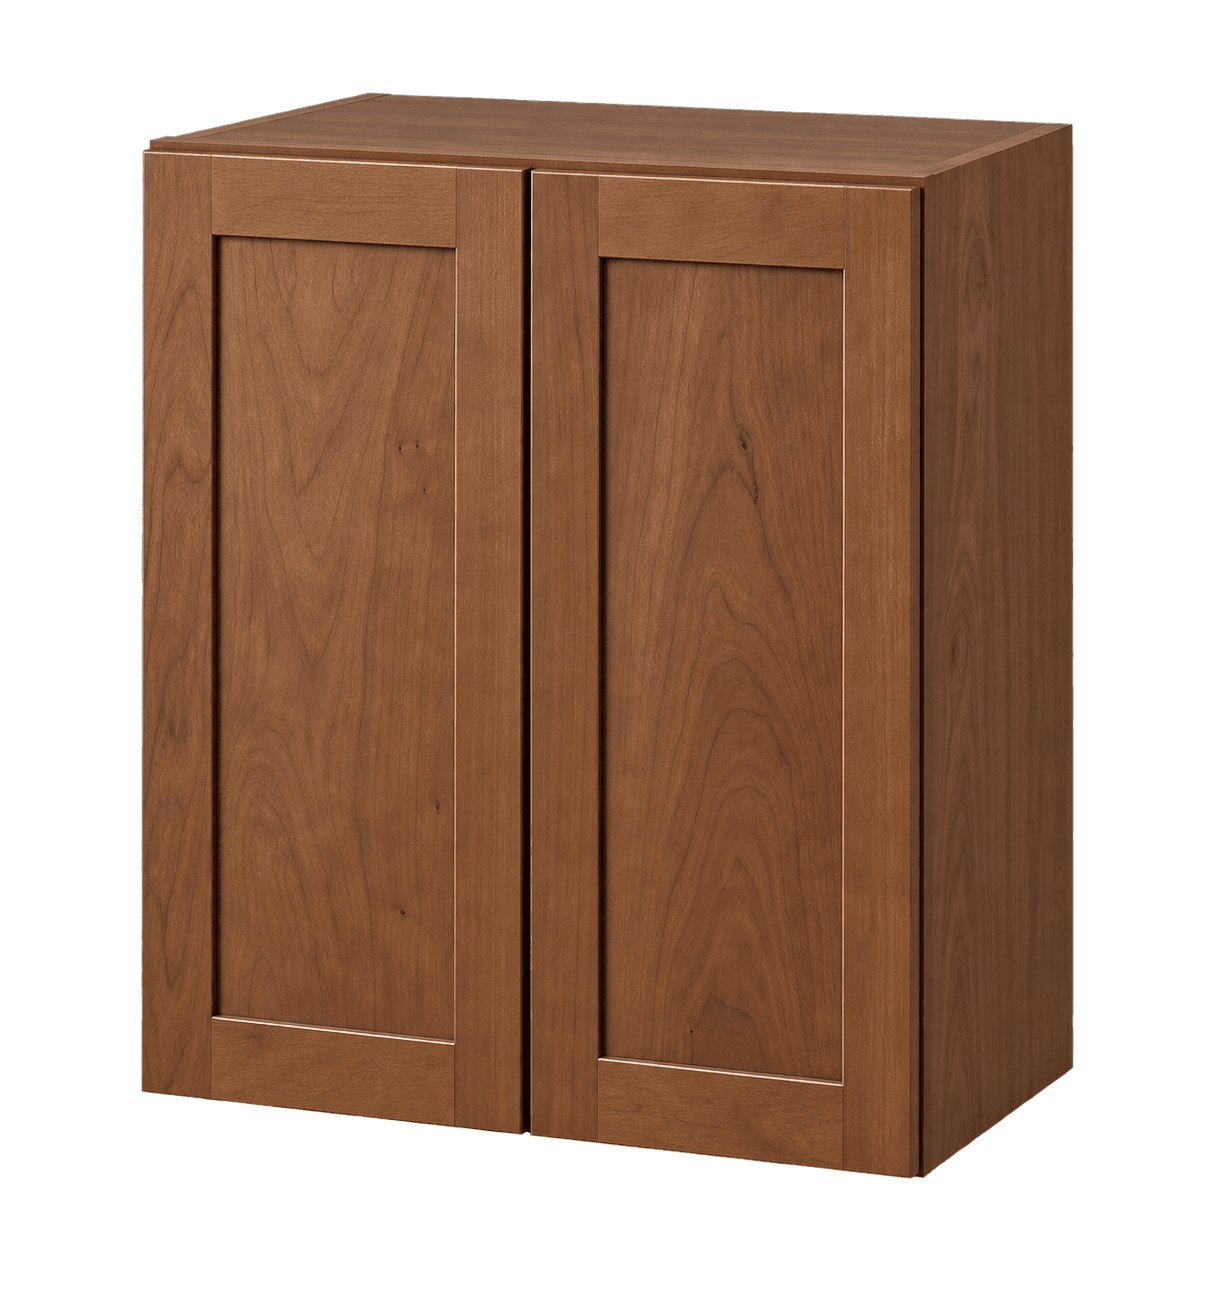
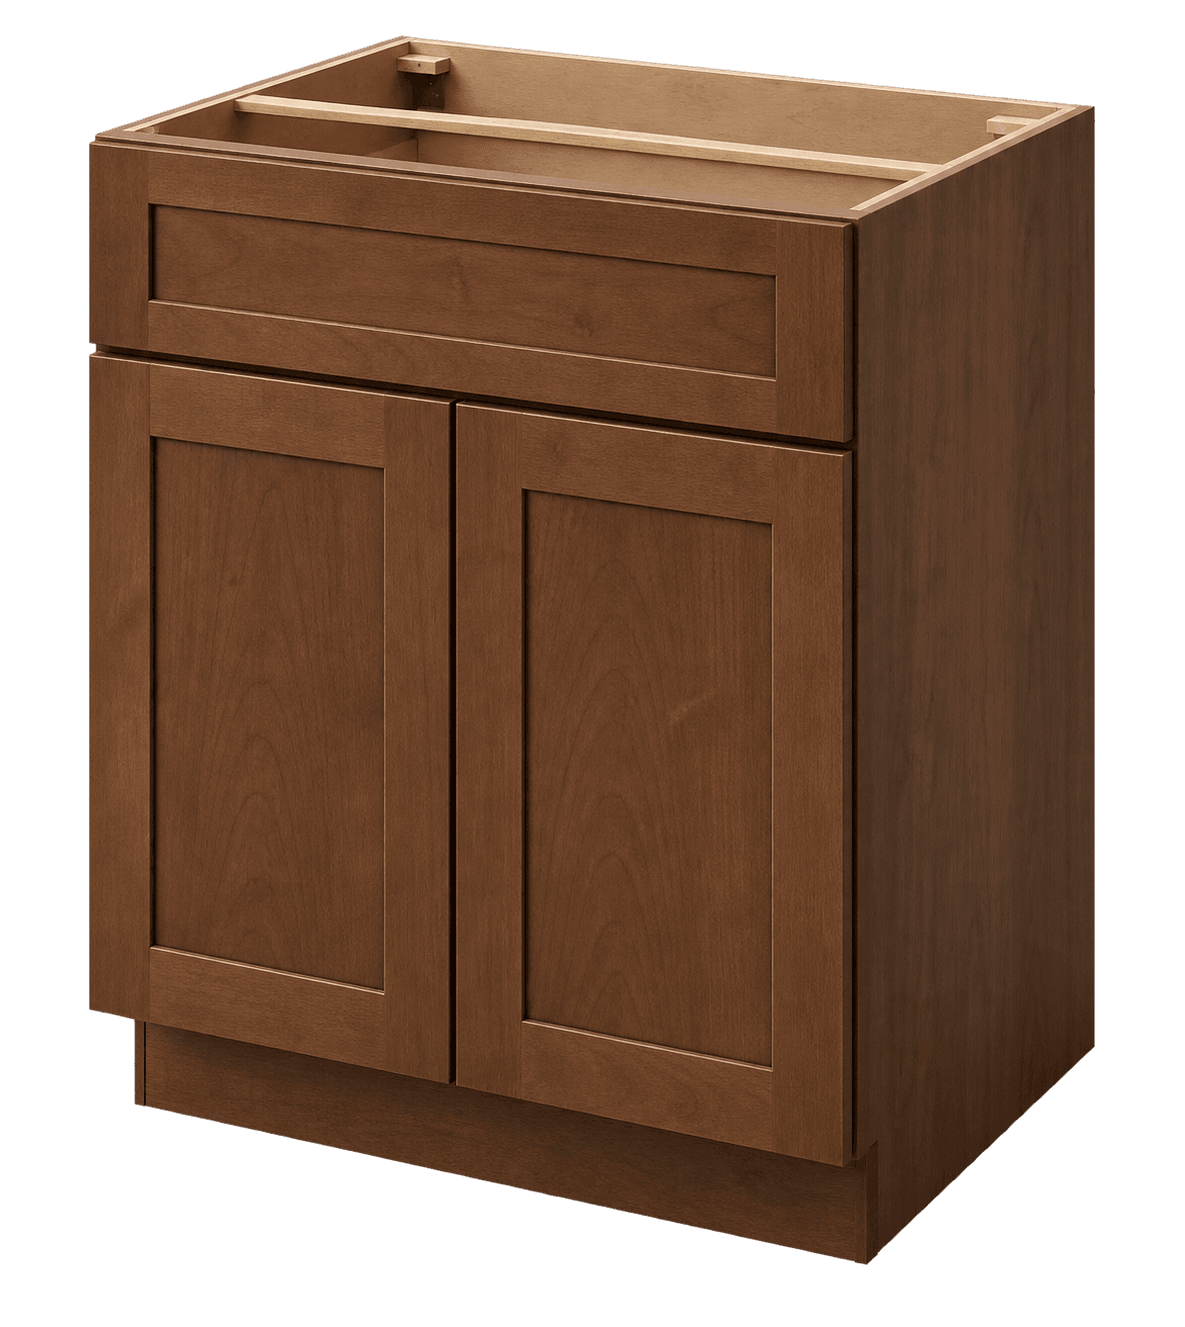
Cabinets to consider for your room. Confirm dimensions and finishes with your plan.
Plan your room
Find cabinet ideas and thoughtful storage for your craft room.
Cabinets to consider for your room. Confirm dimensions and finishes with your plan.
Plan your room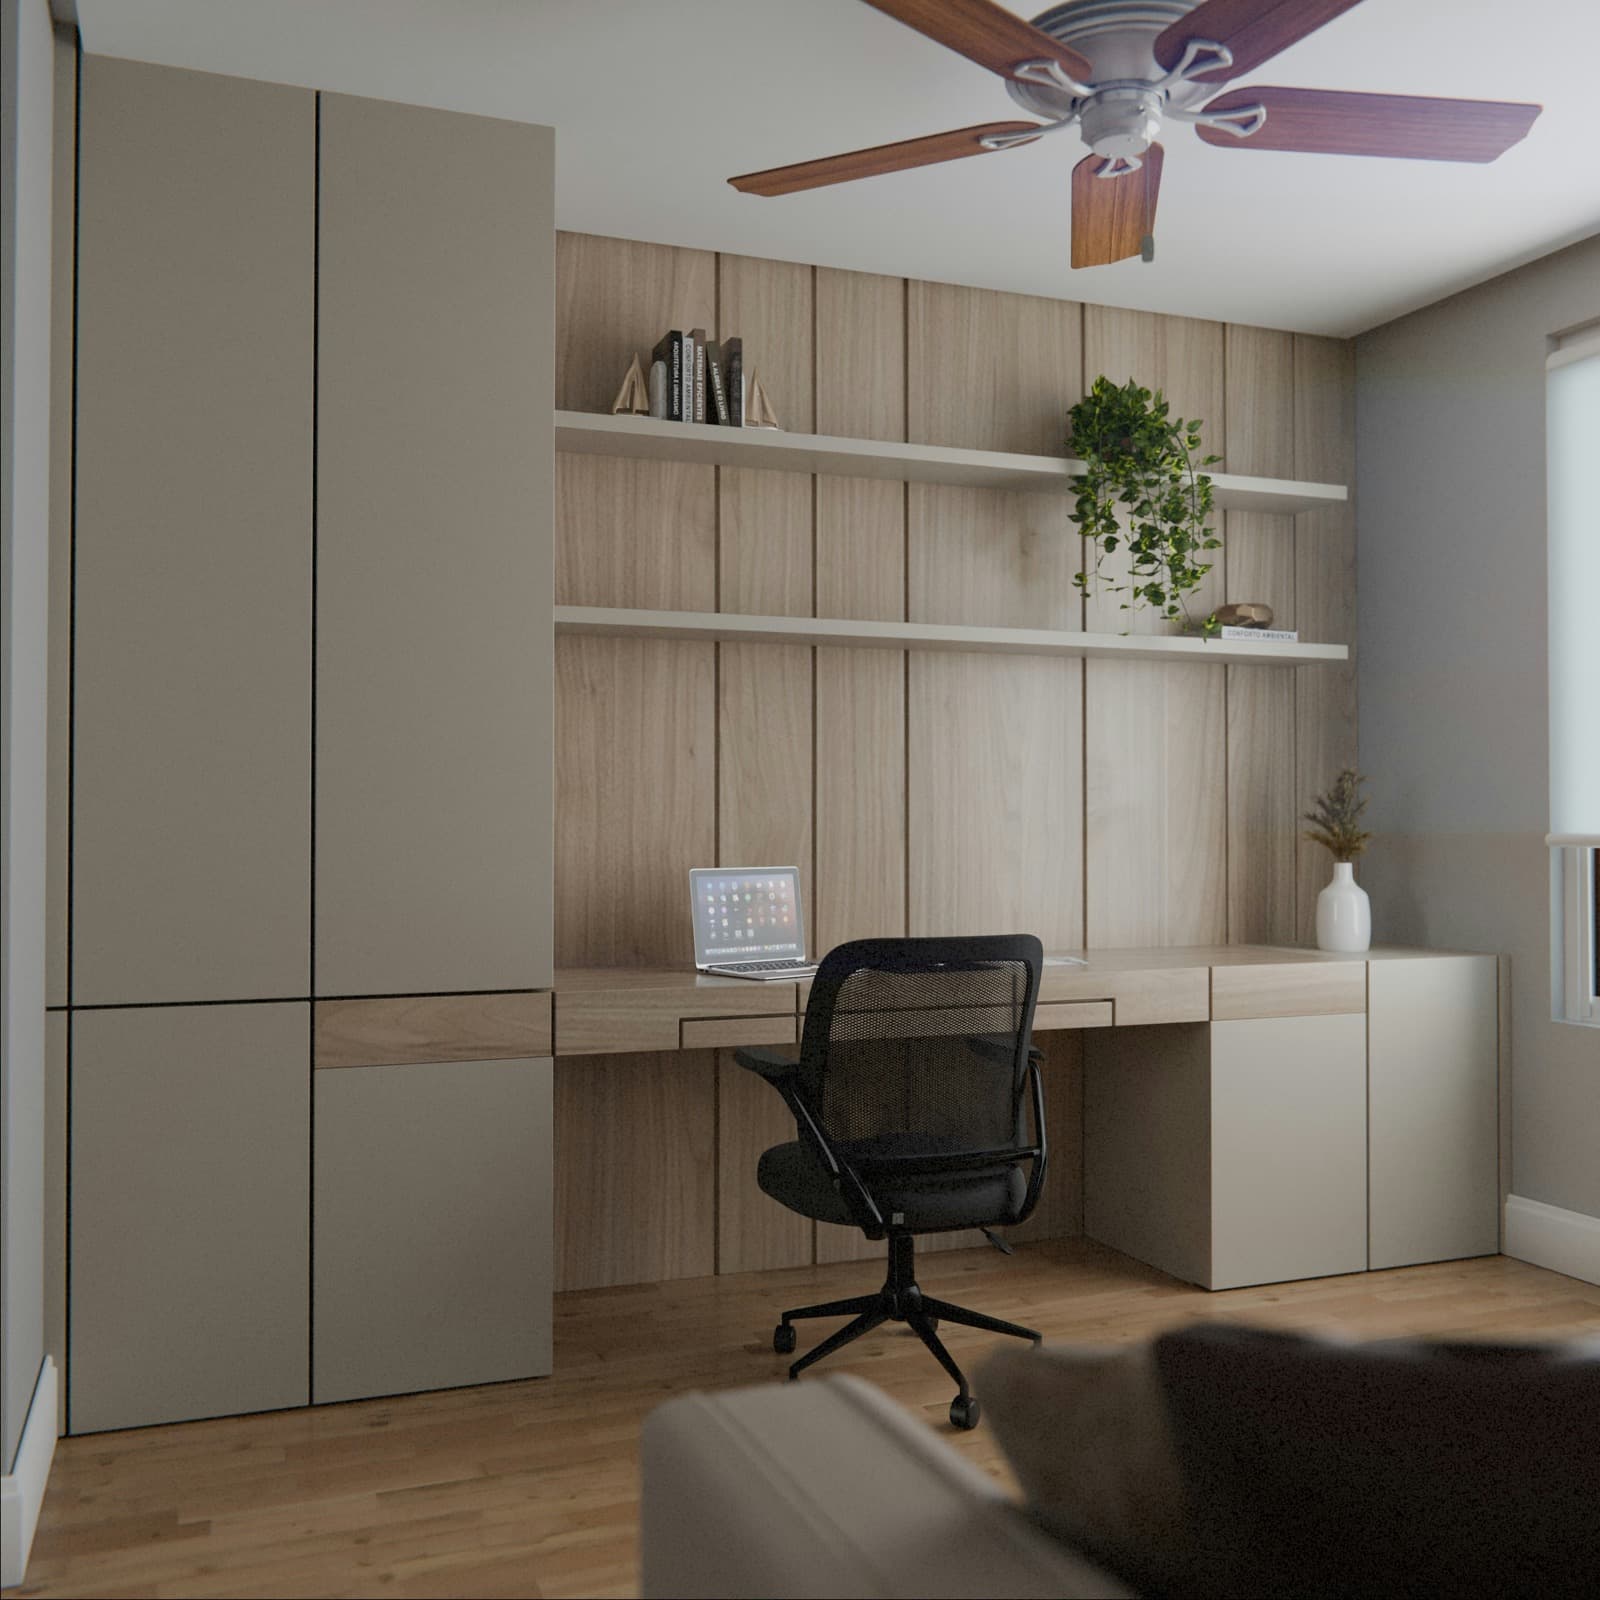
Cabinets to consider for your room. Confirm dimensions and finishes with your plan.
Plan your roomCraft room cabinets arrange tools, paper, fabric, machines, and works in progress around practical creative surfaces.
Craft Room Cabinets work best when the layout starts with visible supplies, protected tools, and uninterrupted project space. Record wall dimensions, worktop height, machine size, chair movement, task lighting, outlets, and material lengths. Keep the current measurements with the cabinet schedule so every width, depth, filler, and exposed side can be checked against the same plan.
List what the room must hold, including paper, fabric, paints, cutting tools, sewing machines, adhesives, containers, and unfinished projects. Group frequently used items within comfortable reach and reserve less accessible areas for lighter or occasional supplies. Clear interior openings matter more than nominal cabinet width when containers or equipment must fit.
Combine wall, base, and tall cabinets according to reach, stored weight, and available floor area. A useful plan for craft room cabinets may include drawer banks, labeled cubbies, tall material storage, and a clear central work surface. Select organizers only after confirming the usable opening, shelf capacity, and hardware clearance.
Keep connected cabinets within a compatible construction, series, and finish. Physical samples help evaluate color and texture beside flooring, wall paint, counters, and adjacent furniture. Add fillers, panels, toe kick, molding, and hardware as individual schedule items where the layout requires them.
The final review should address worktop support, adjustable shelving, wall fastening, power access, task lighting, and safe tool storage. The installer must choose fasteners and supports for the actual wall, floor, cabinet load, and countertop condition. Resolve uncertain utilities or structural conditions before cabinets are paid for or released.
Confirm the delivery path from the truck to the room, including doors, halls, corners, stairs, elevators, and dry staging space. Check item numbers, quantities, finish, visible damage, and carton count at delivery, then protect the cabinetry until installation begins.
Inventory supplies by form before assigning storage. Rolled paper and vinyl need long compartments, fabric benefits from visible folded stacks, and paint bottles need shallow shelves that prevent hidden rows. Cutting machines, sewing machines, and presses require measured platforms, ventilation, cord access, and enough surrounding room to feed material safely.
Use shallow drawers for small tools, divided trays for fasteners, and labeled containers for consumables. Reserve one protected area for drying or unfinished work so the main surface can be cleared without dismantling a project. Task lighting should address cutting, color matching, and close detail. Keep blades, adhesives, heat tools, and hazardous materials secured according to their instructions and household needs.
Measure wall dimensions, worktop height, machine size, chair movement, task lighting, outlets, and material lengths. Use finished dimensions and identify every obstruction that affects cabinet fit or operation.
Plan for paper, fabric, paints, cutting tools, sewing machines, adhesives, containers, and unfinished projects. Match shelf, drawer, and hardware capacity to the actual size and weight of those items.
Wall cabinets save floor space, base cabinets support work surfaces, and tall cabinets provide vertical storage. The measured layout determines the safest combination.
Available sizes, finishes, modifications, and accessories vary by cabinet series. Confirm each requested option on the itemized cabinet schedule before ordering.
Review physical samples beside the room's flooring, paint, counters, hardware, and lighting. Screens cannot reliably show exact color, sheen, or grain variation.
Cabinet size, construction, finish, organizers, panels, fillers, trim, freight, tax, unloading, countertops, and installation all affect the complete project cost.
Yes. Upload dimensioned drawings, finish choices, equipment details, delivery ZIP code, and timing. Uncertain measurements or incompatible selections remain flagged for approval.
Build a useful cabinet plan from wall dimensions, openings, appliances, utilities, and clearances.
Plan useful storage, clear work surfaces, and cabinet doors that work comfortably in a smaller kitchen.
Compare cabinet construction, interior access, installation planning, and series selection.
A practical review sequence for item numbers, series, finished sides, accessories, and approvals.